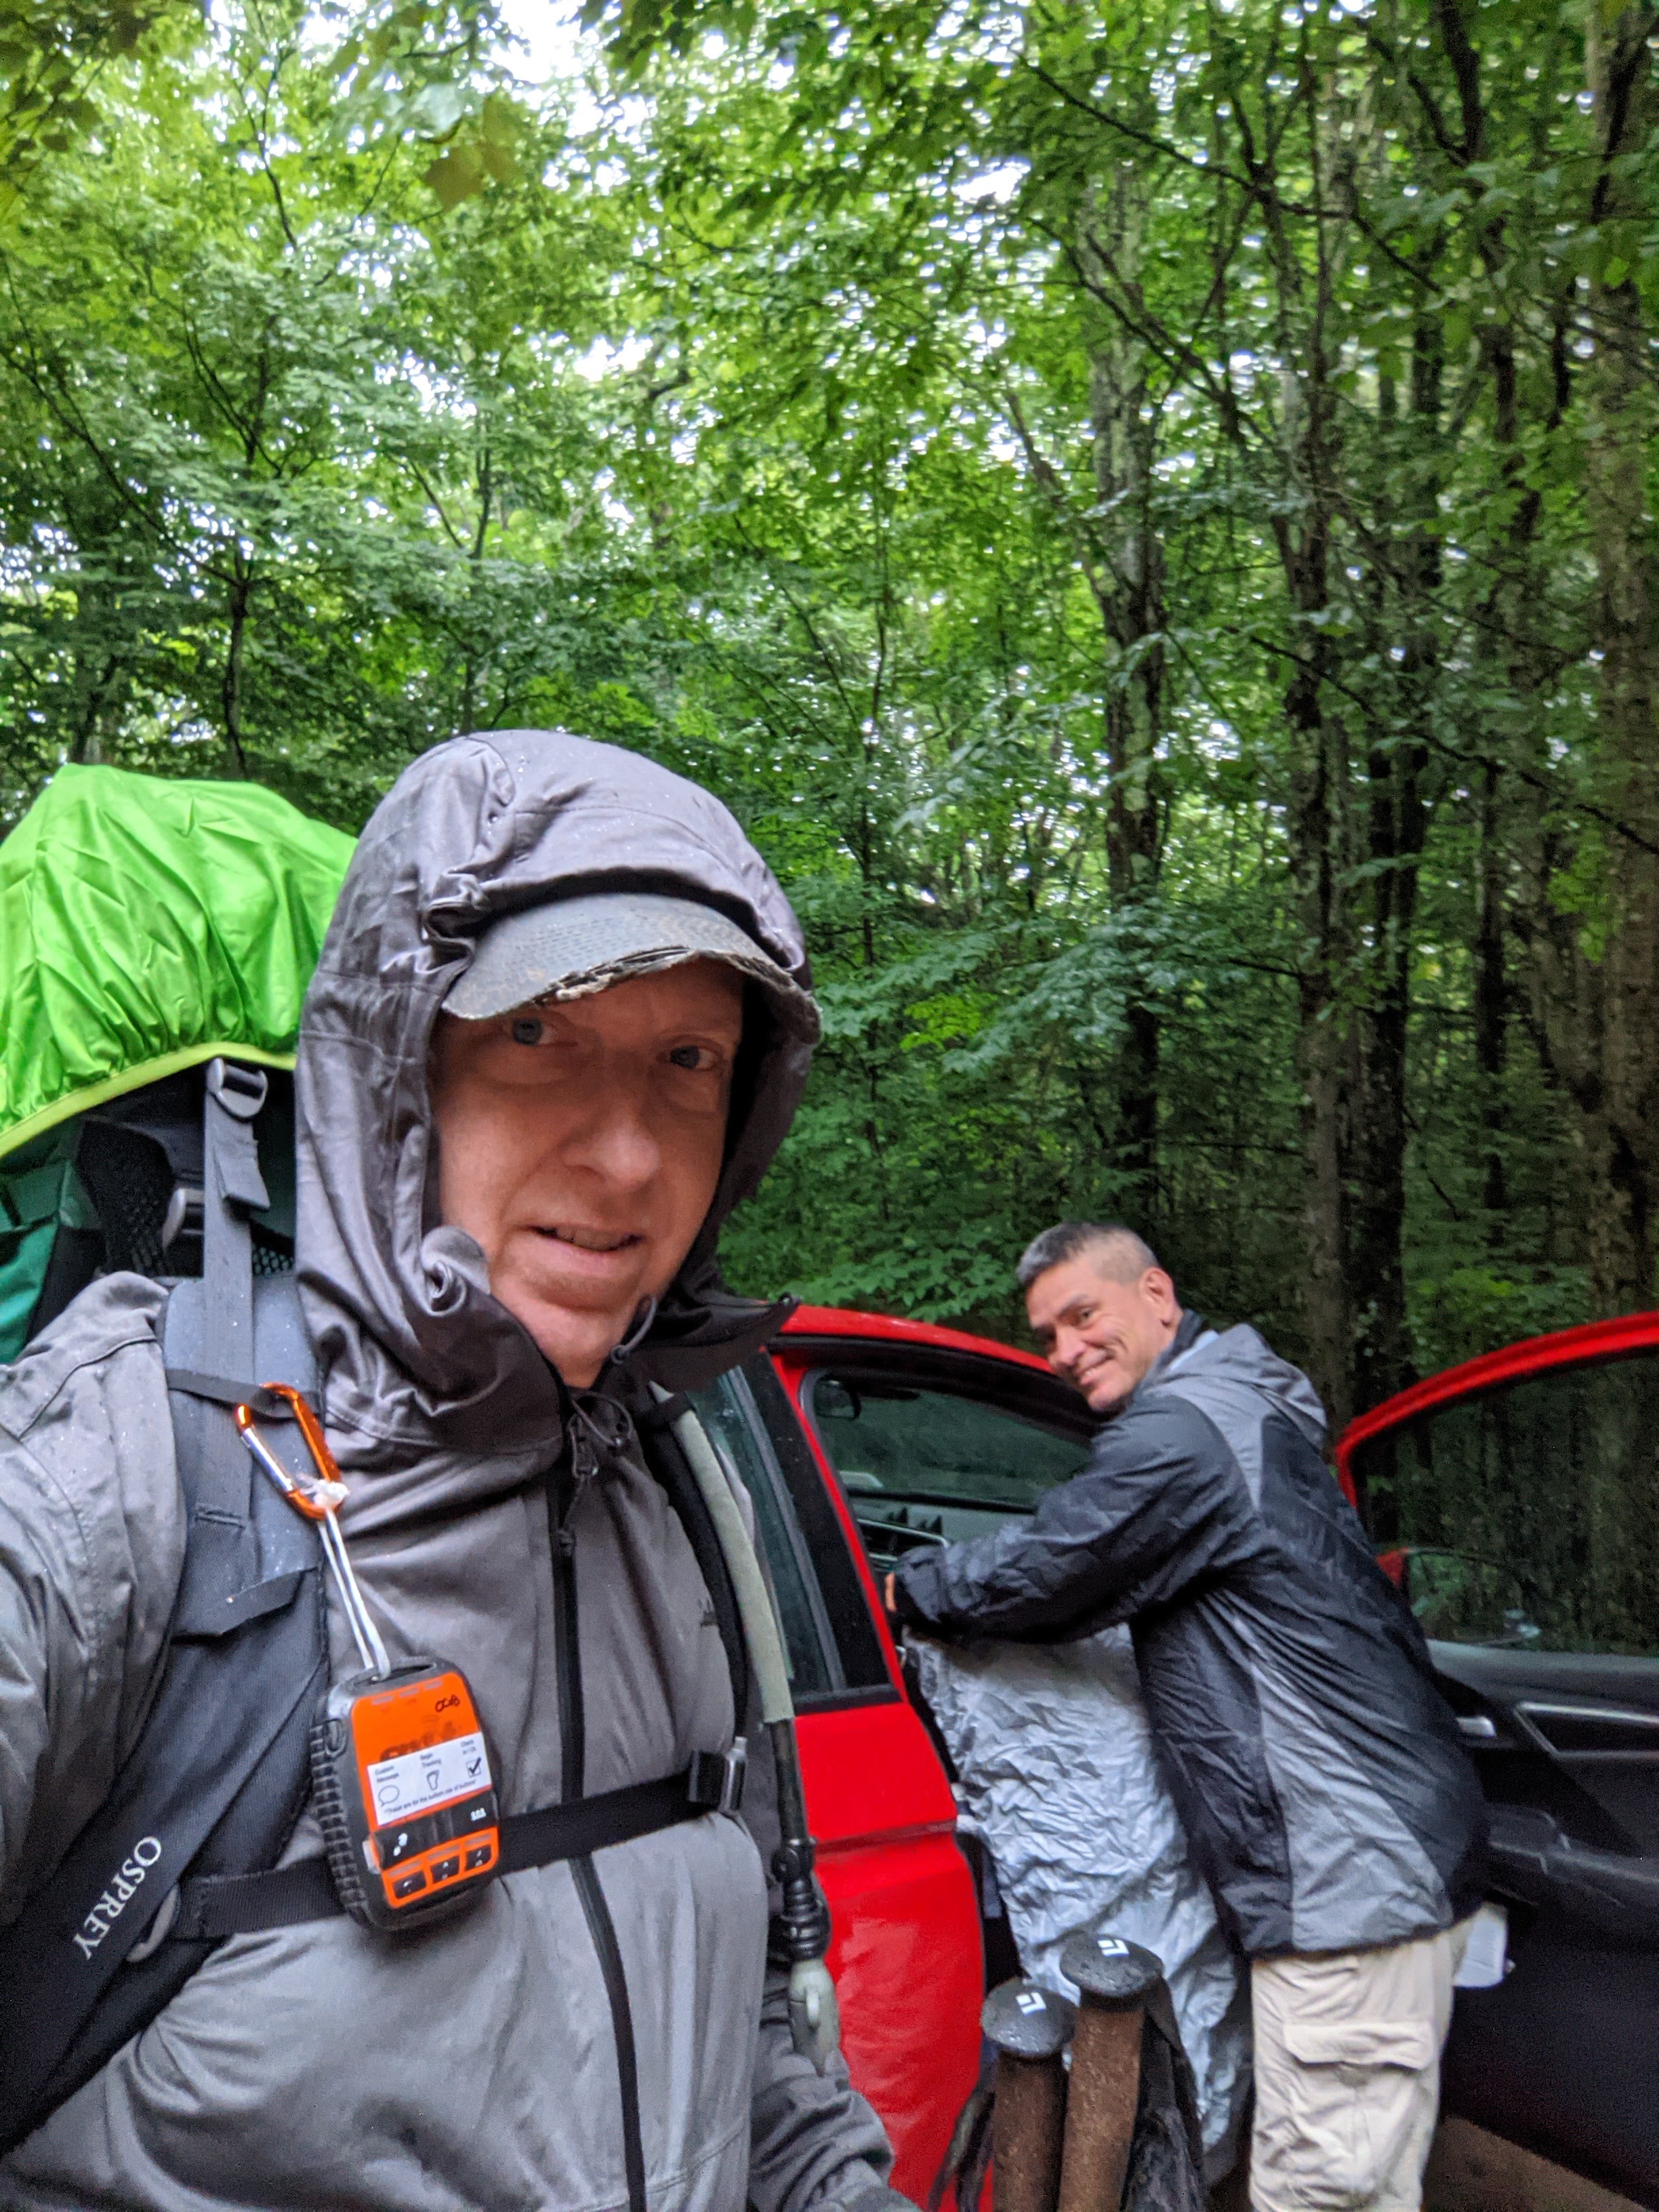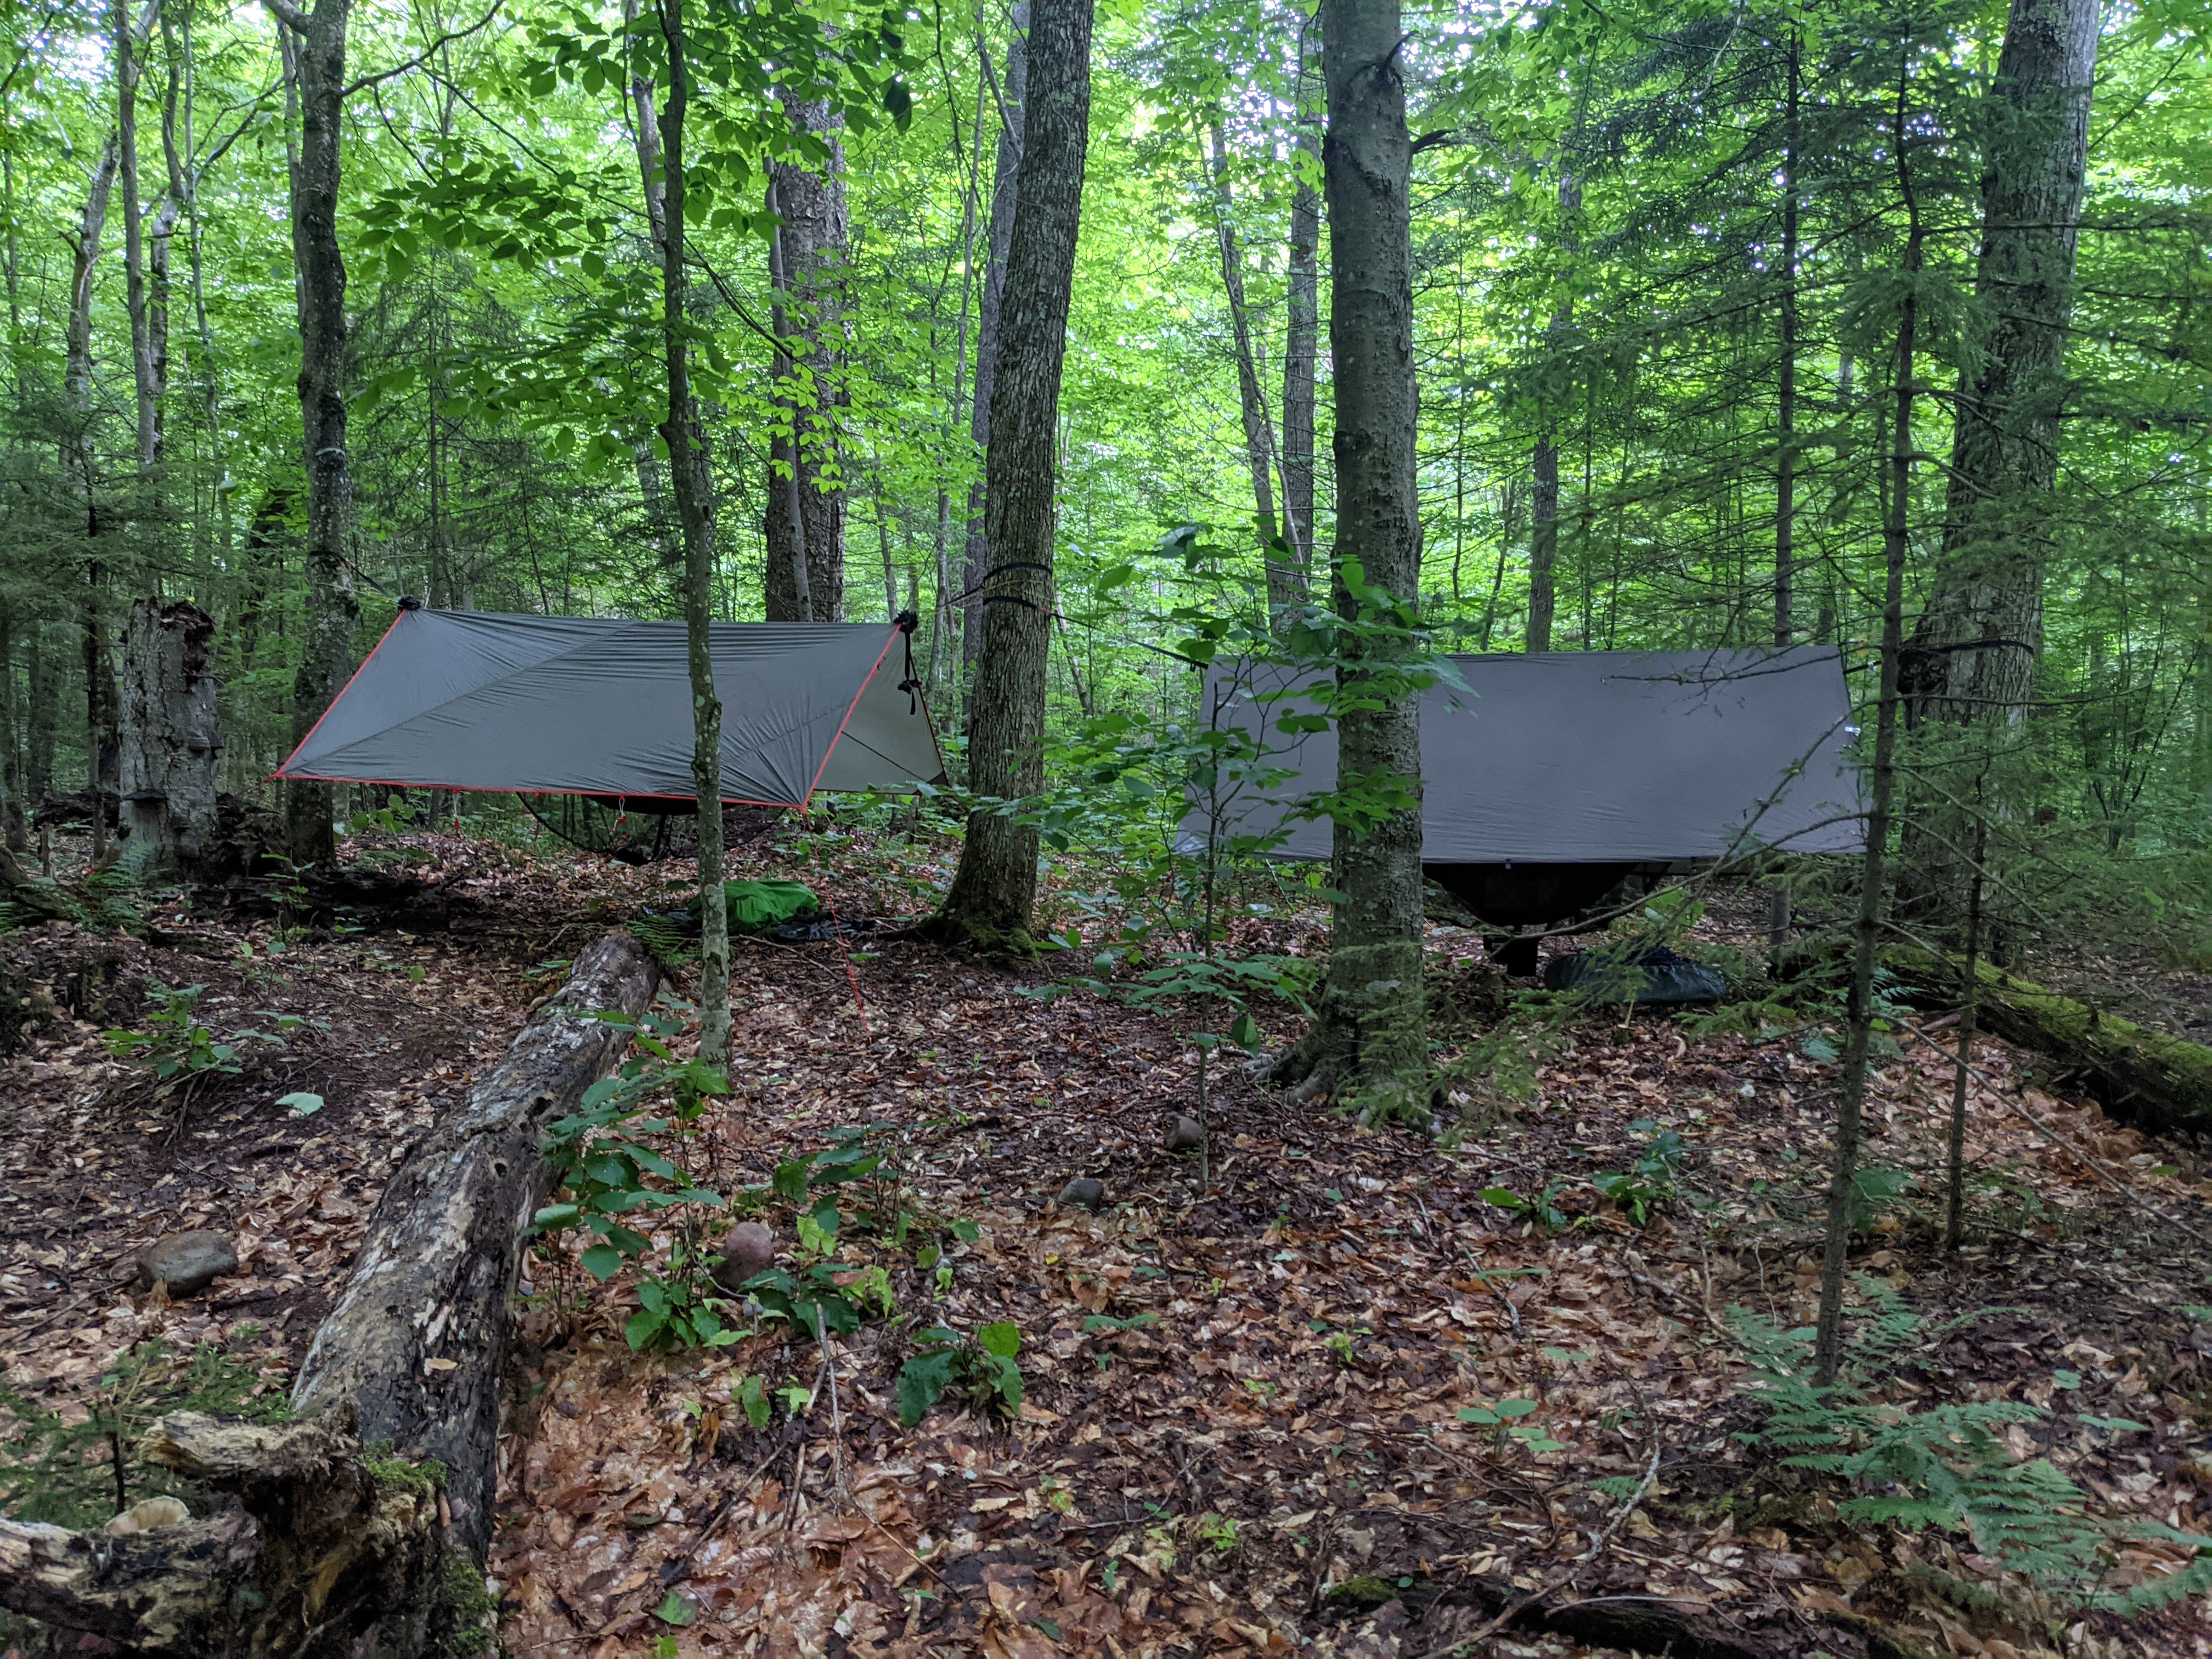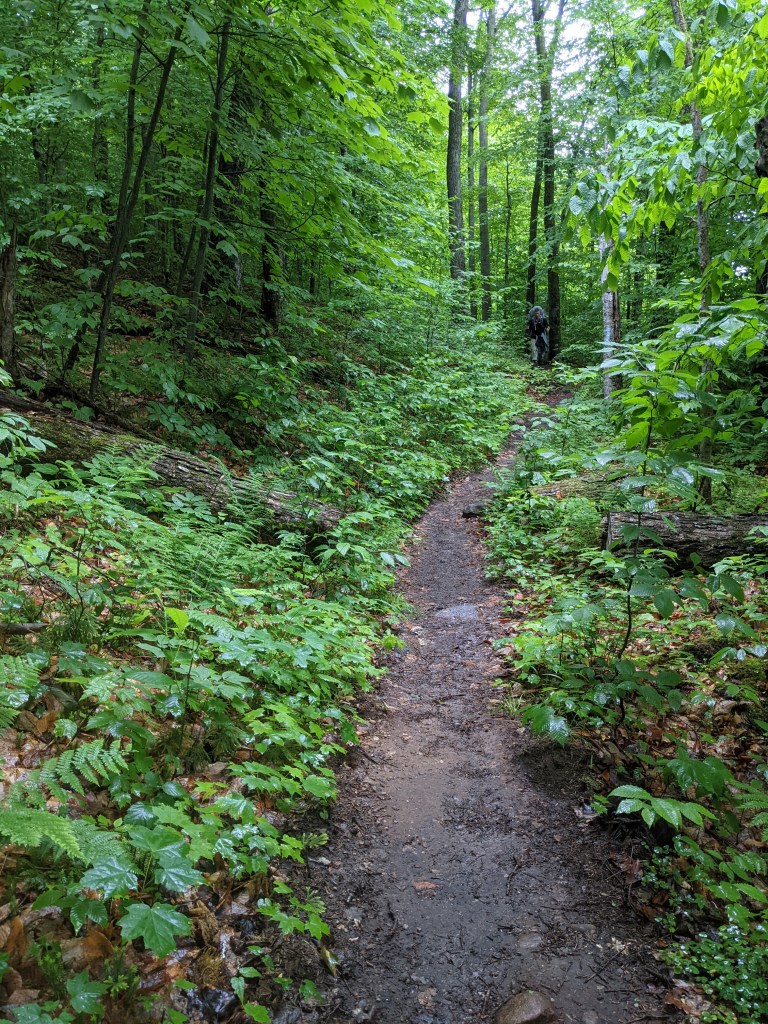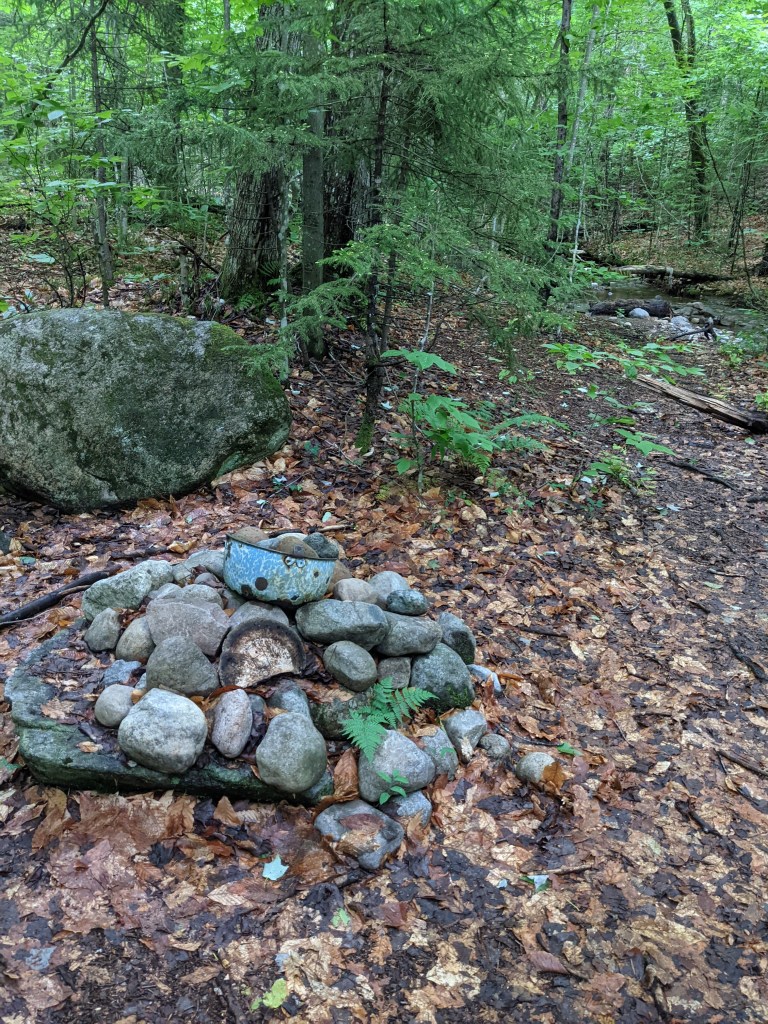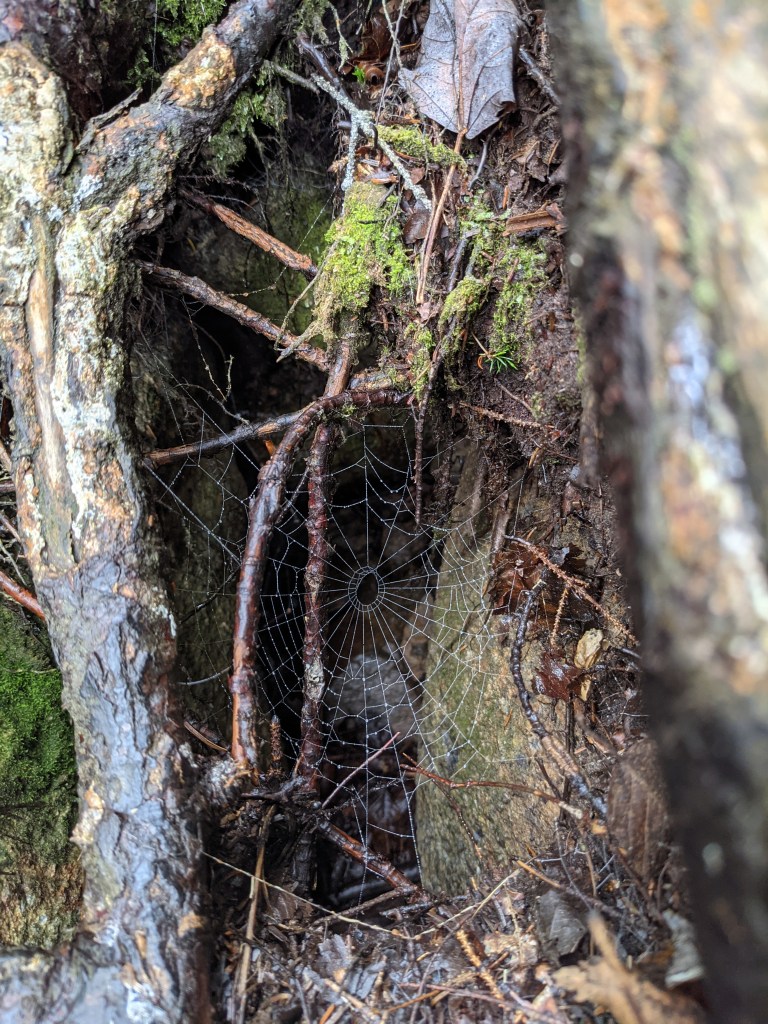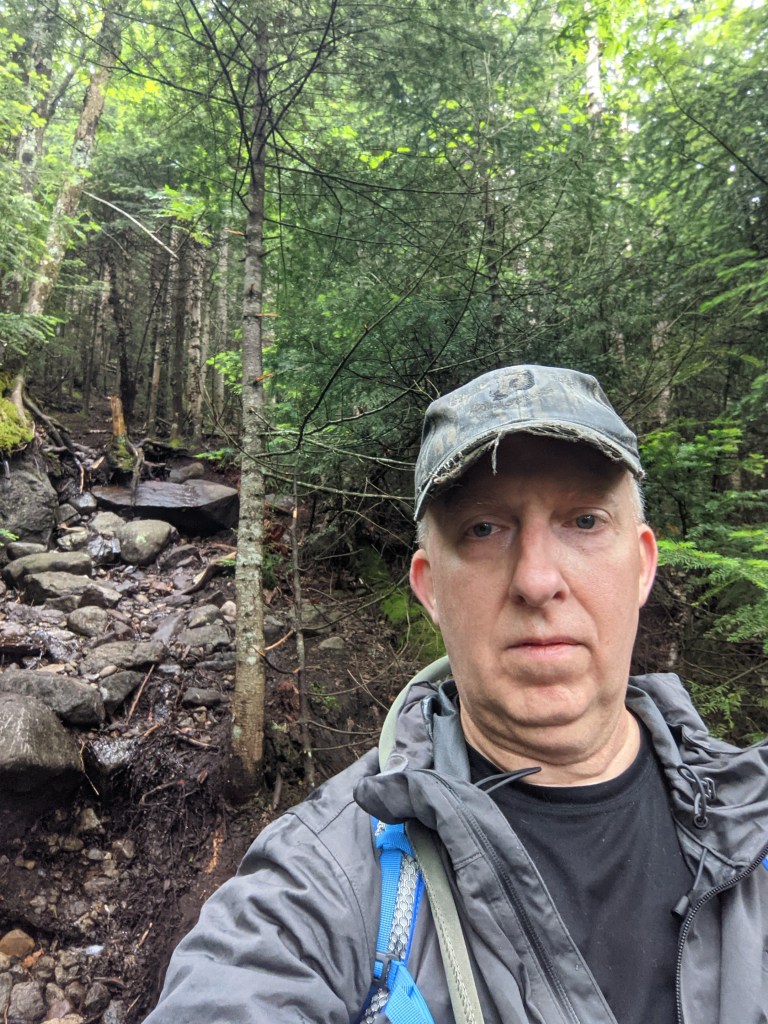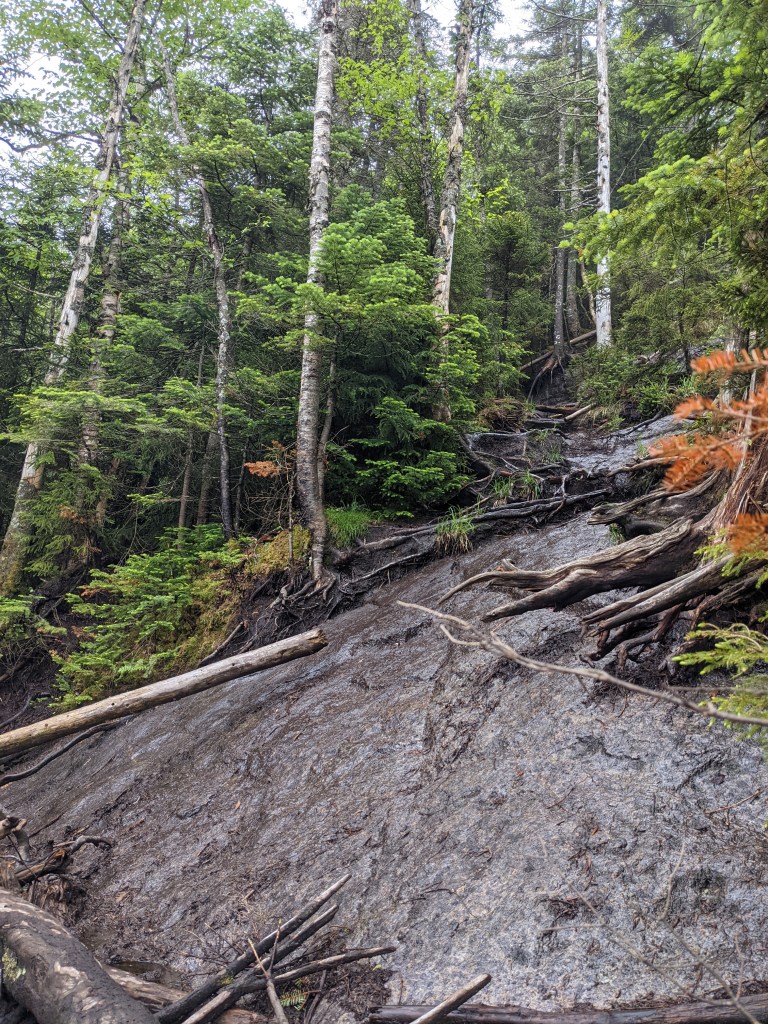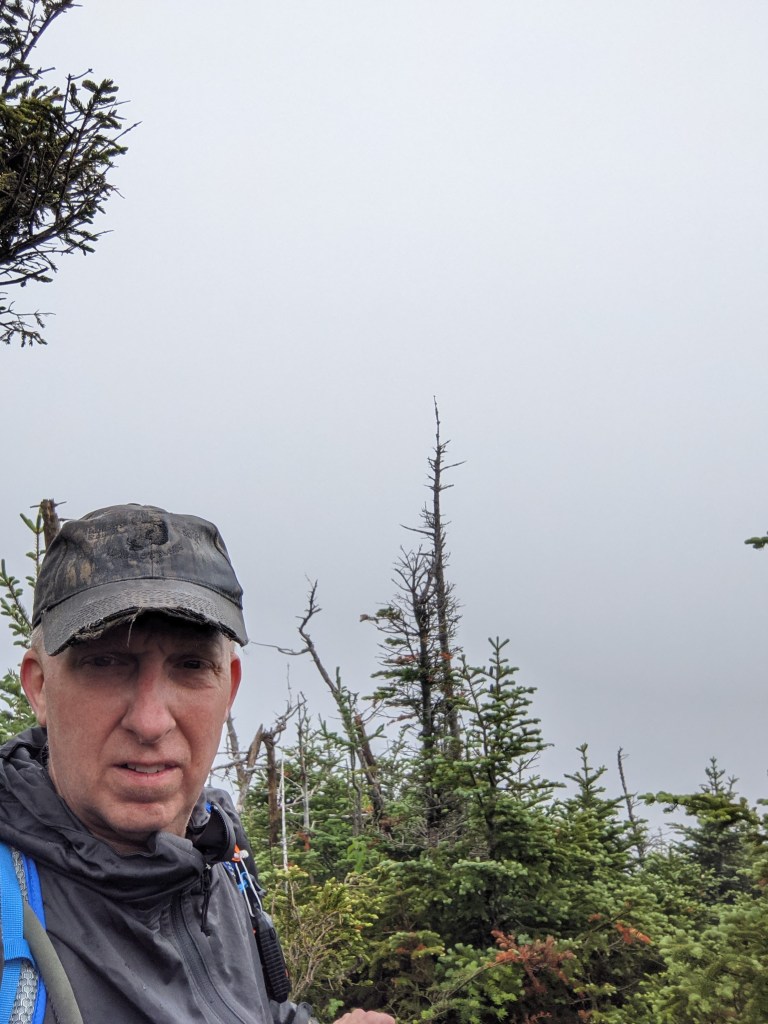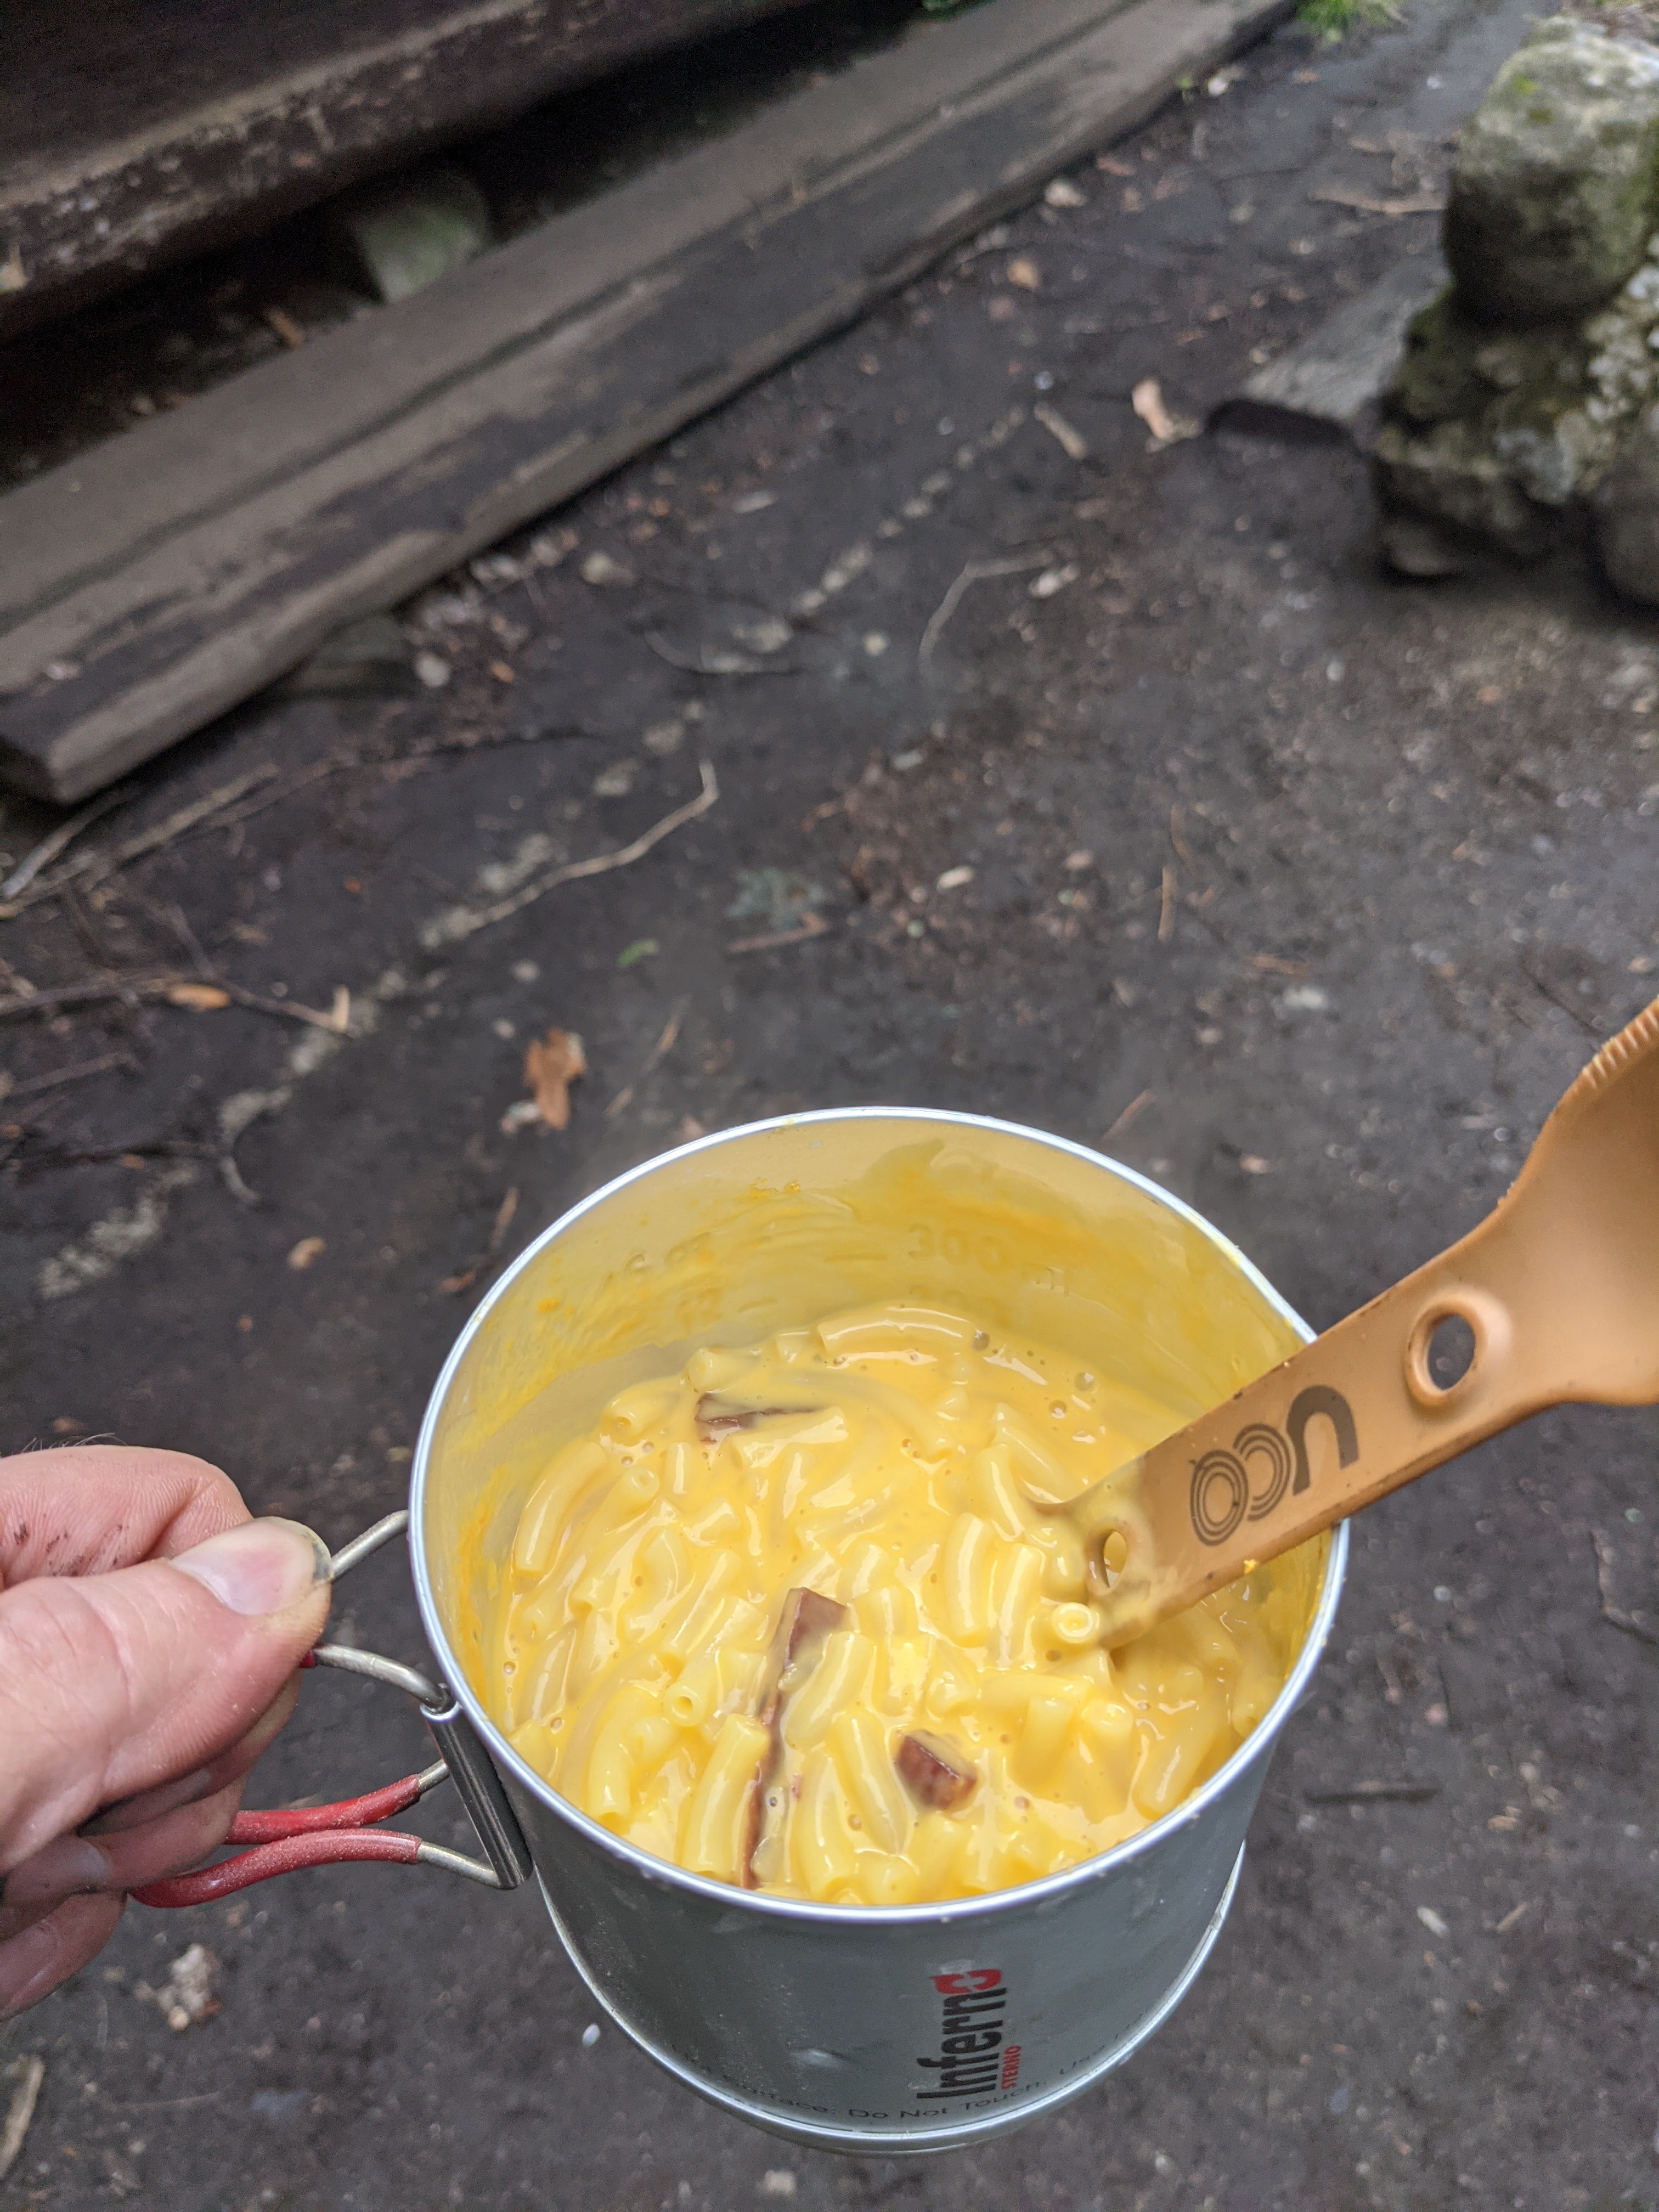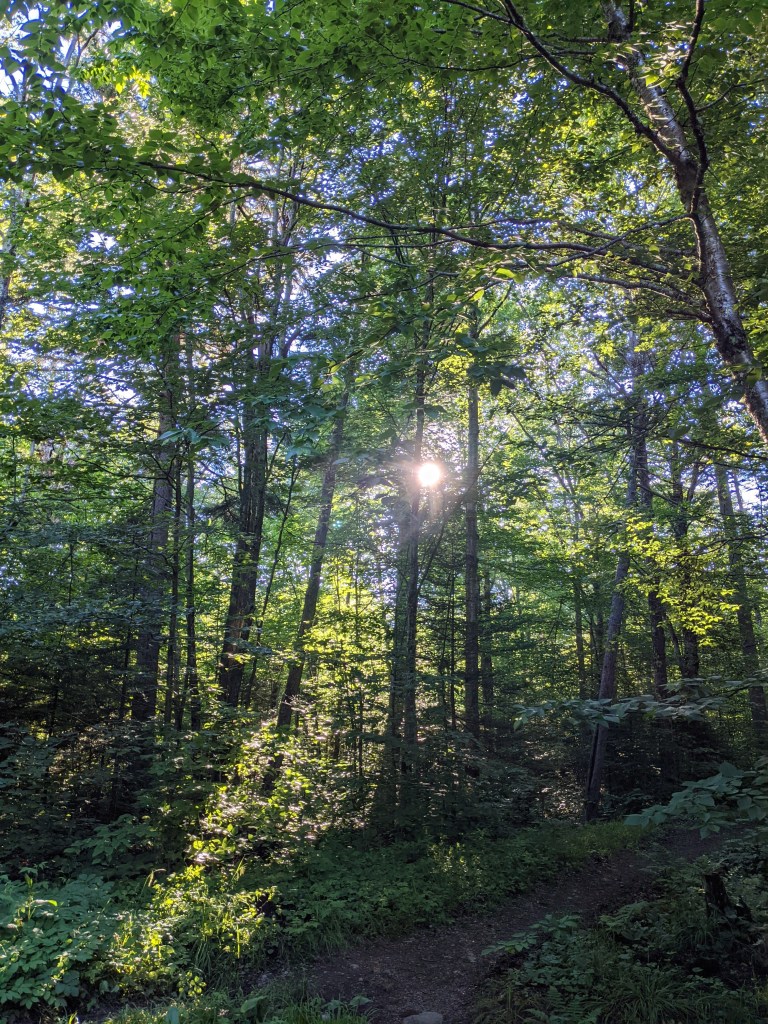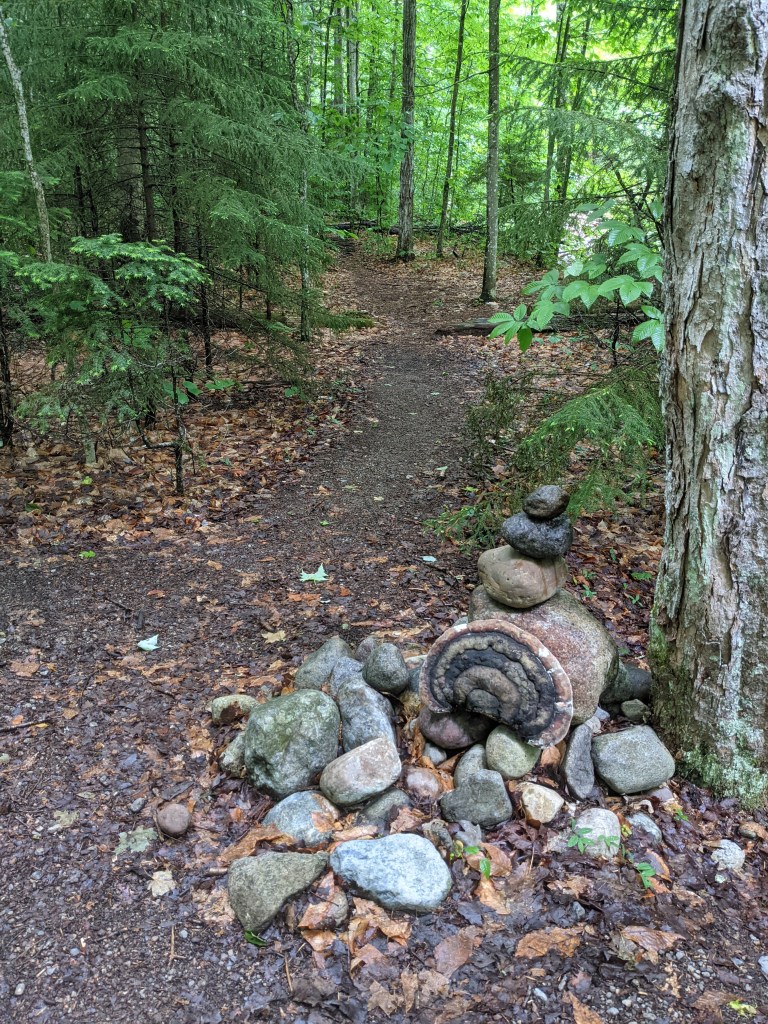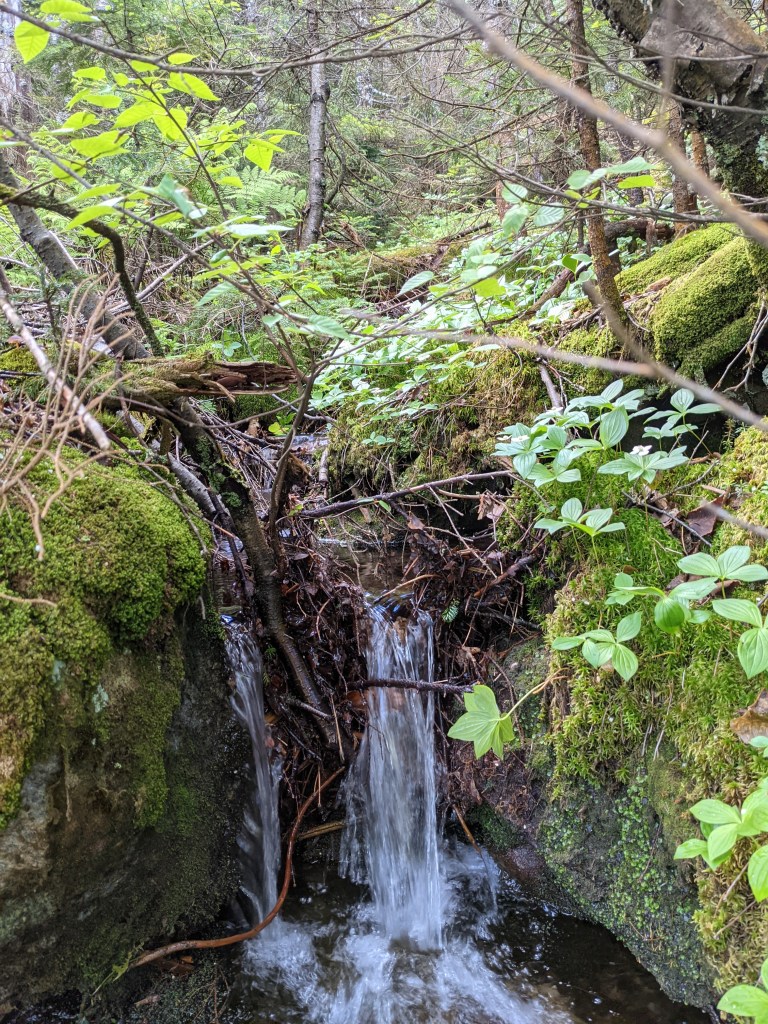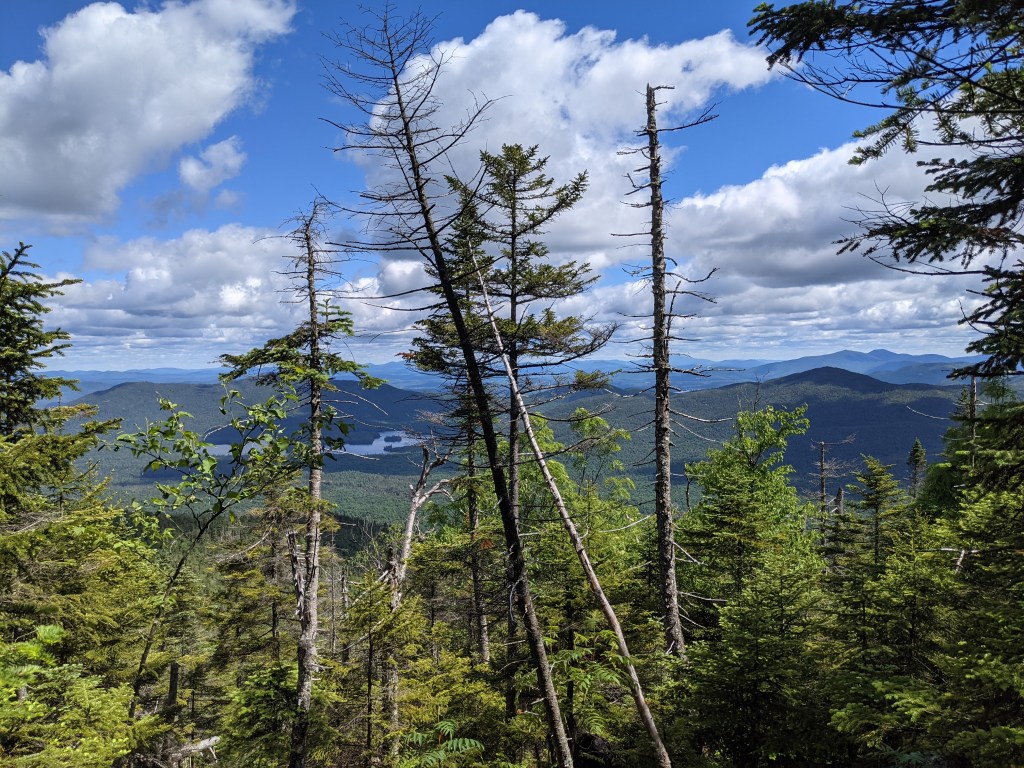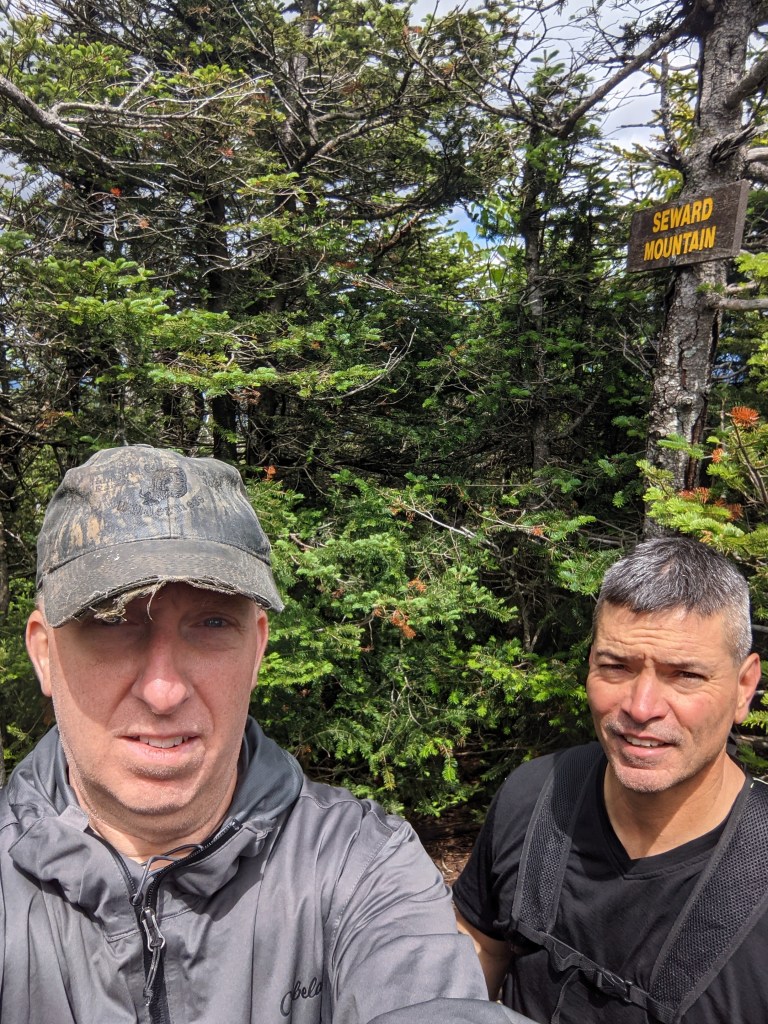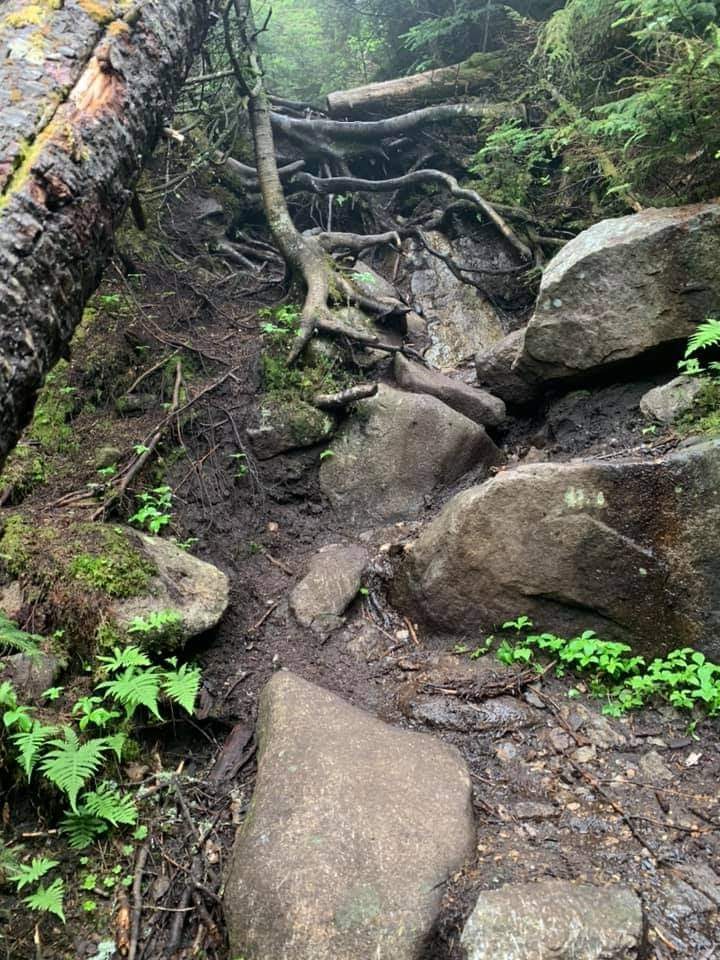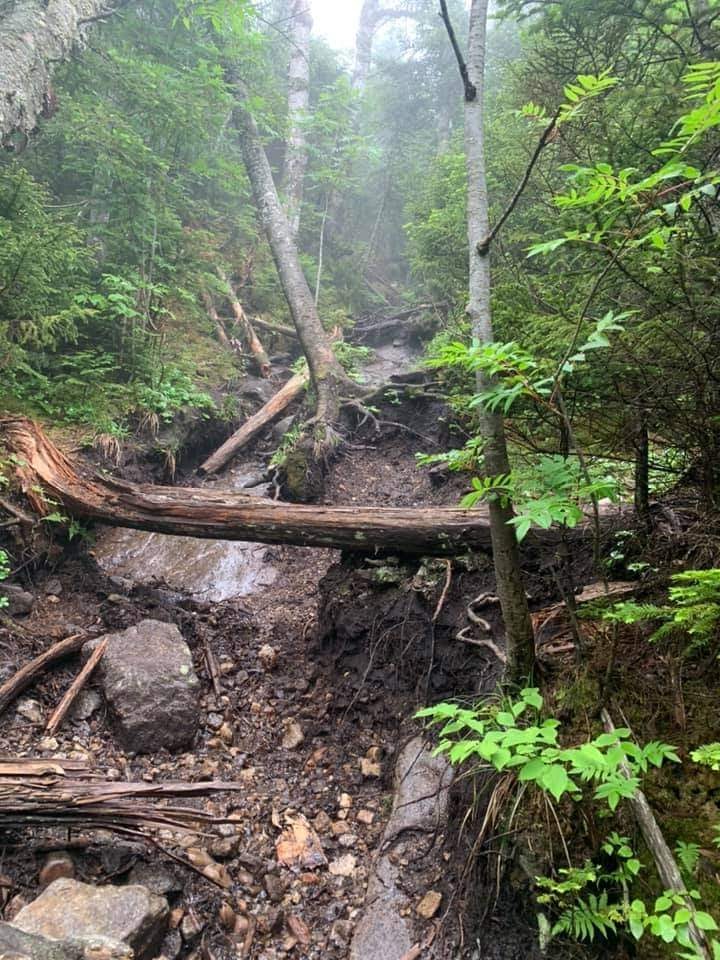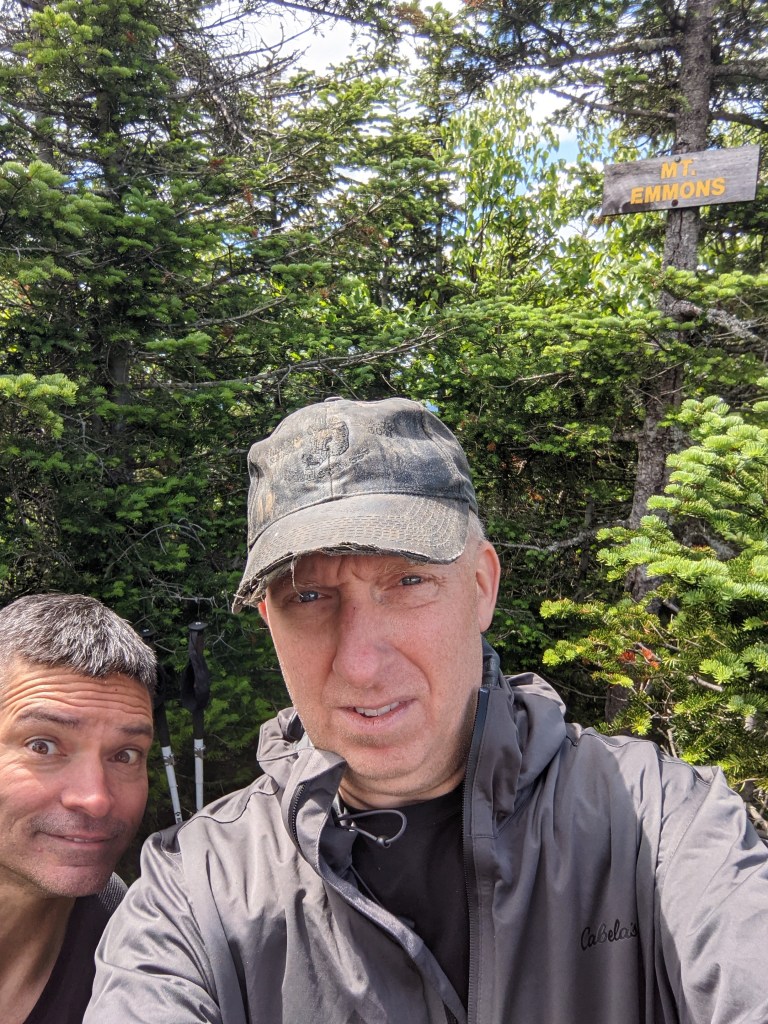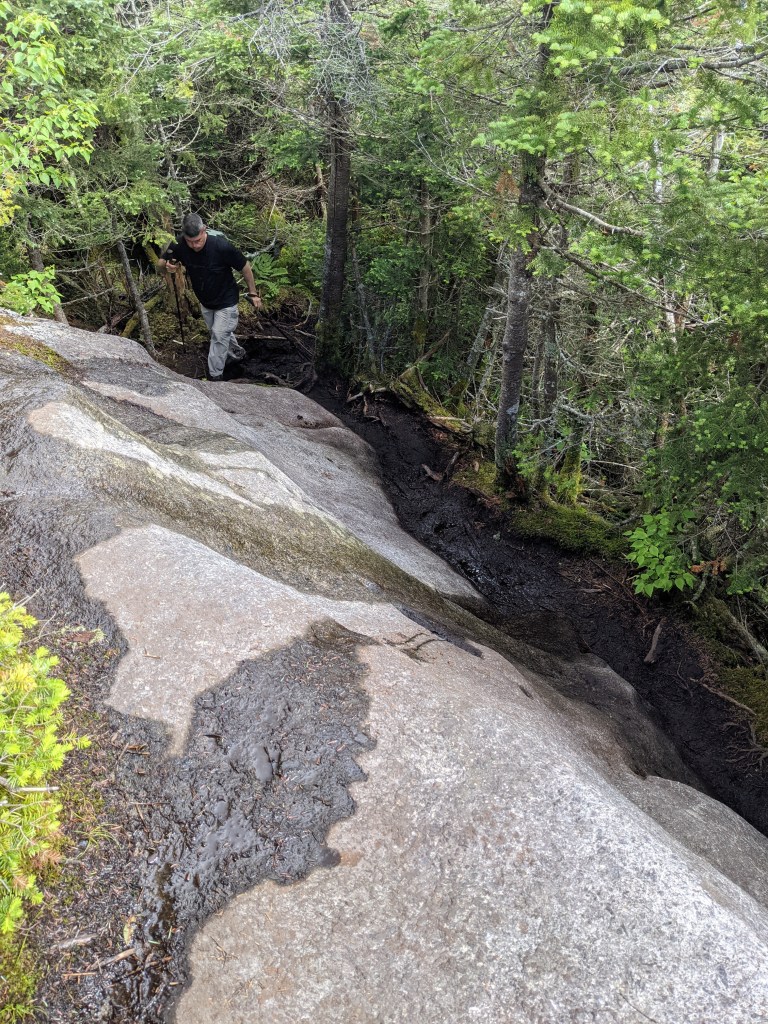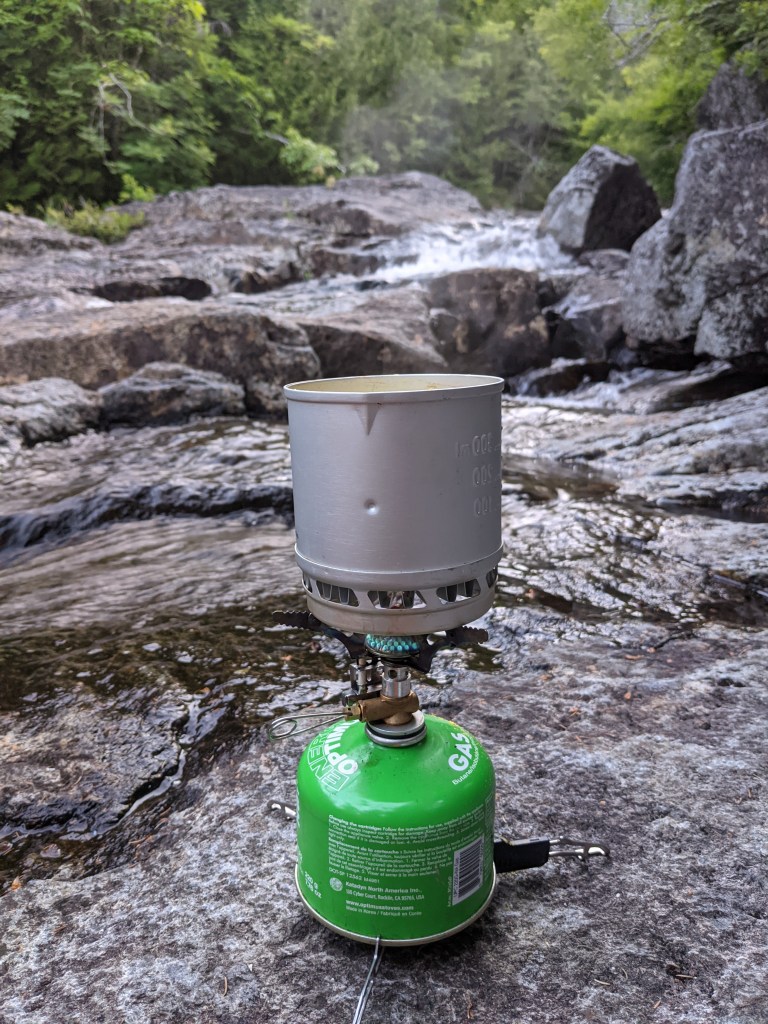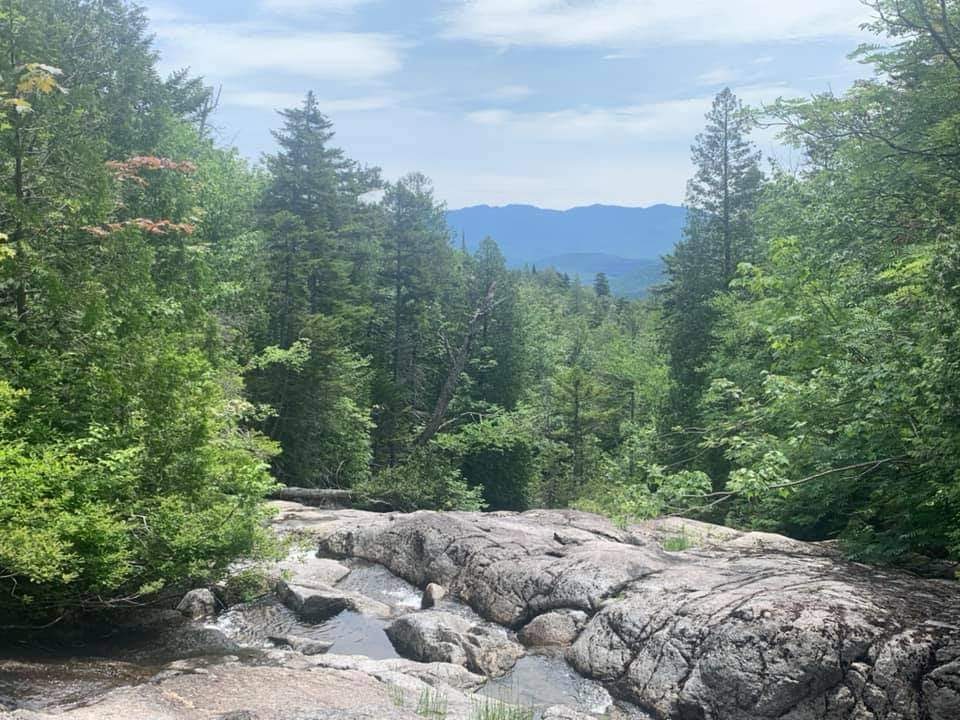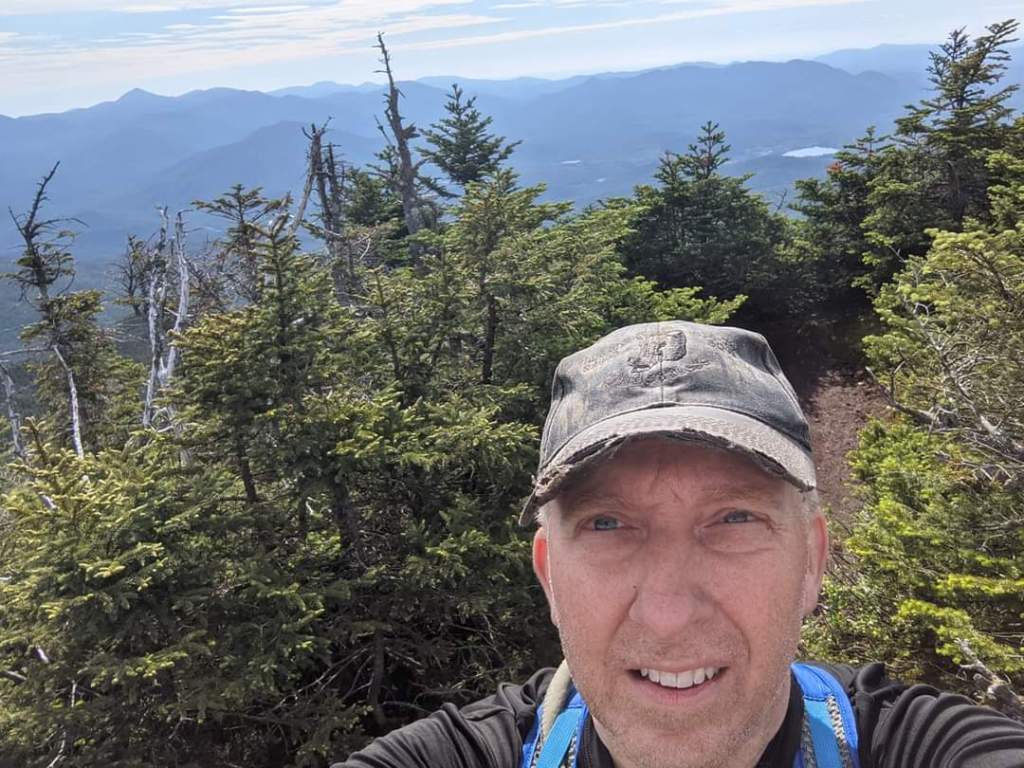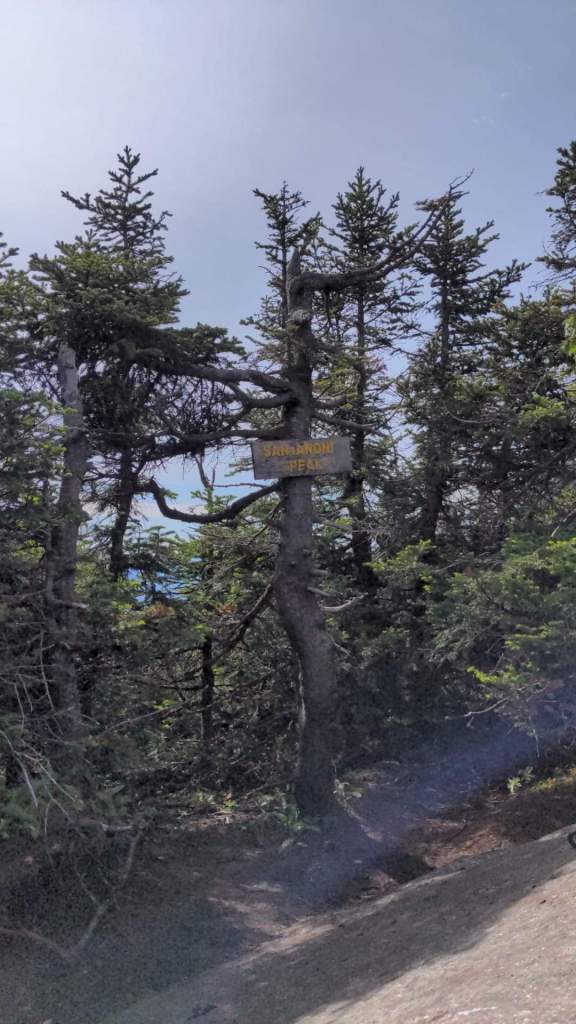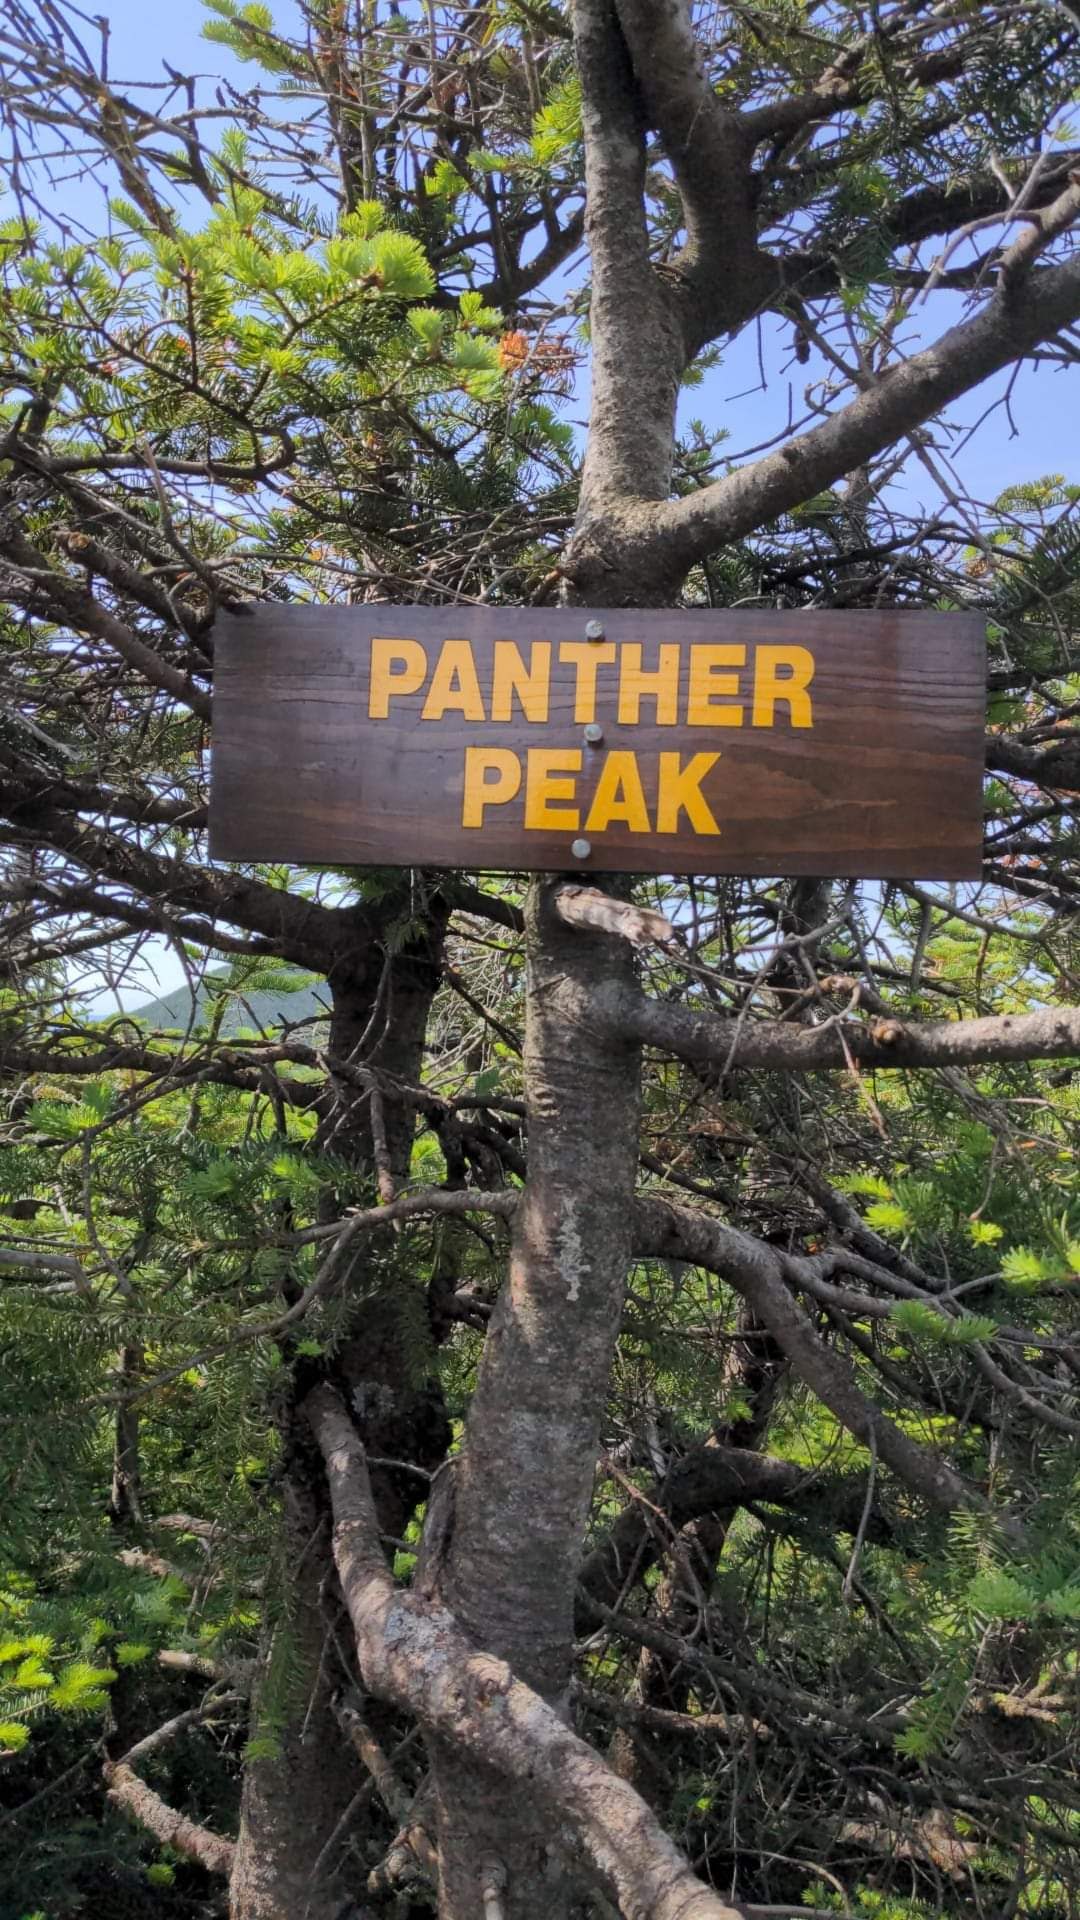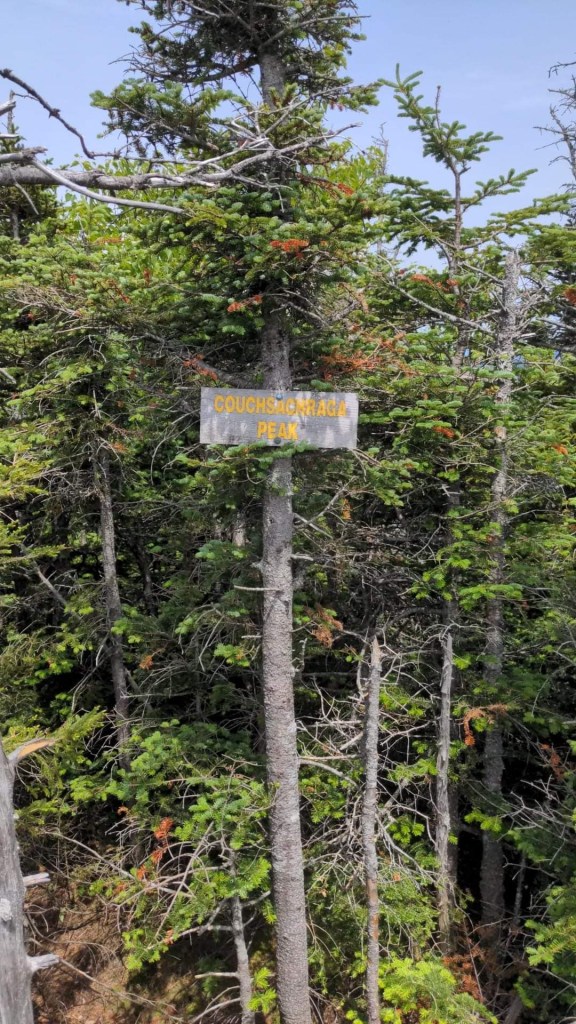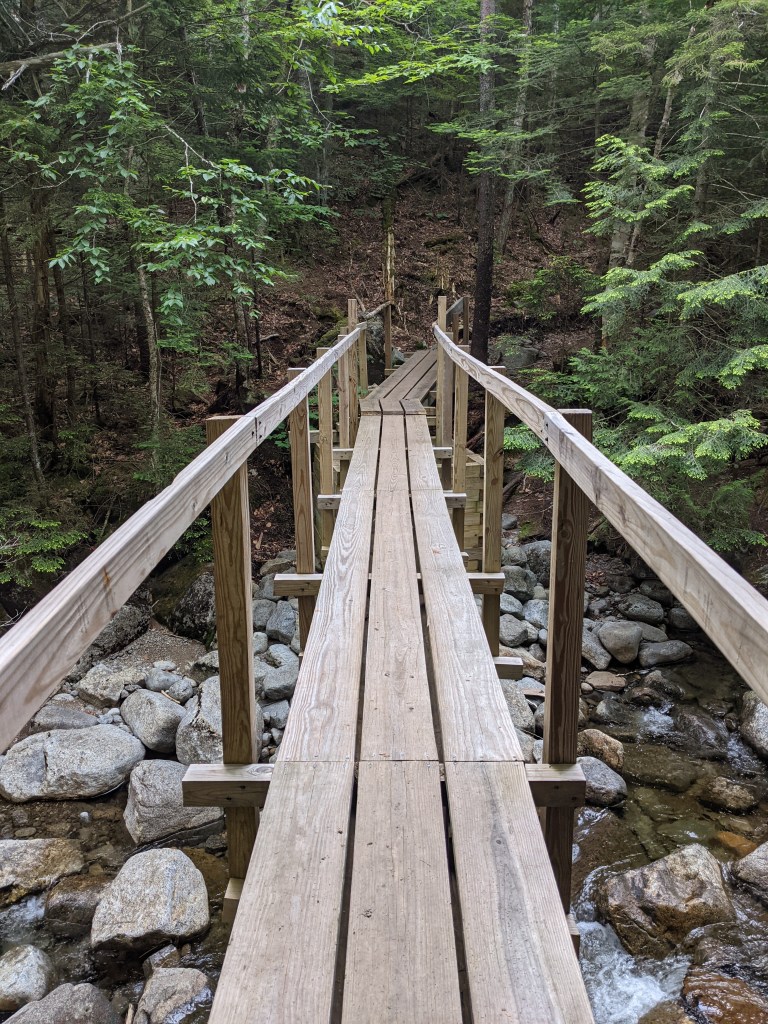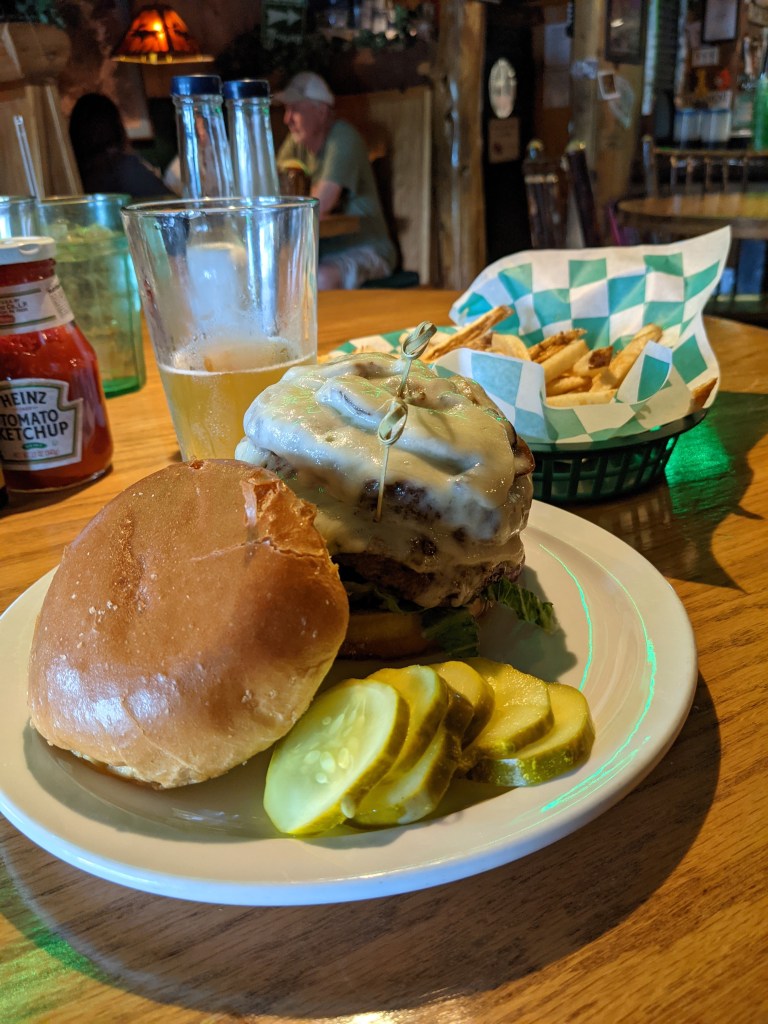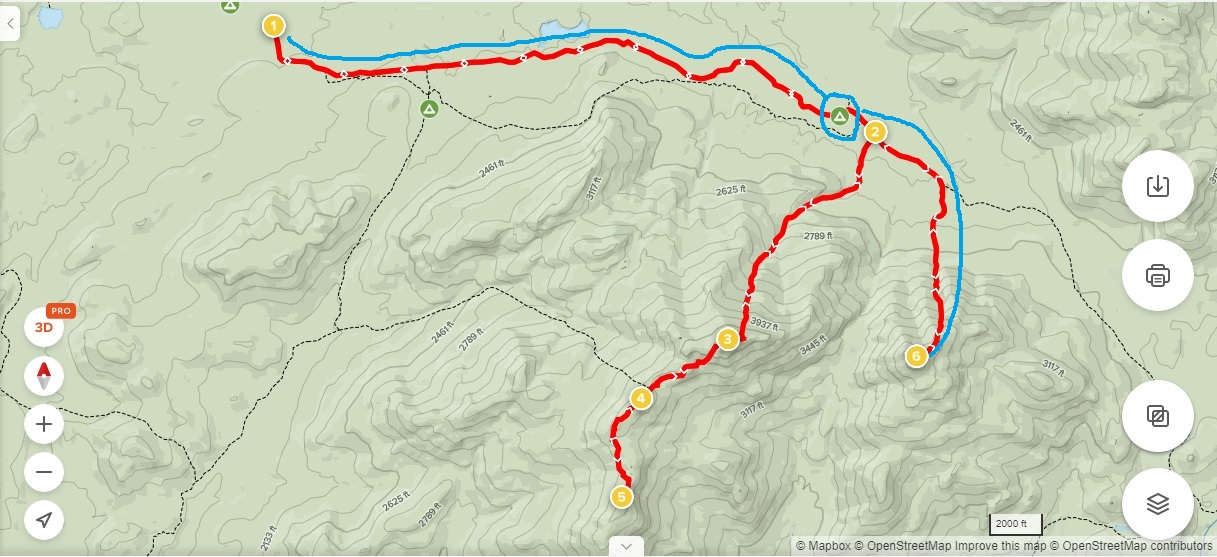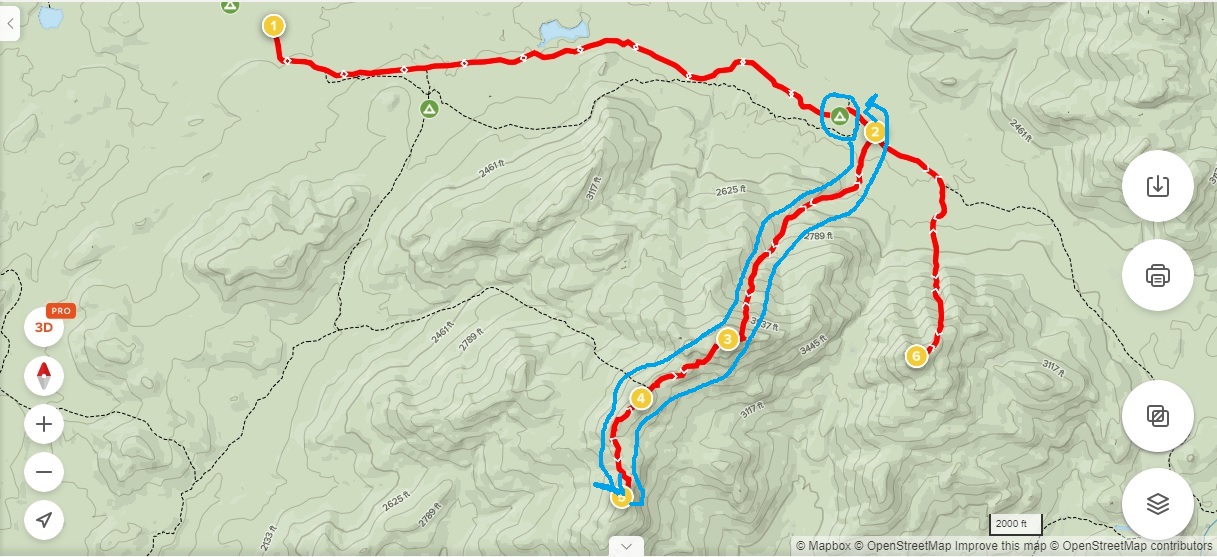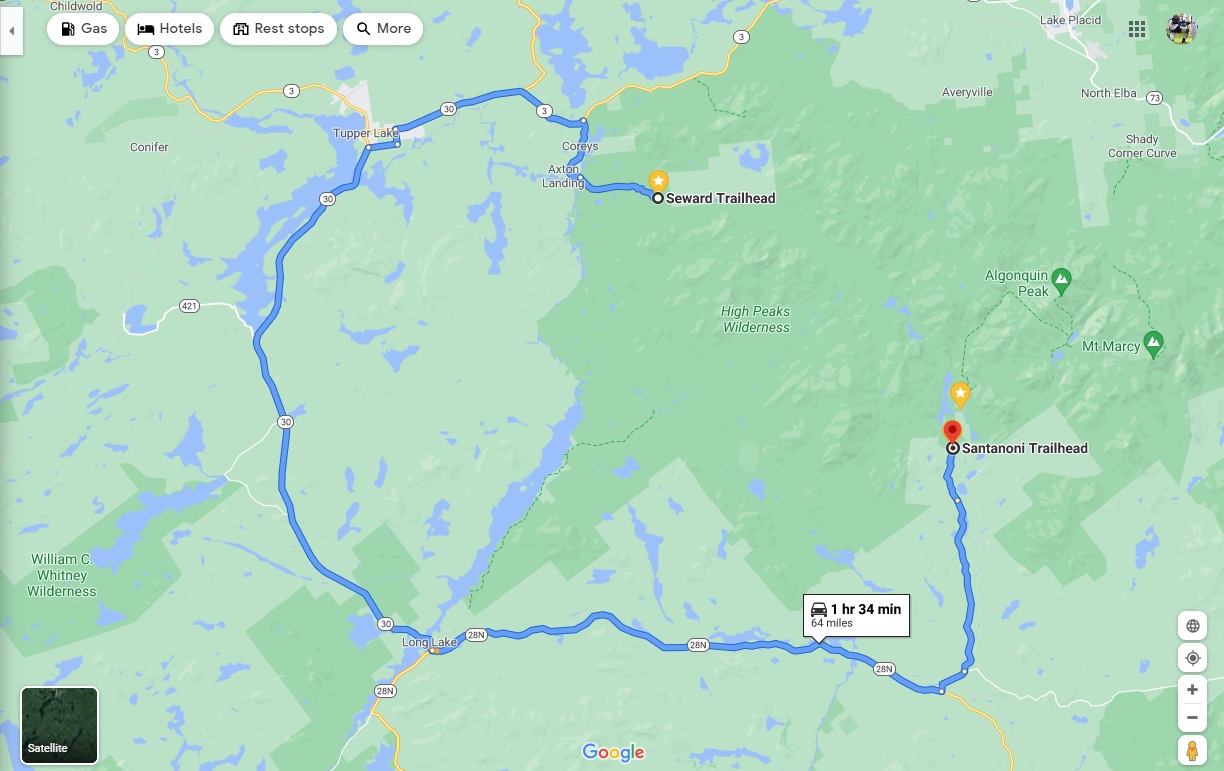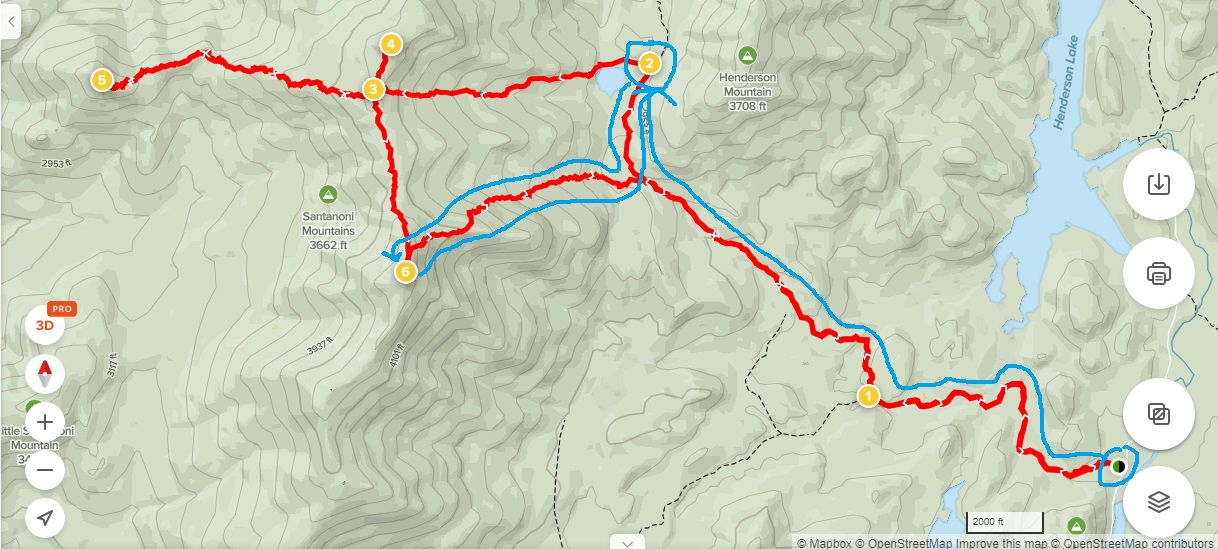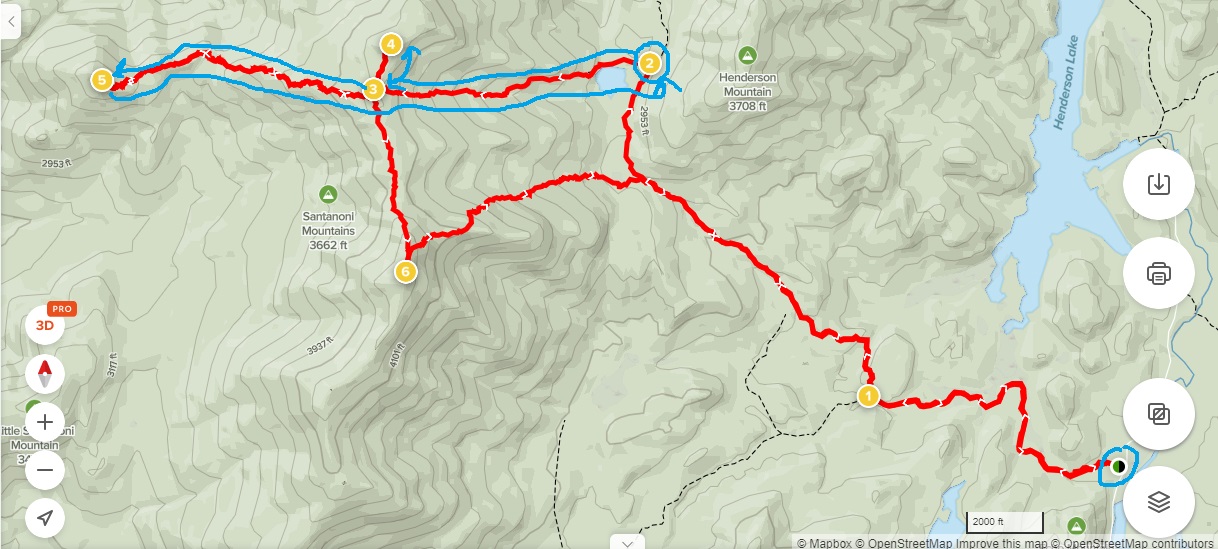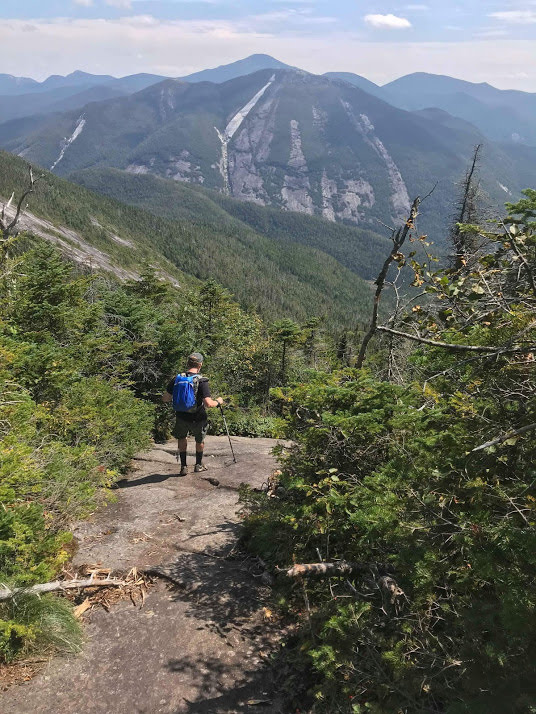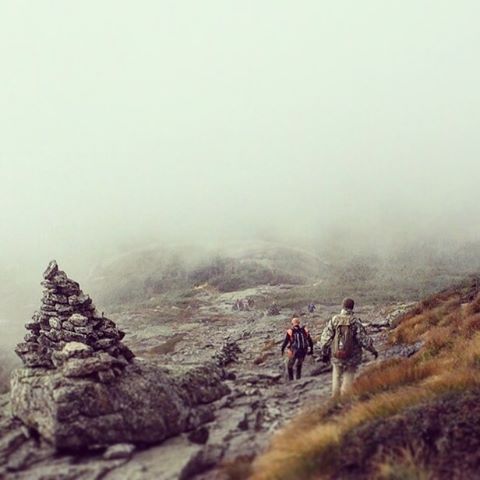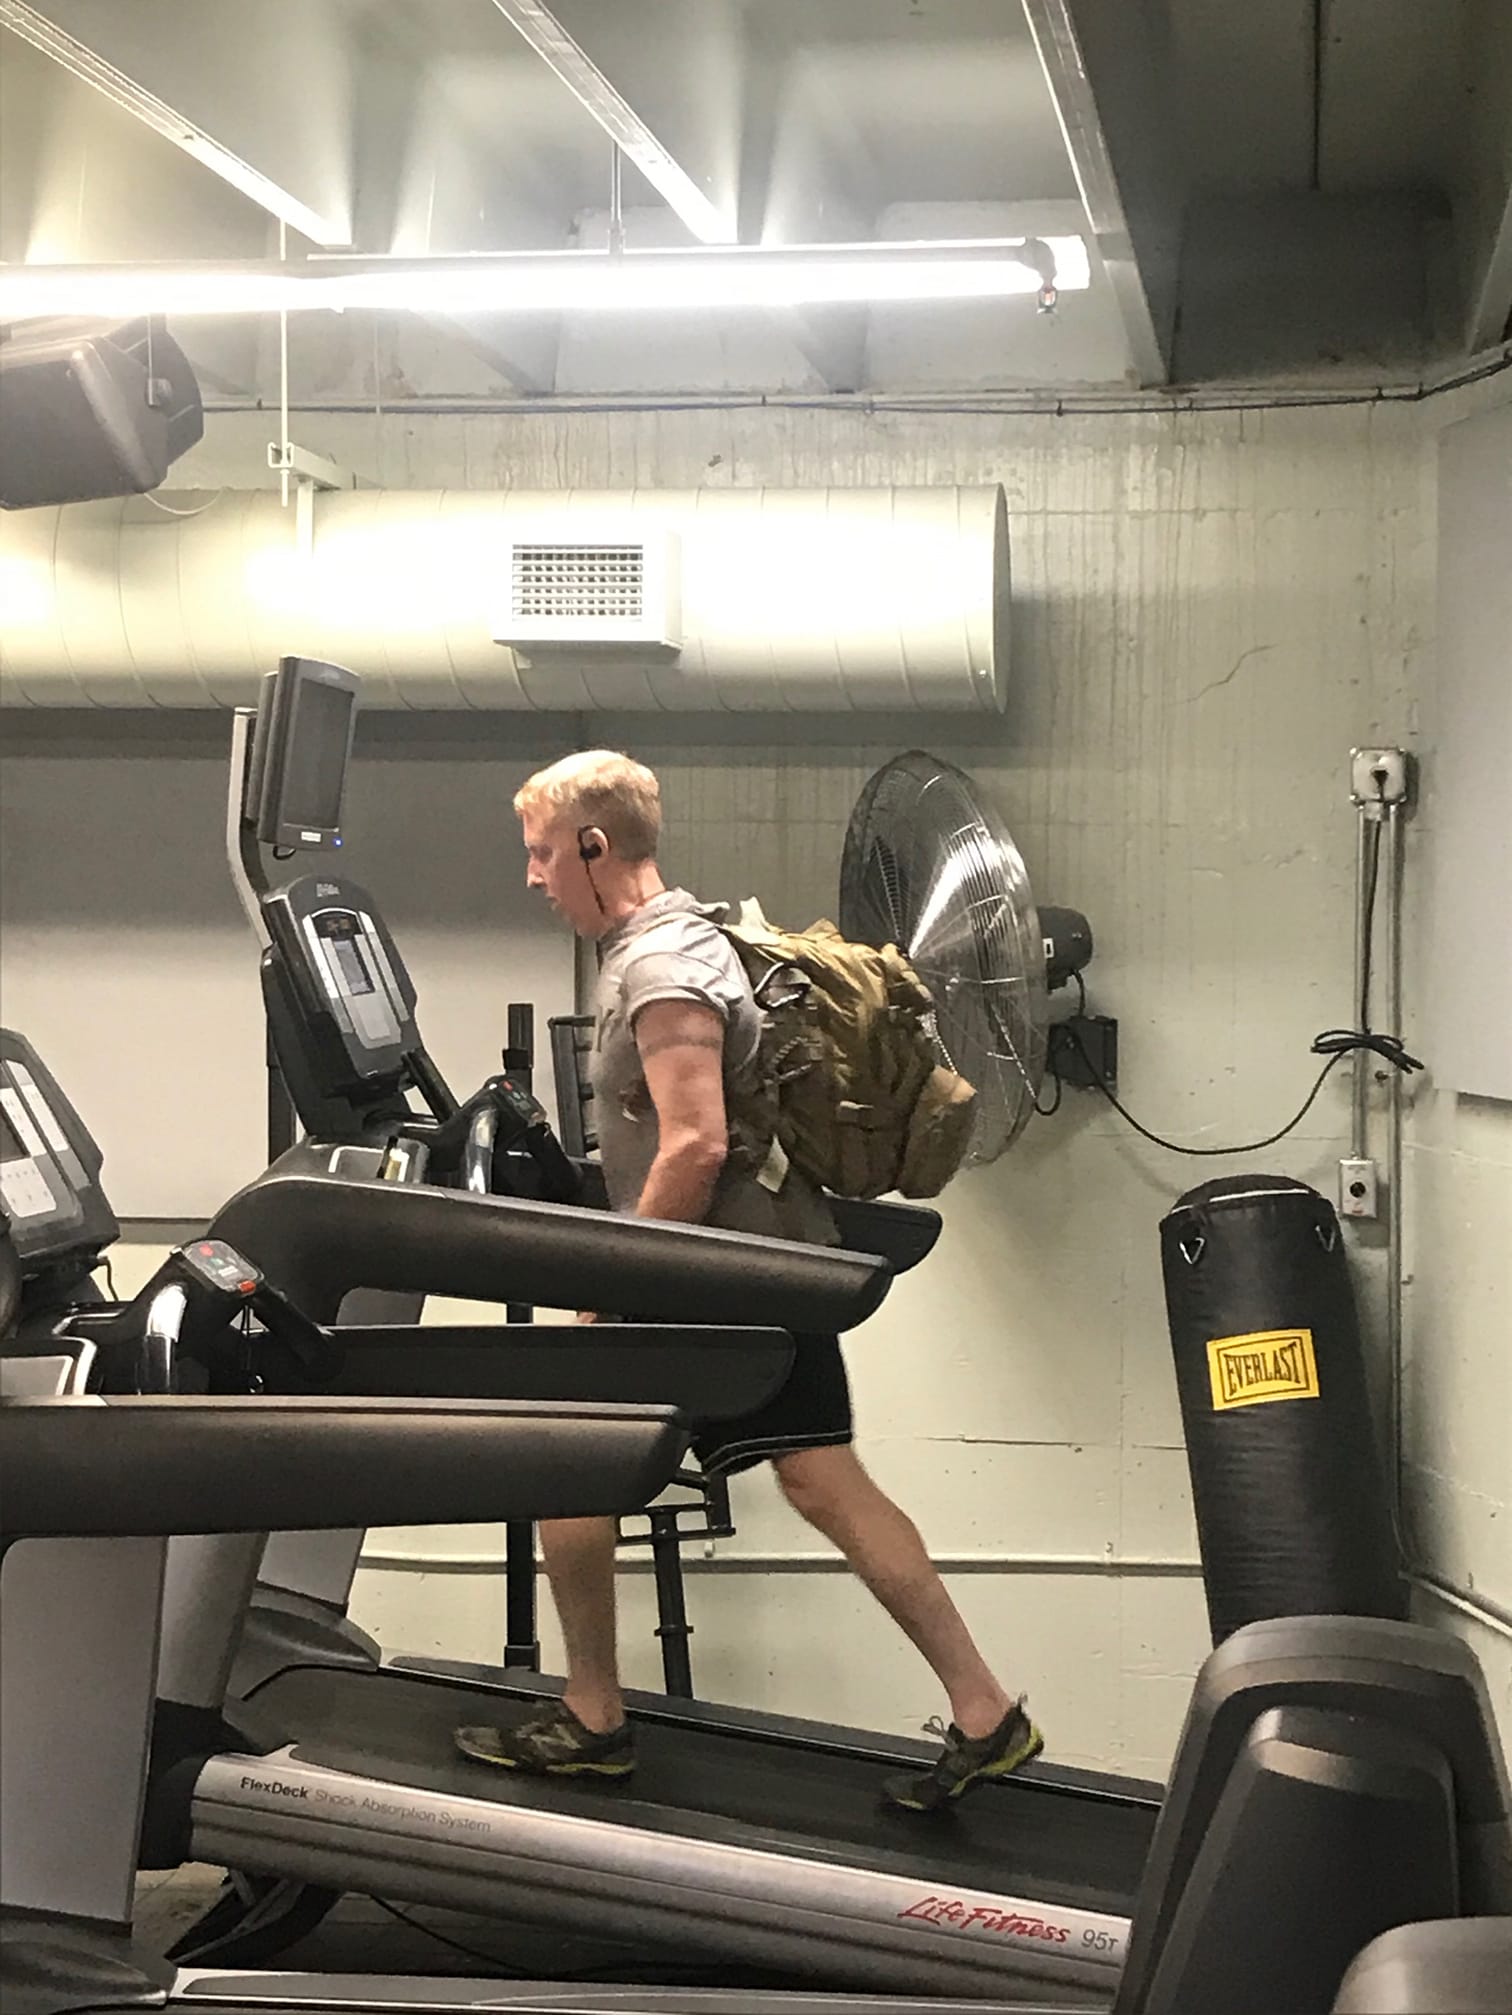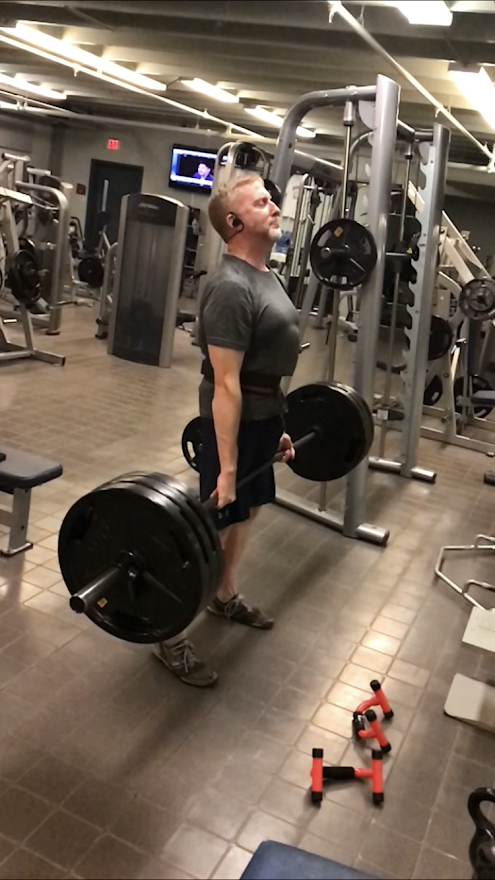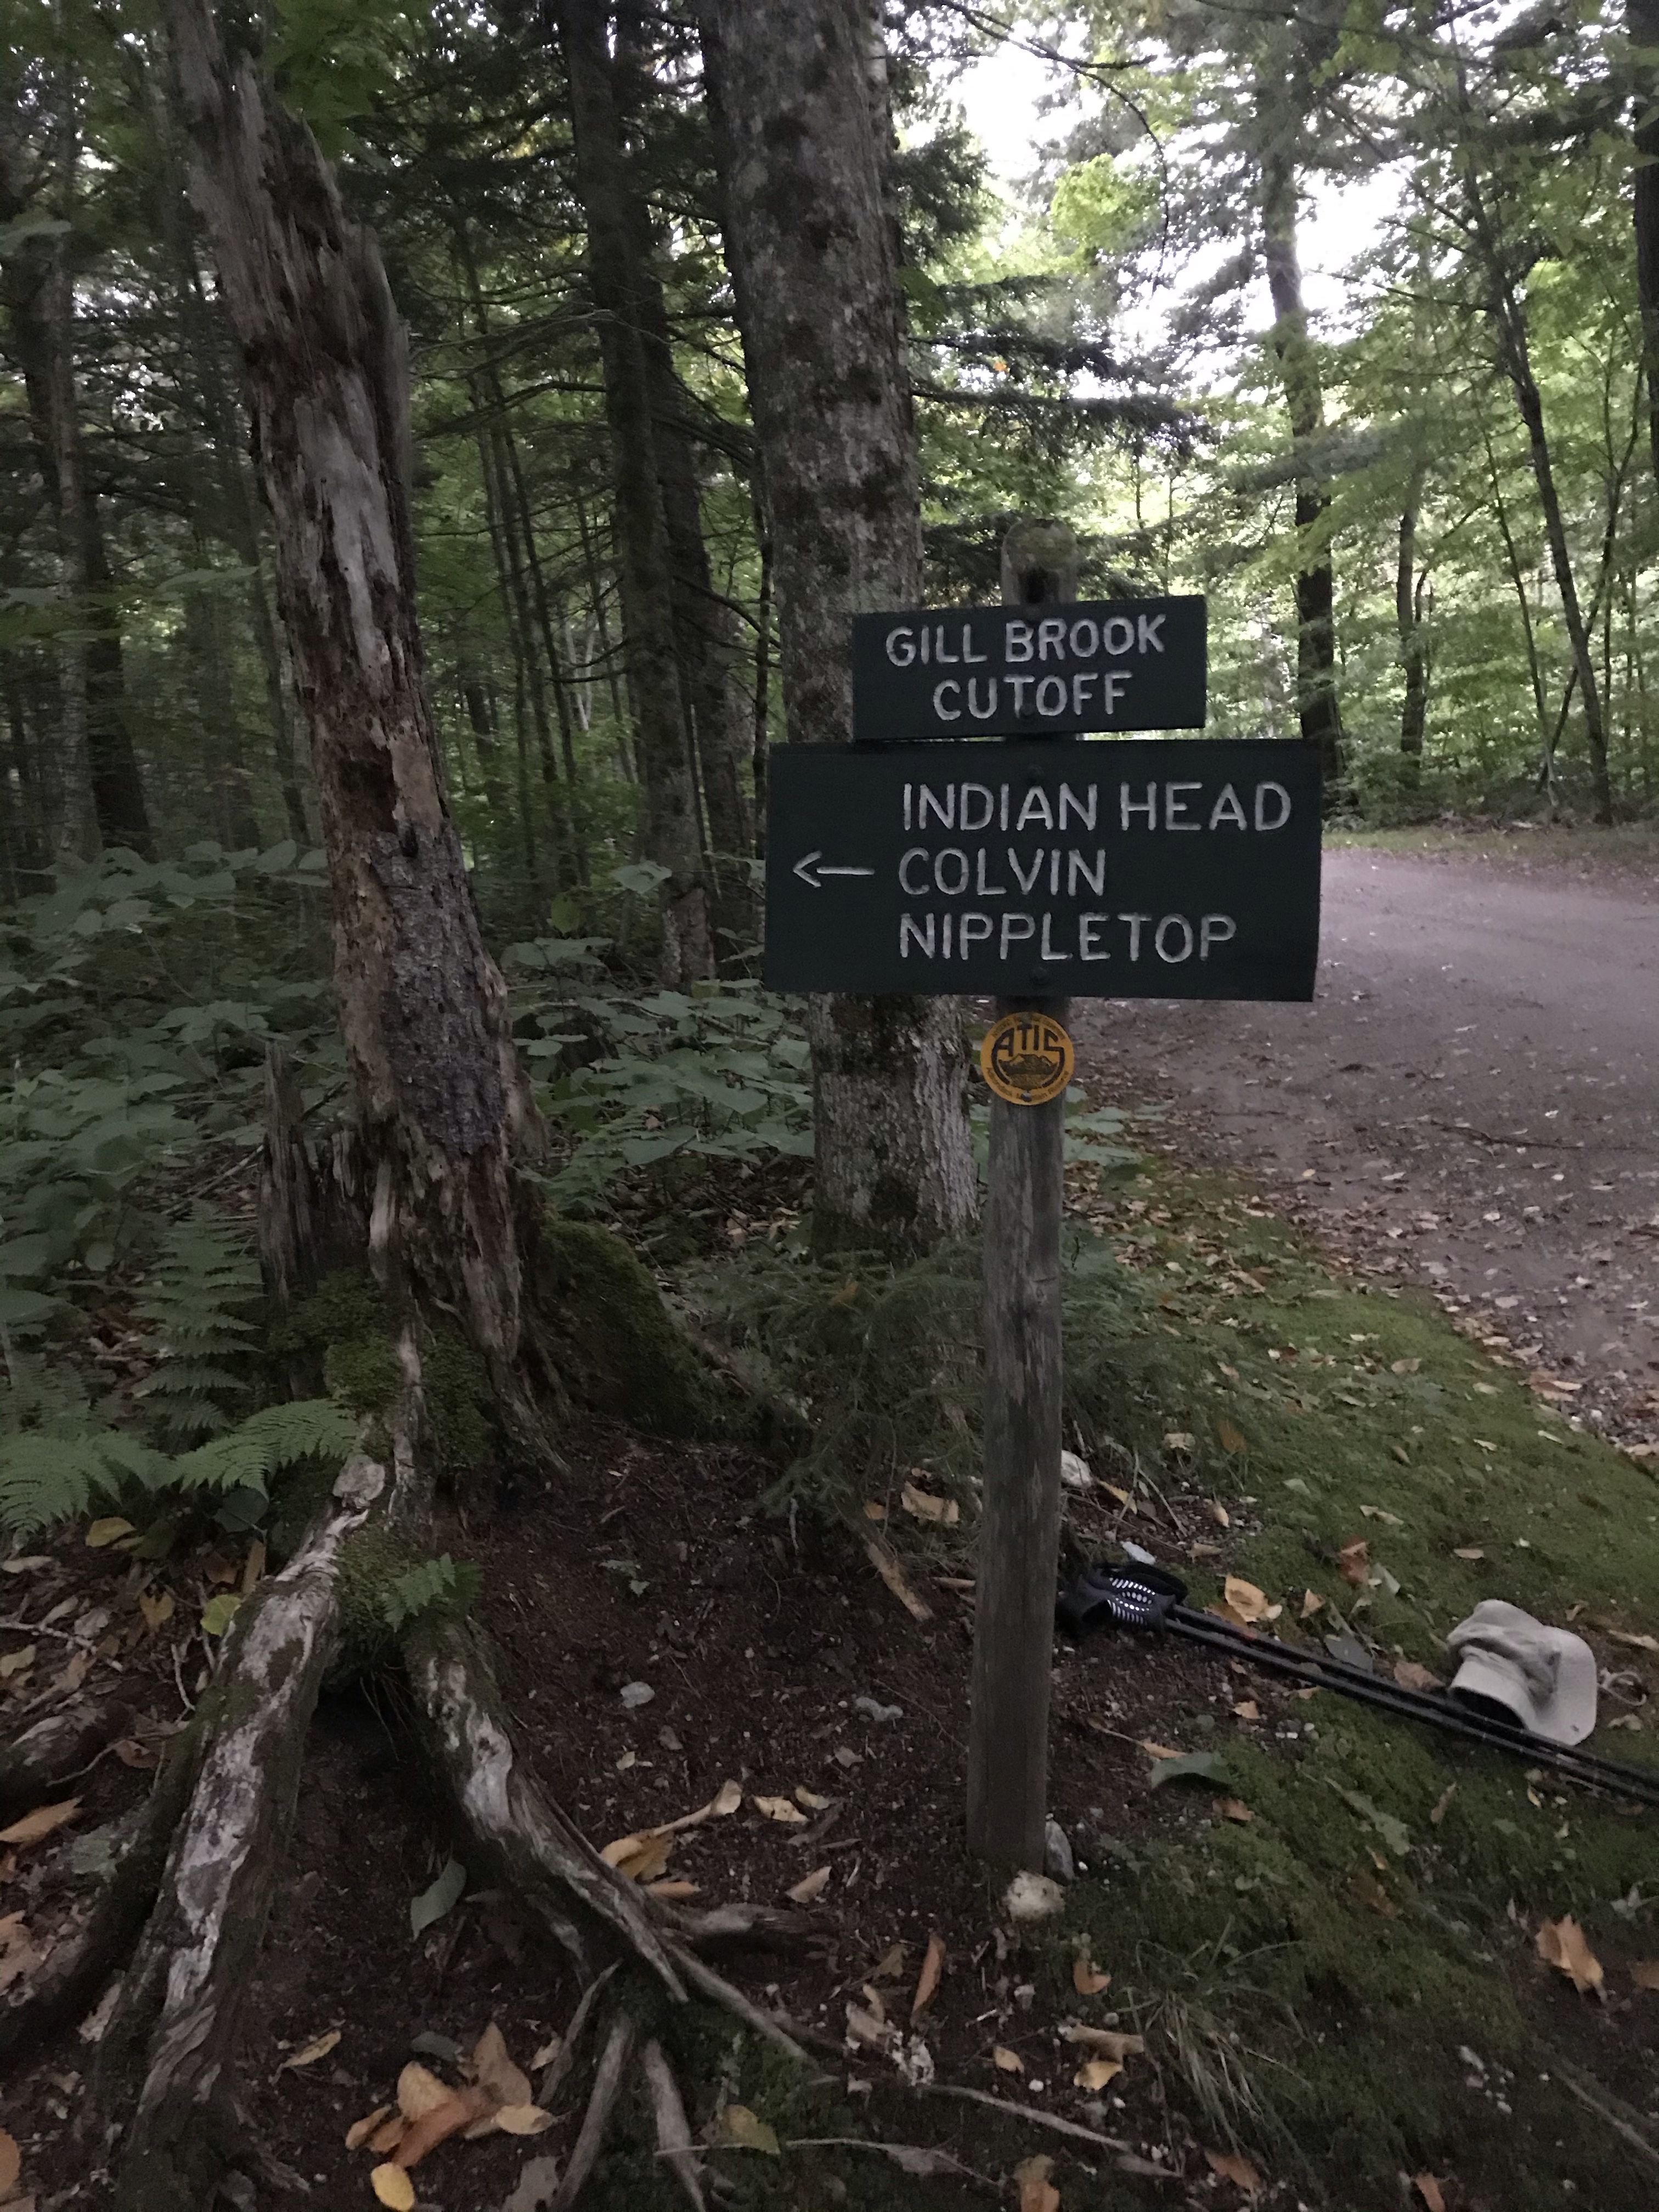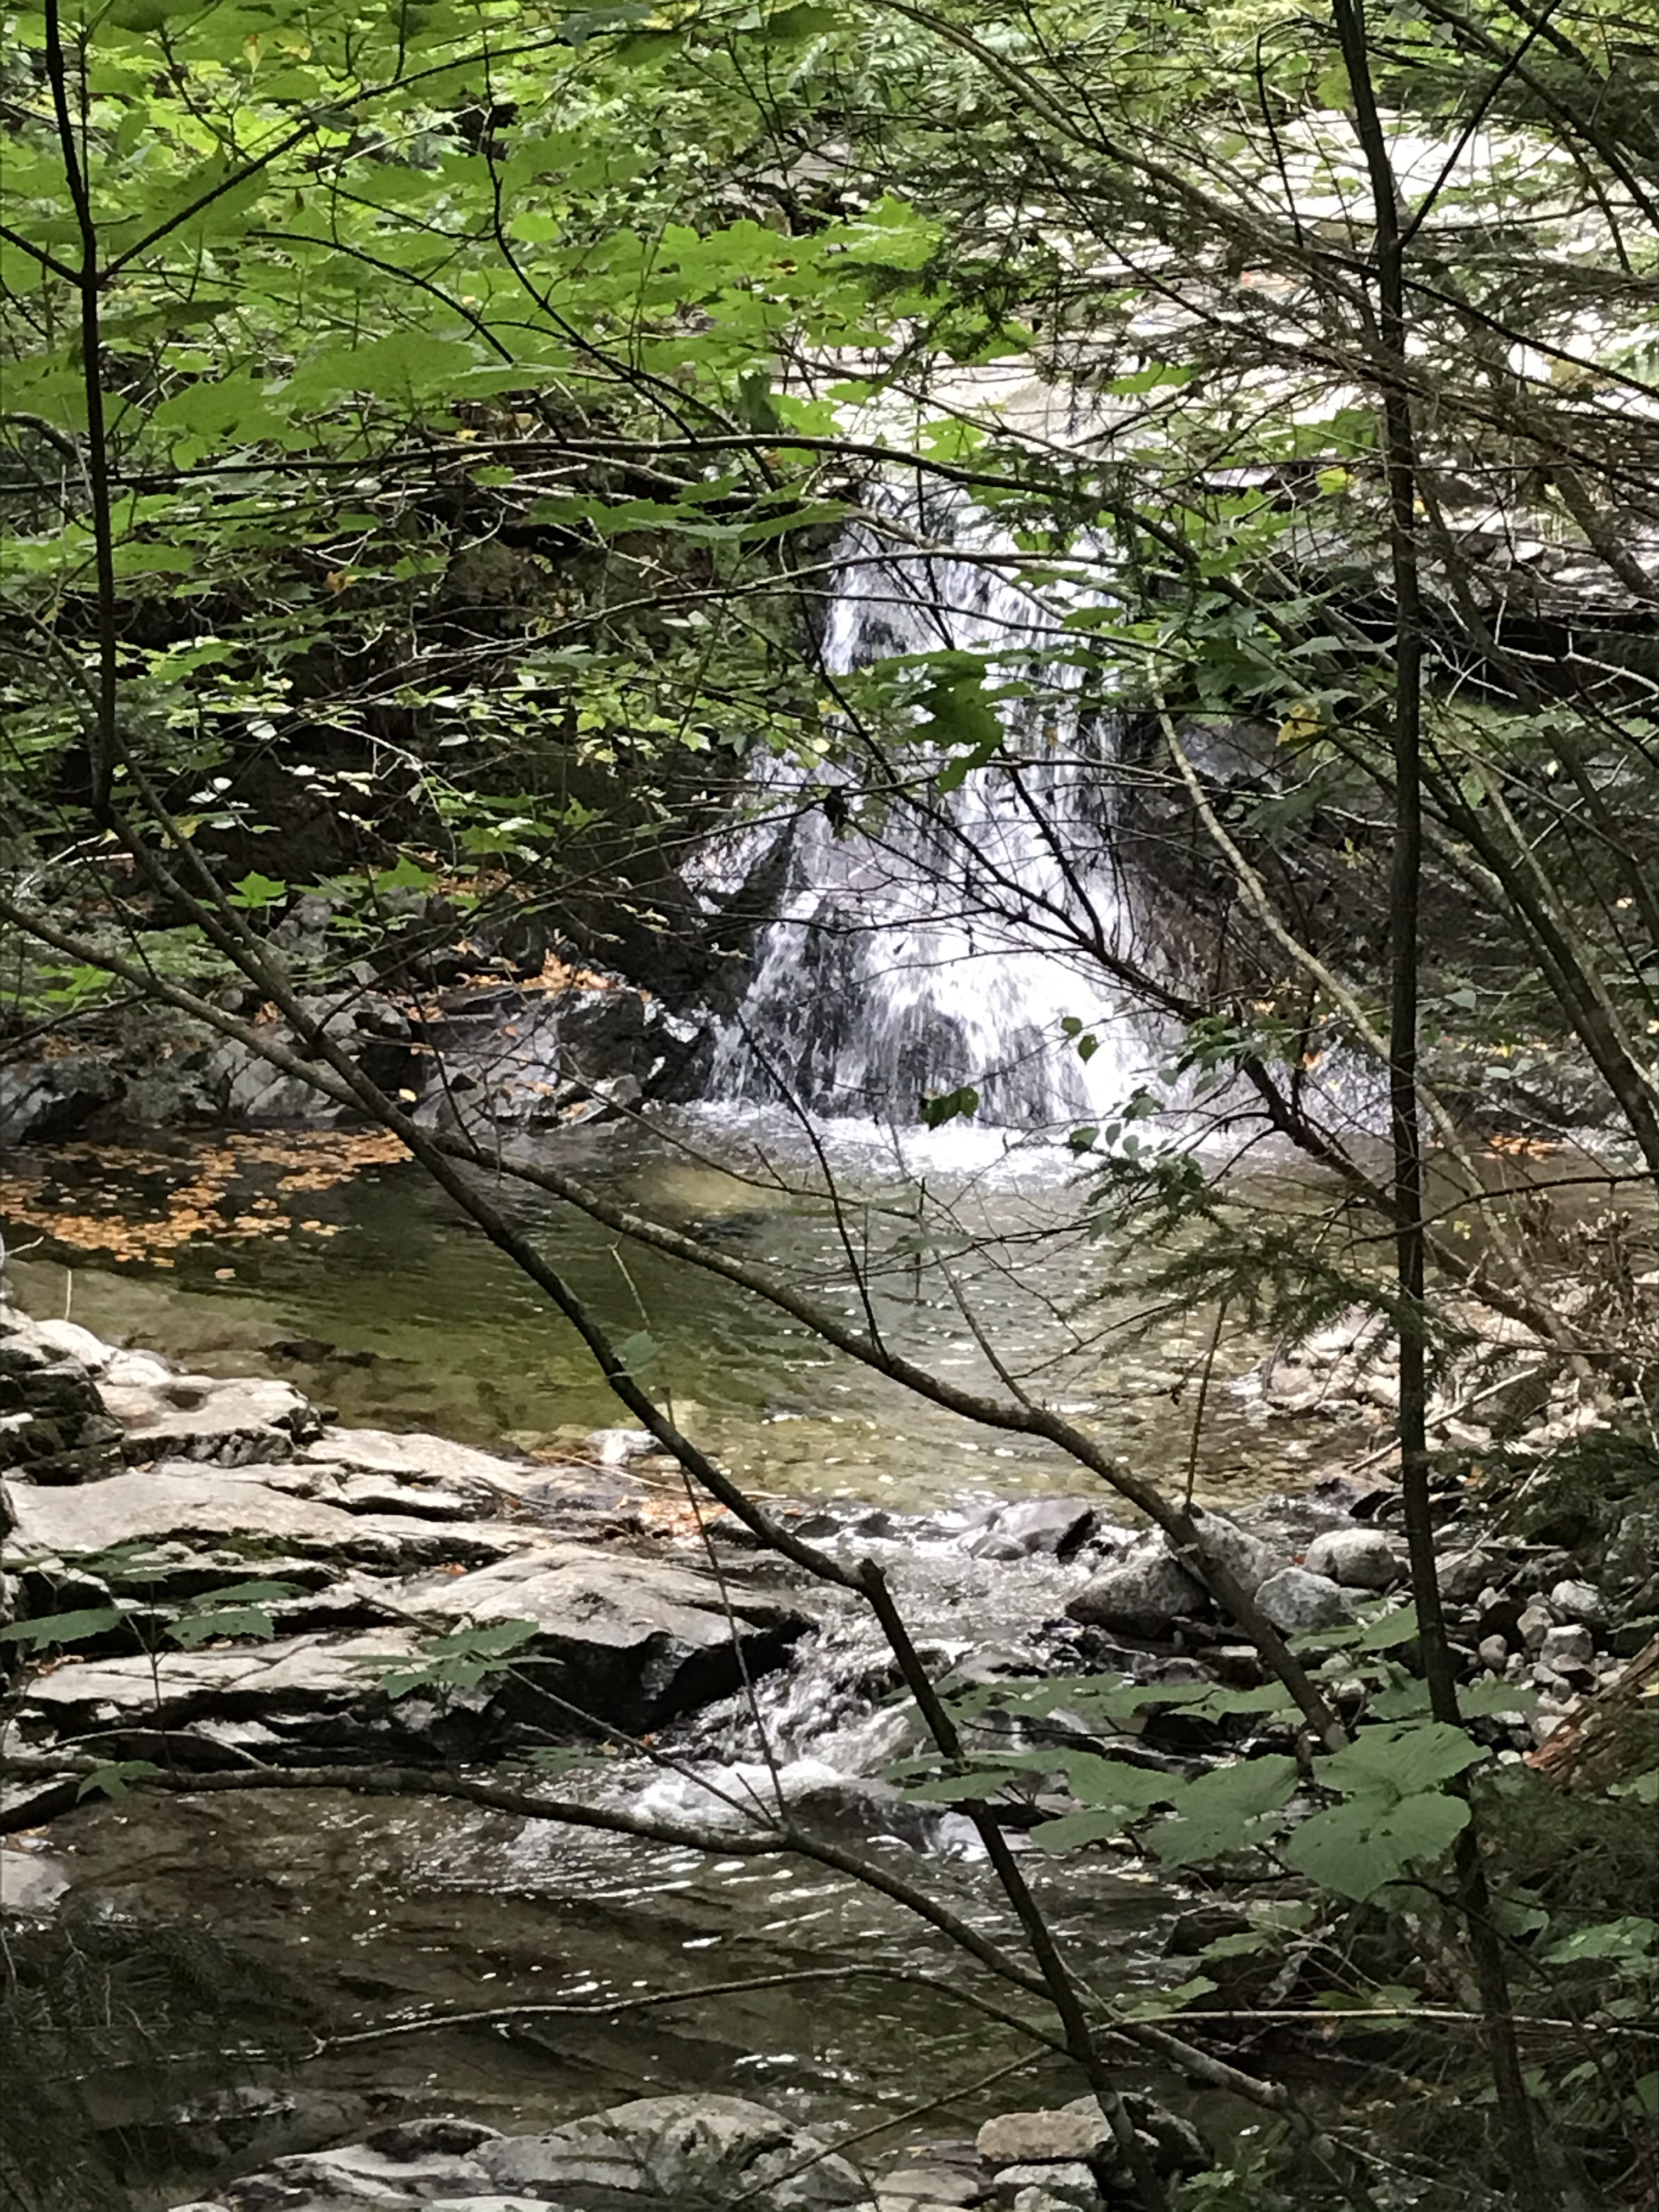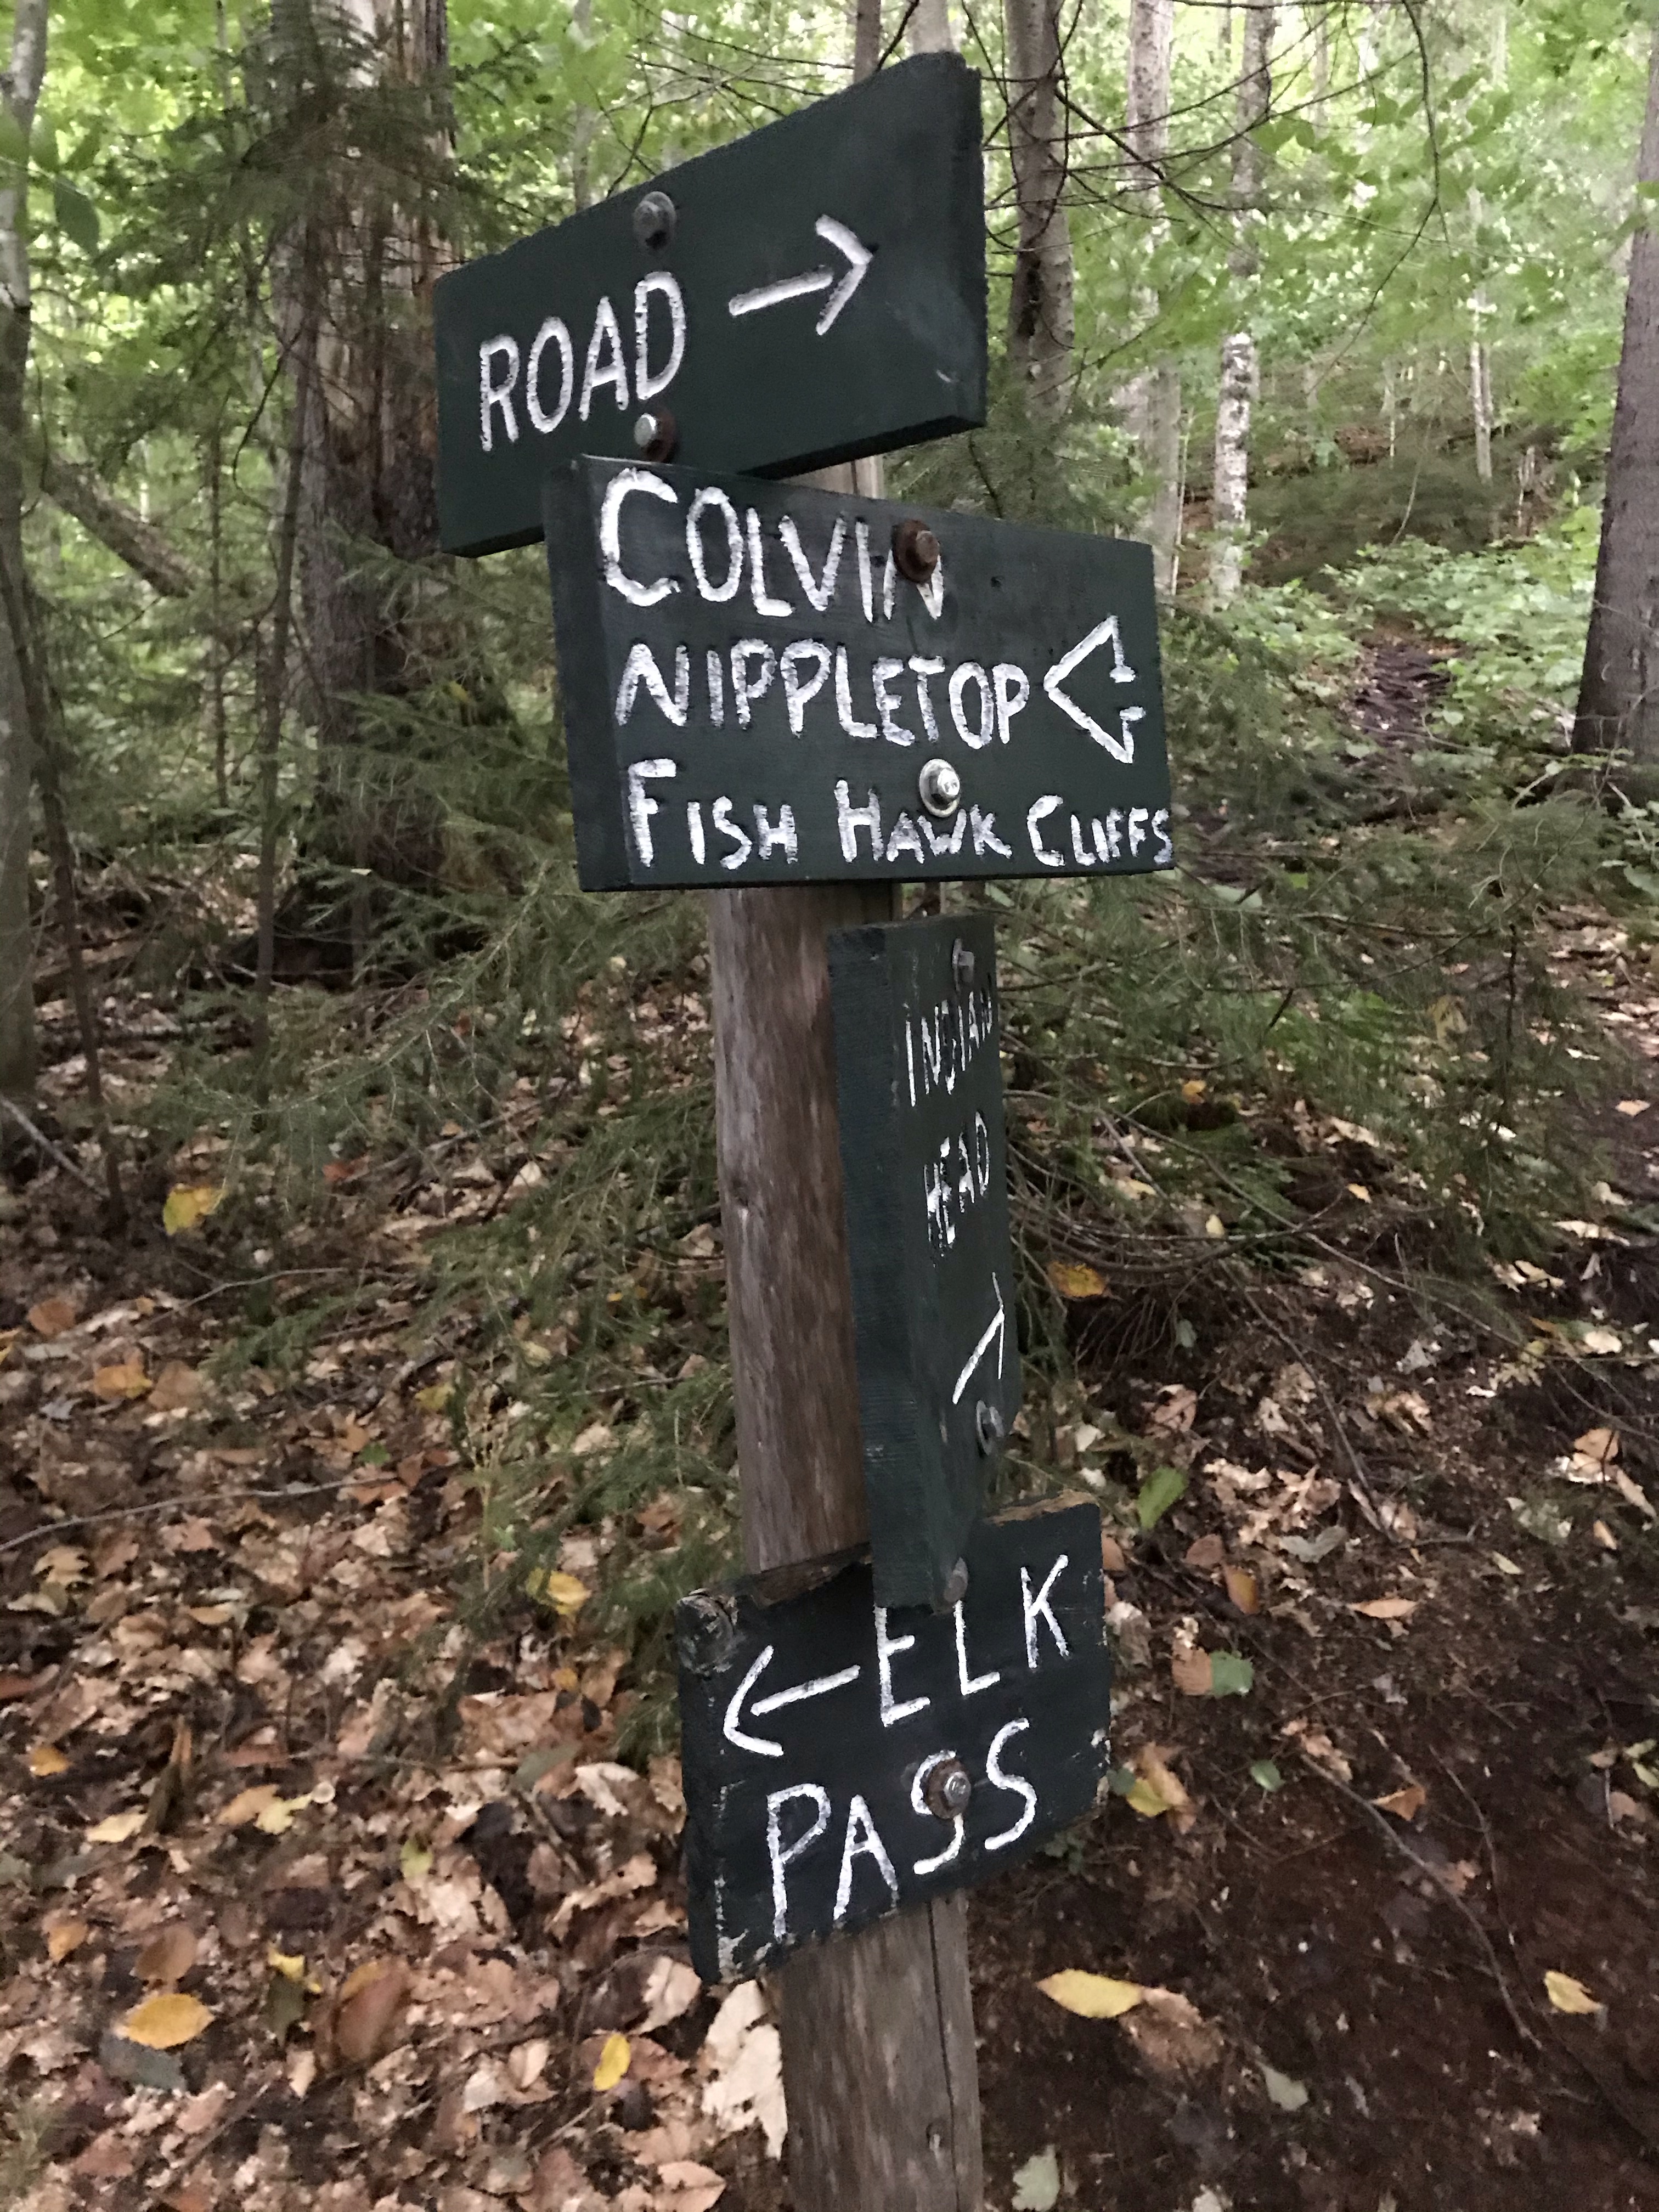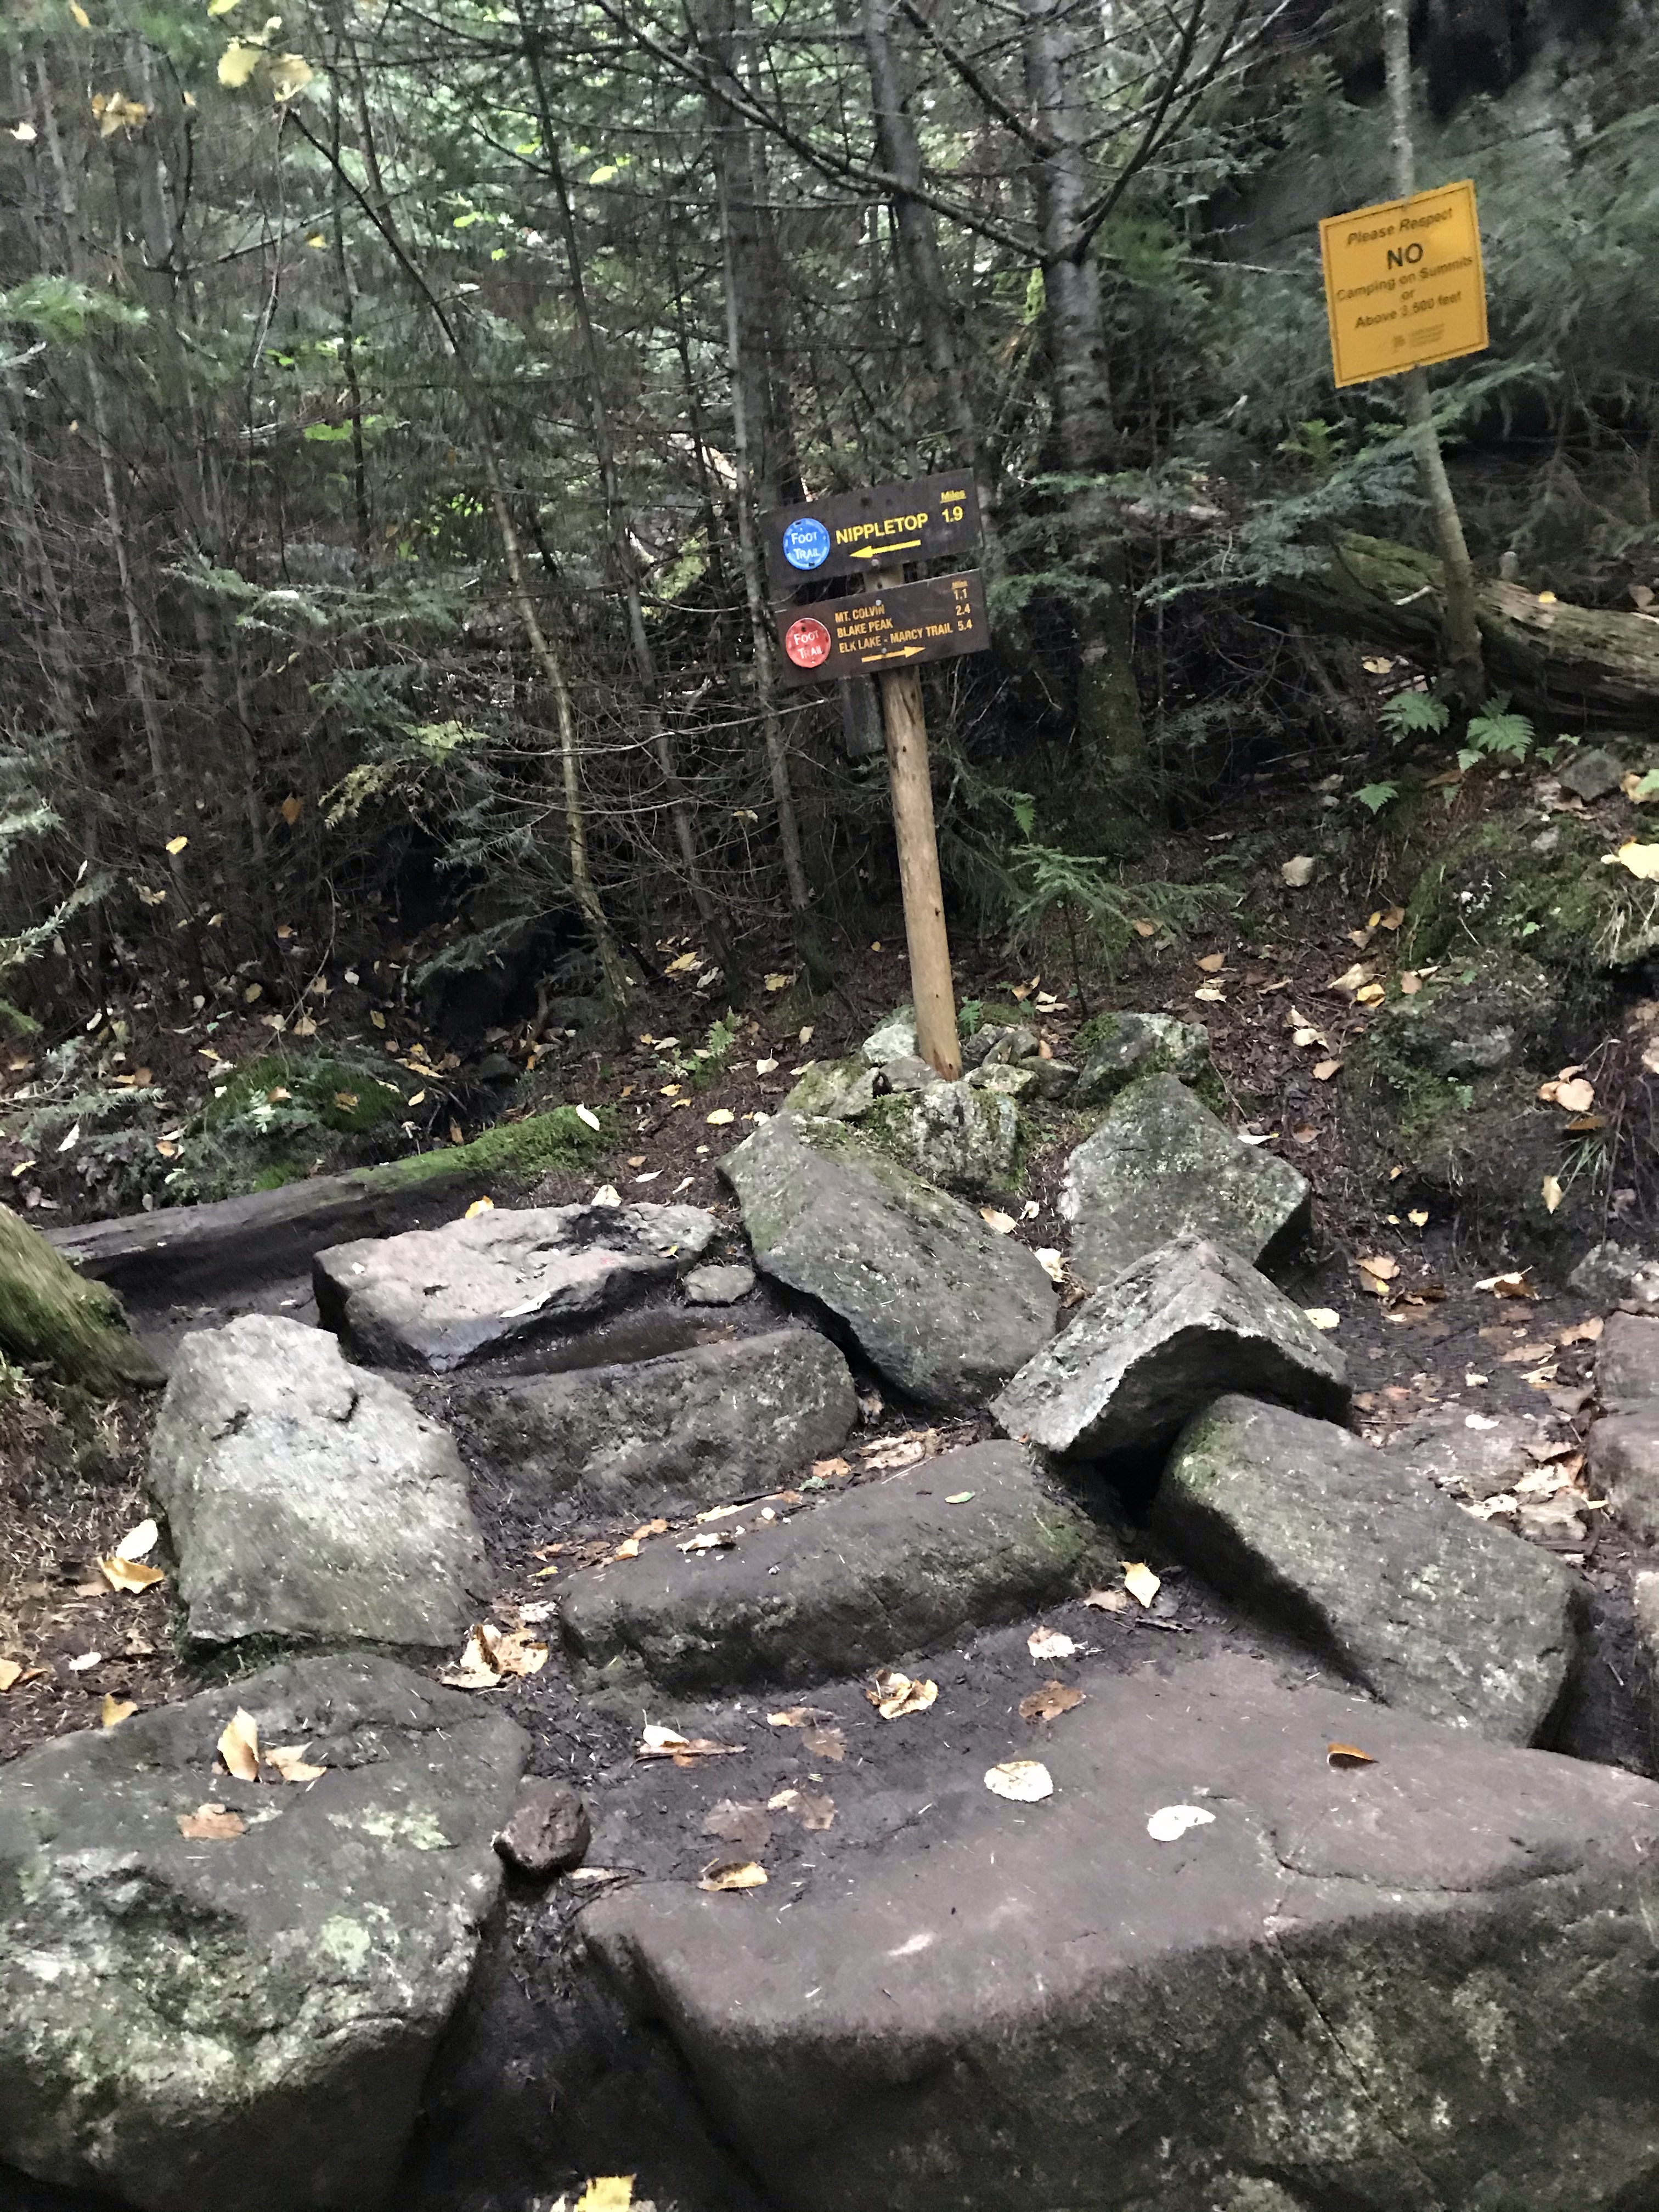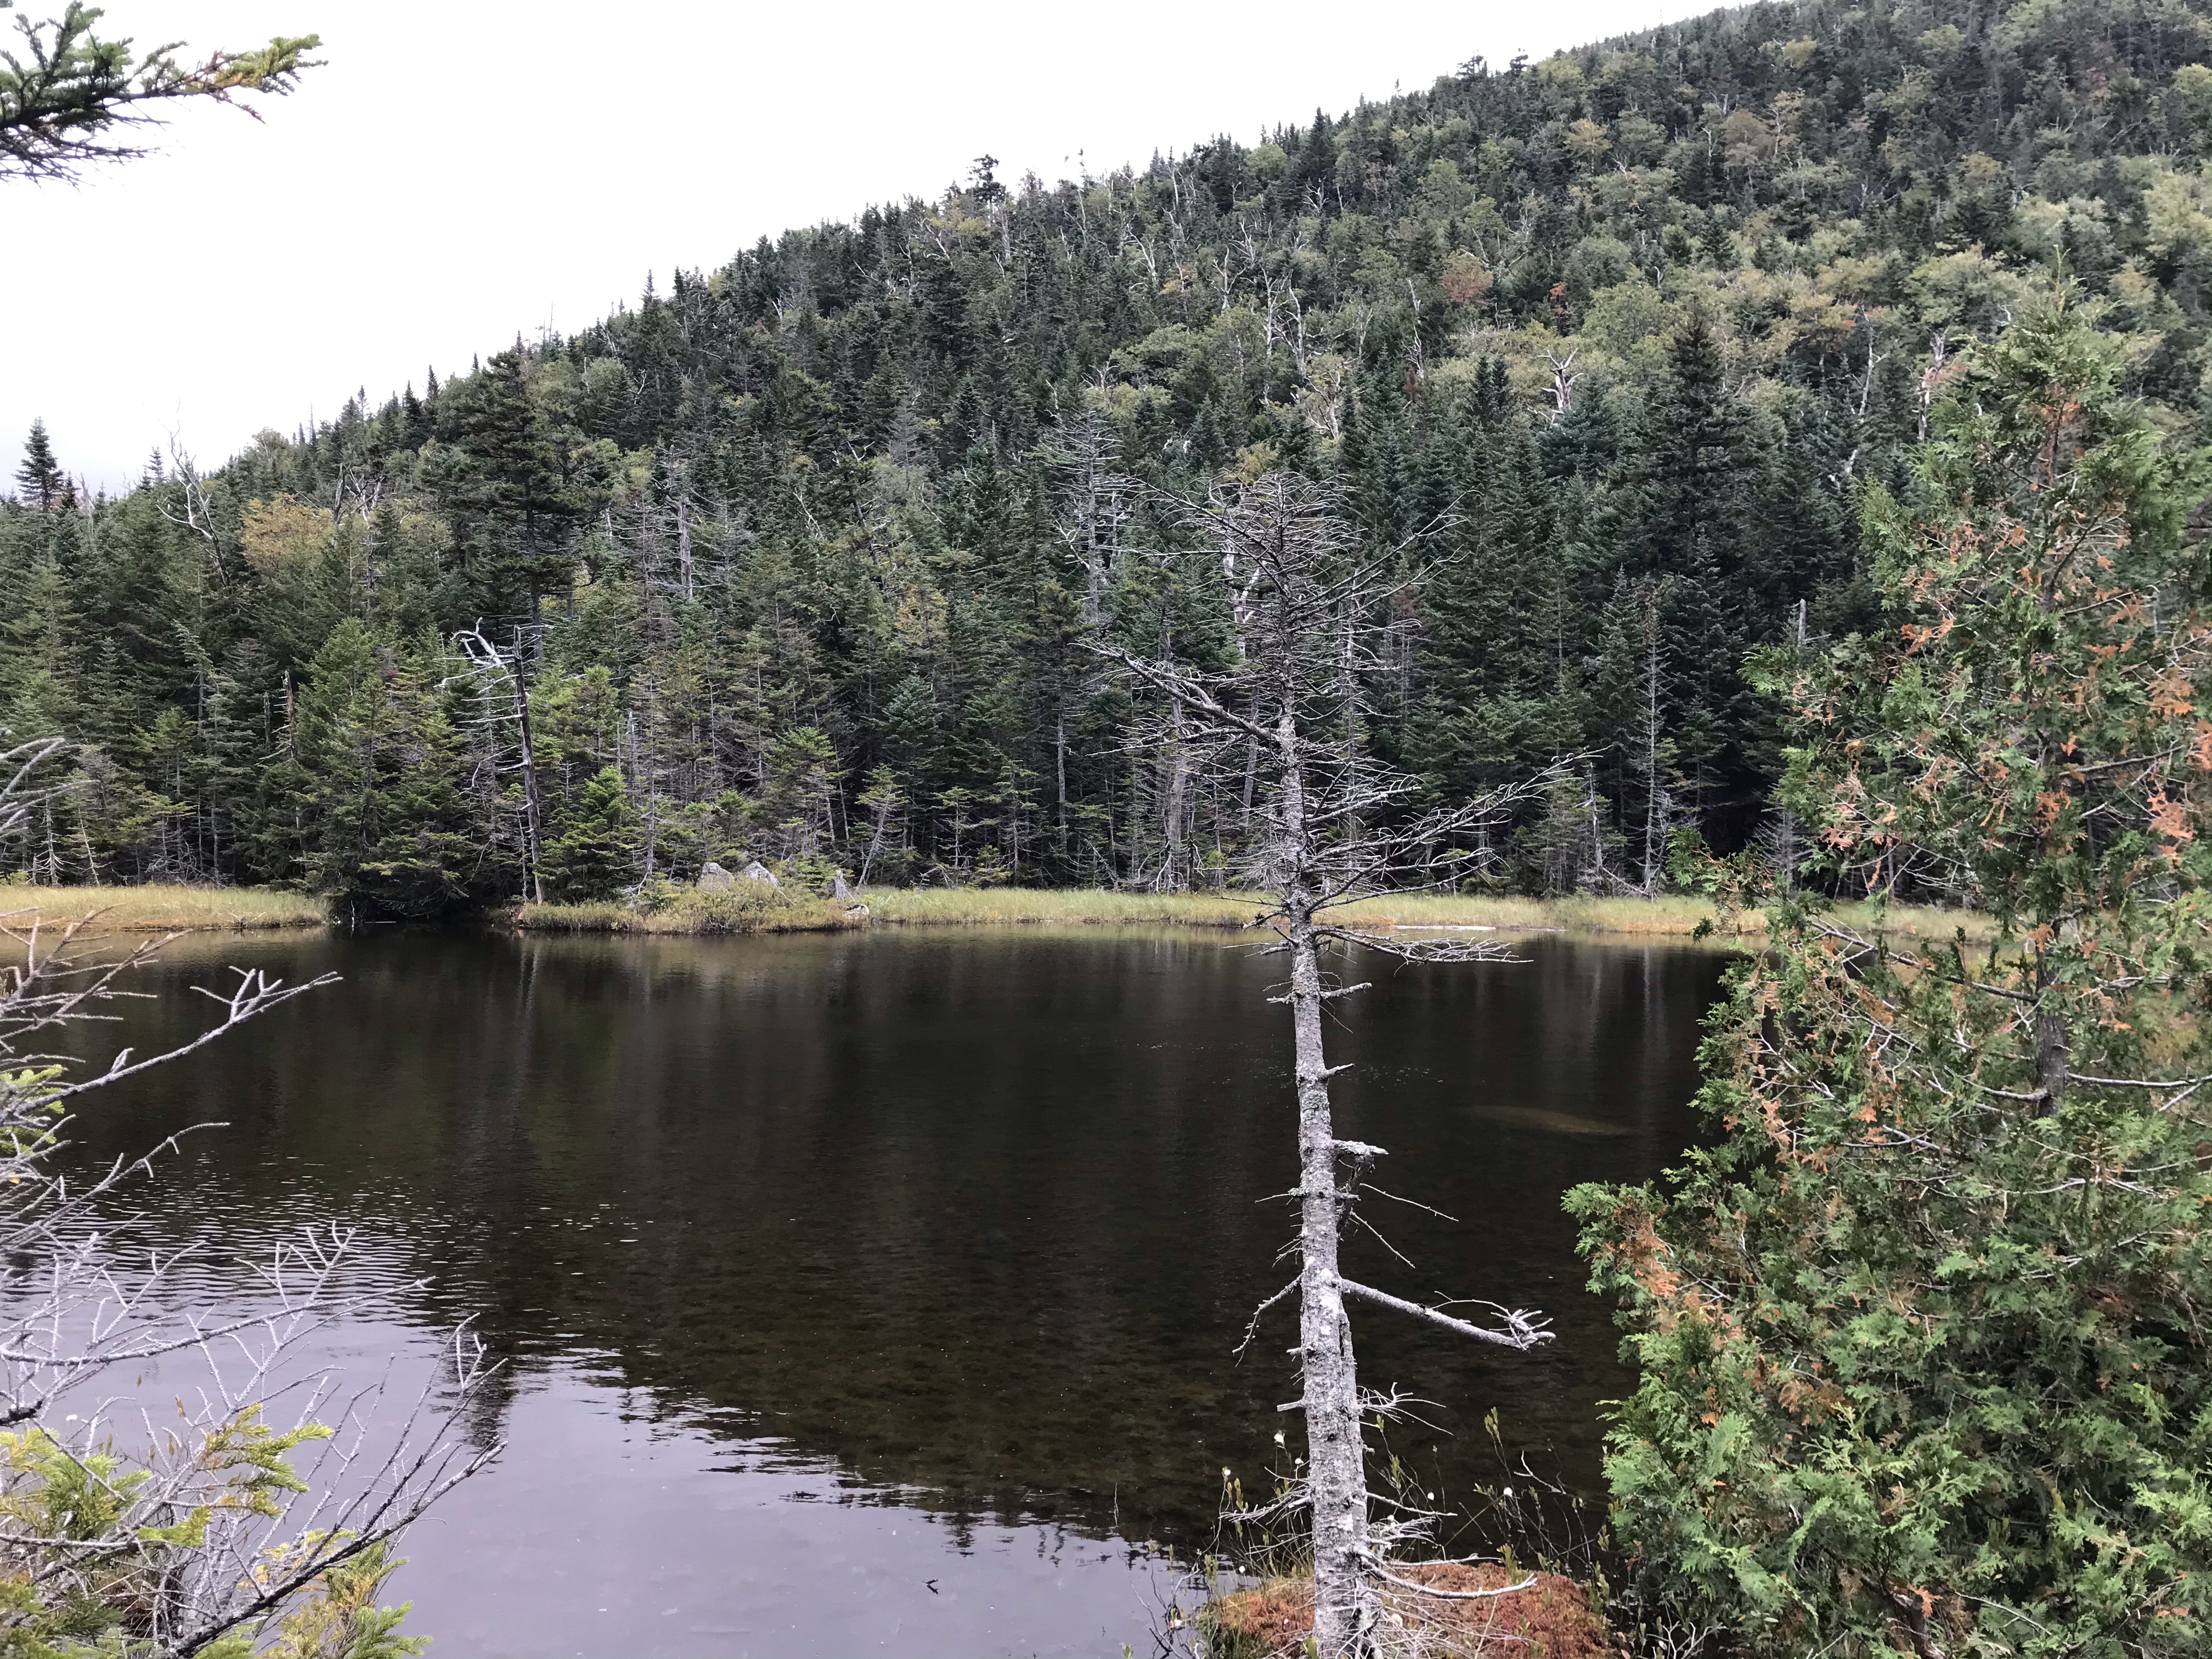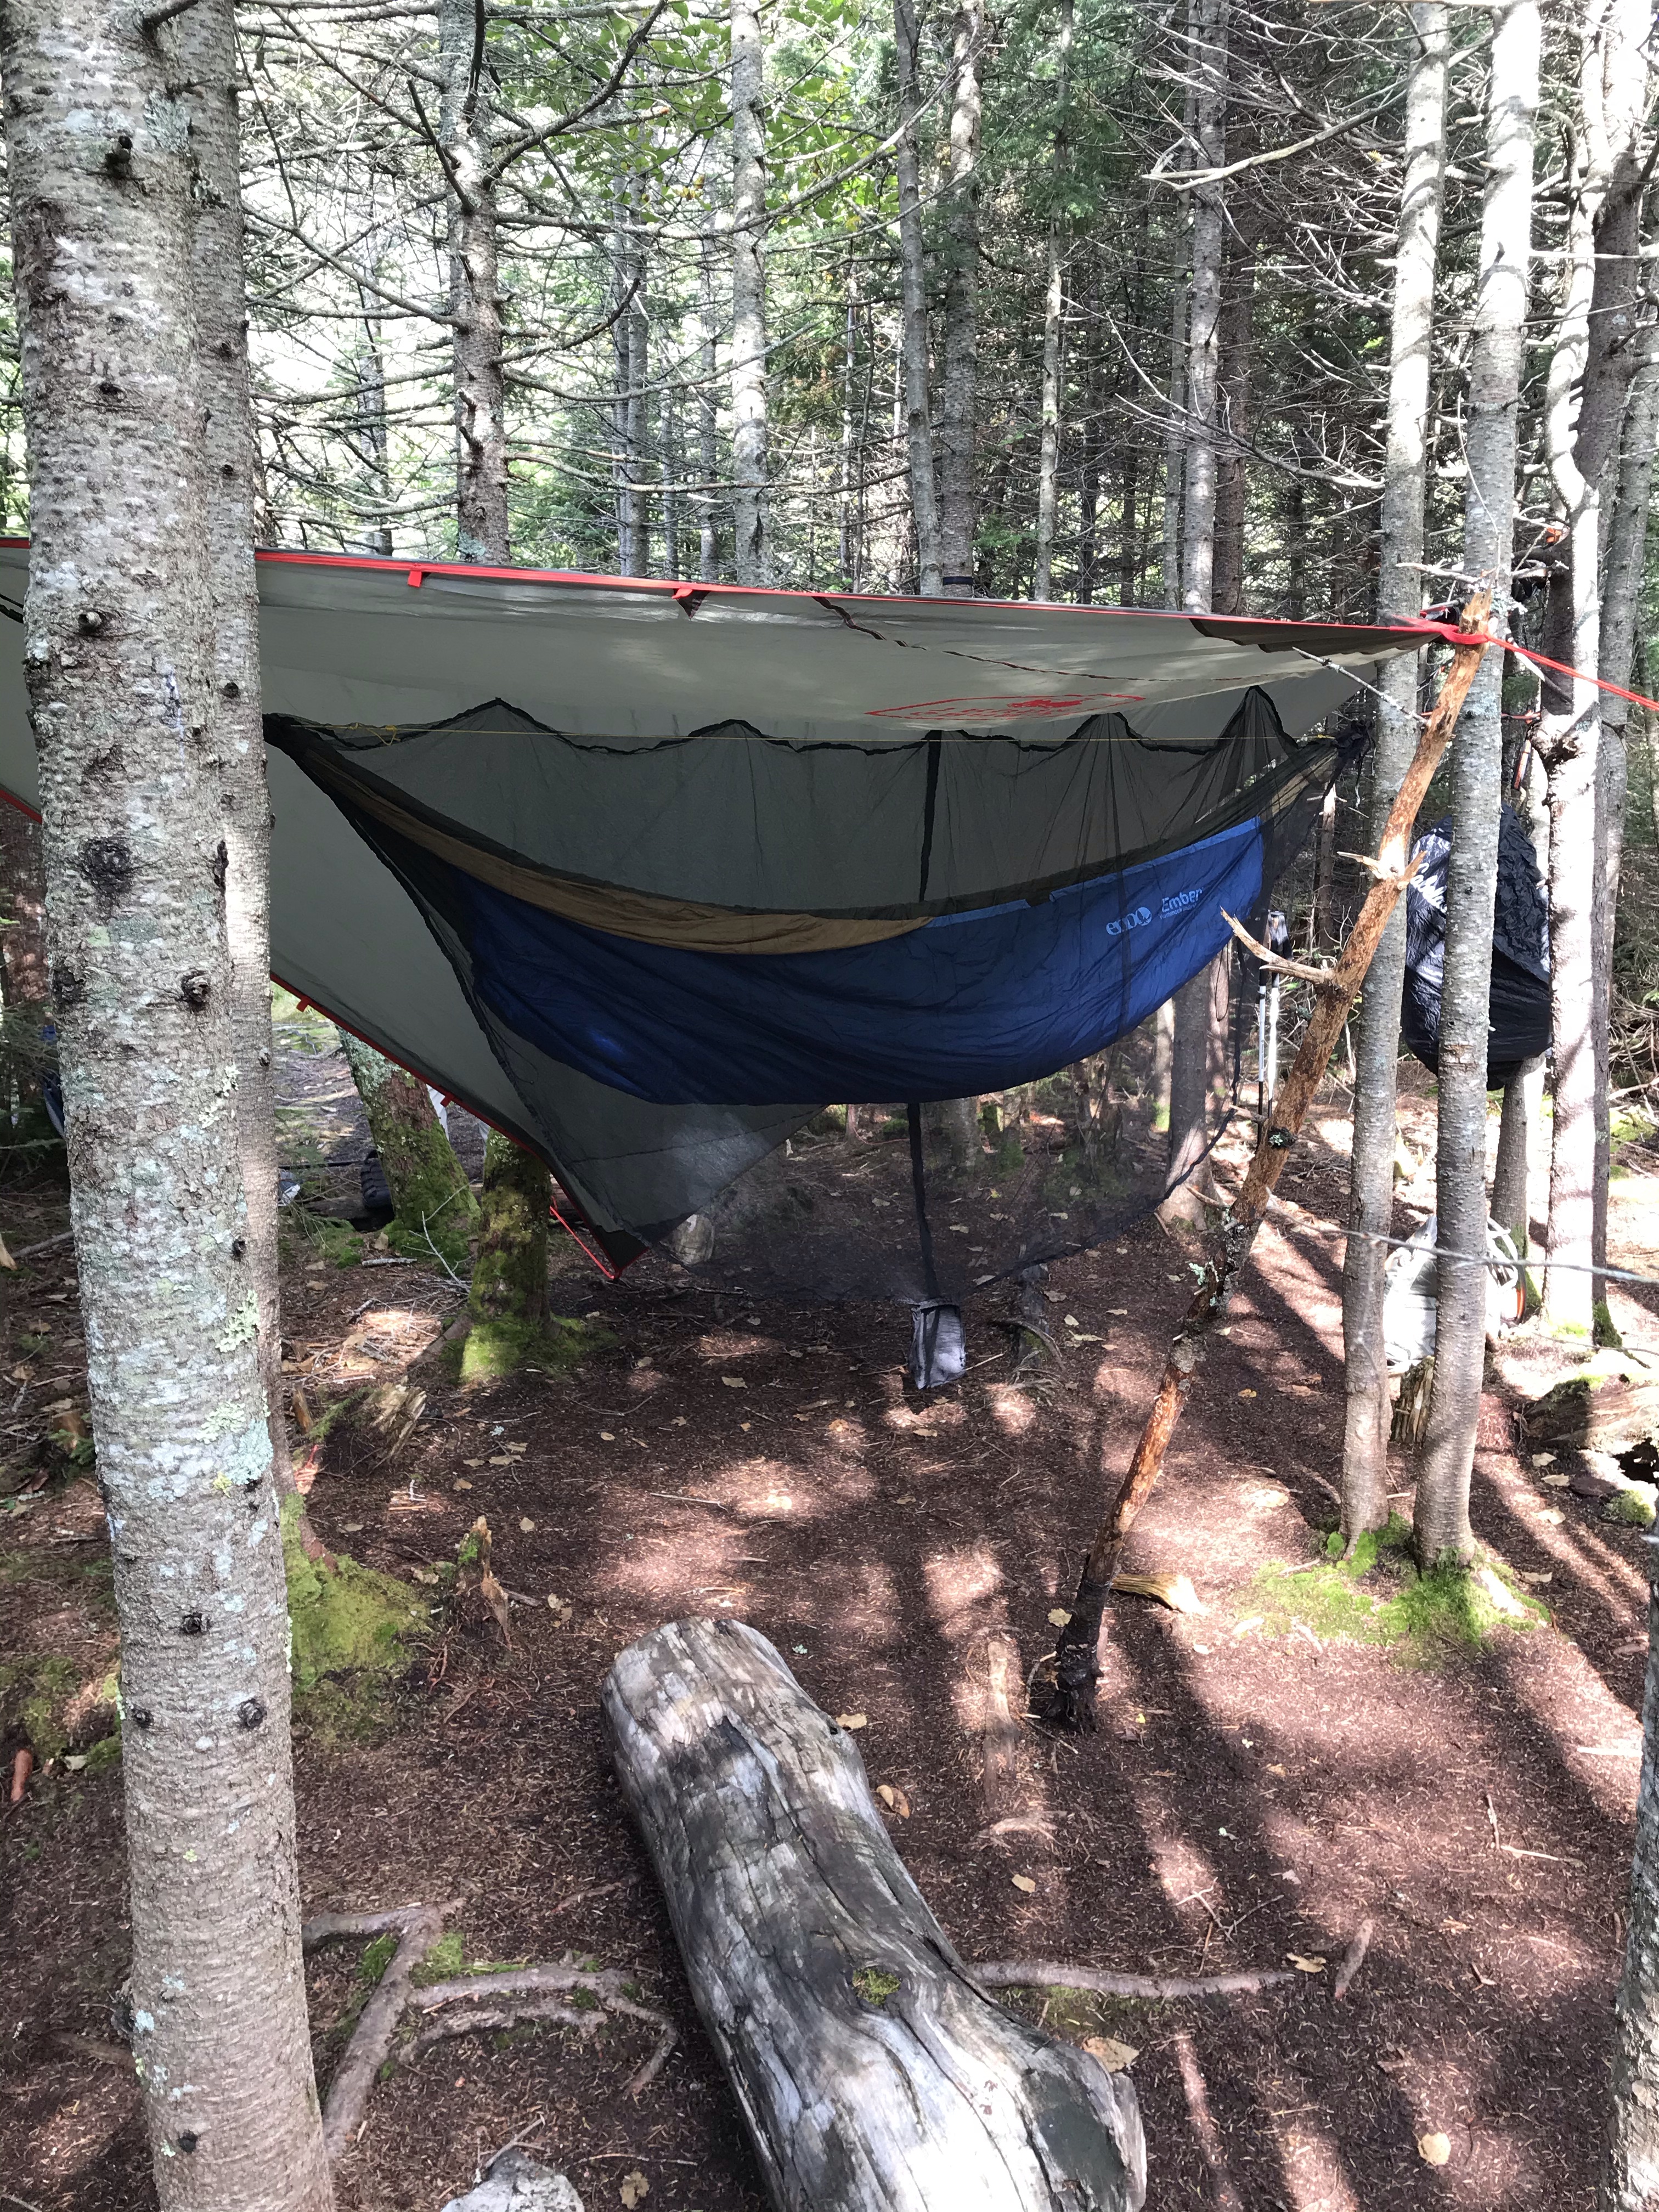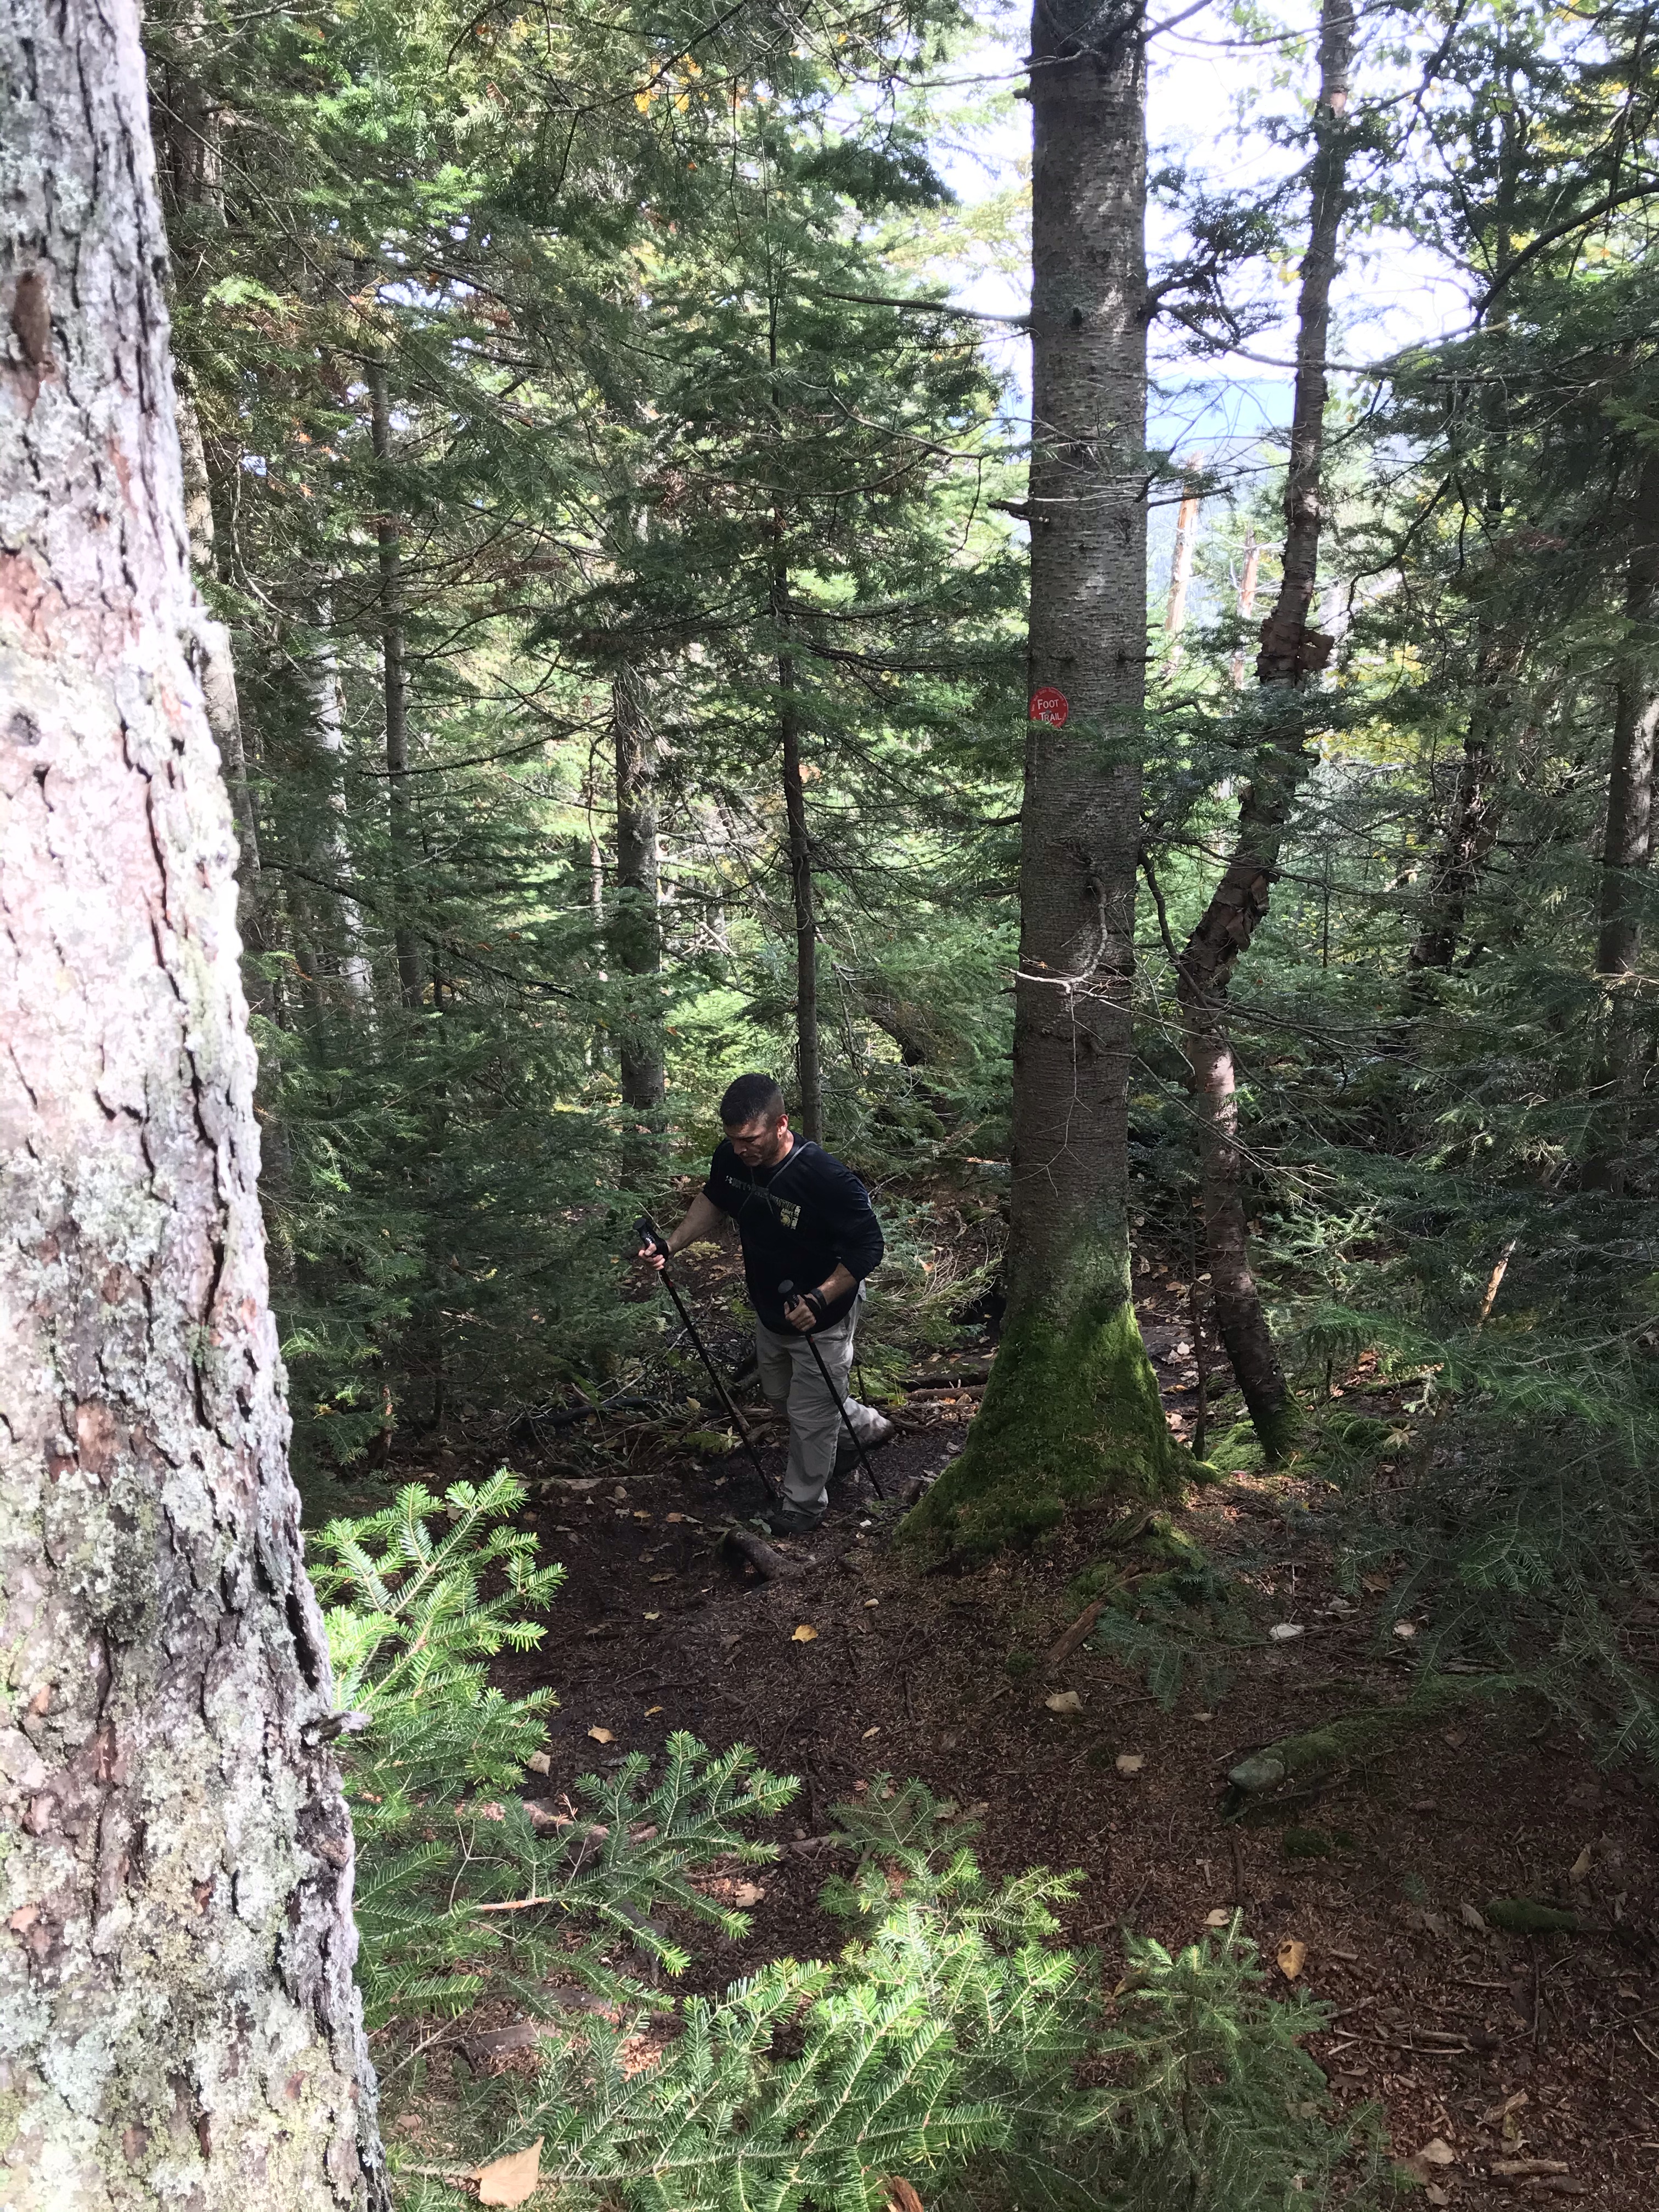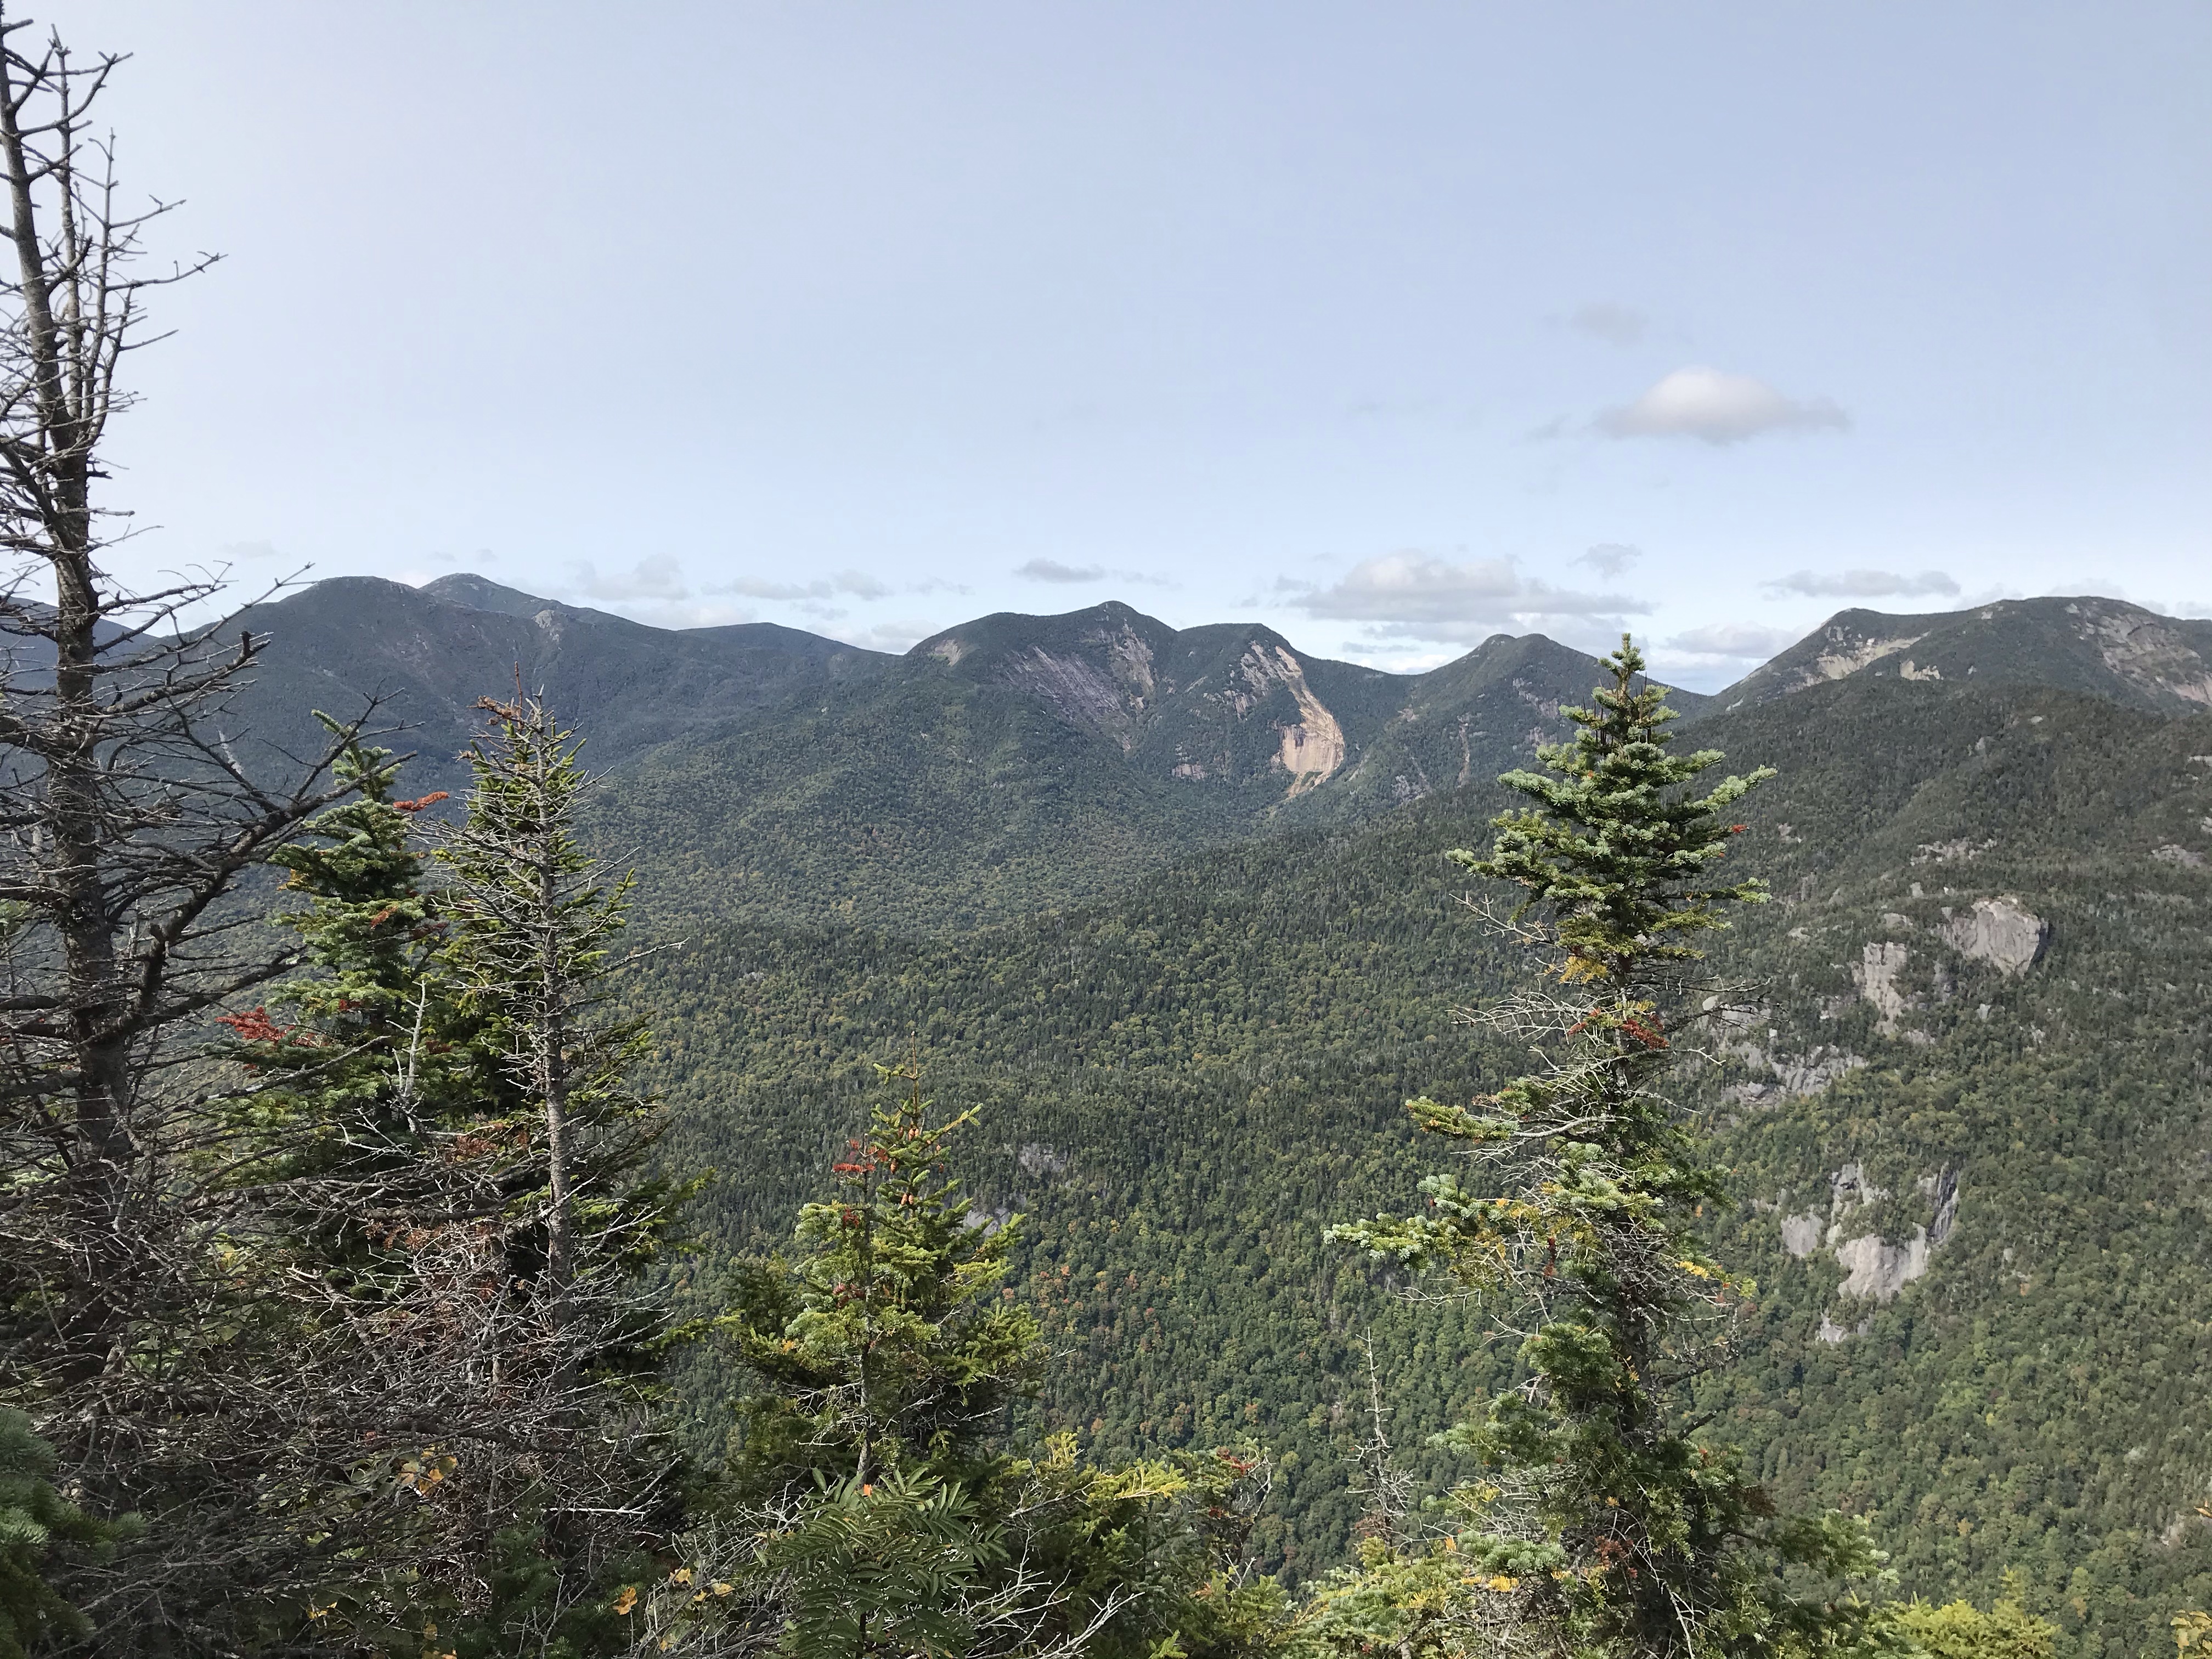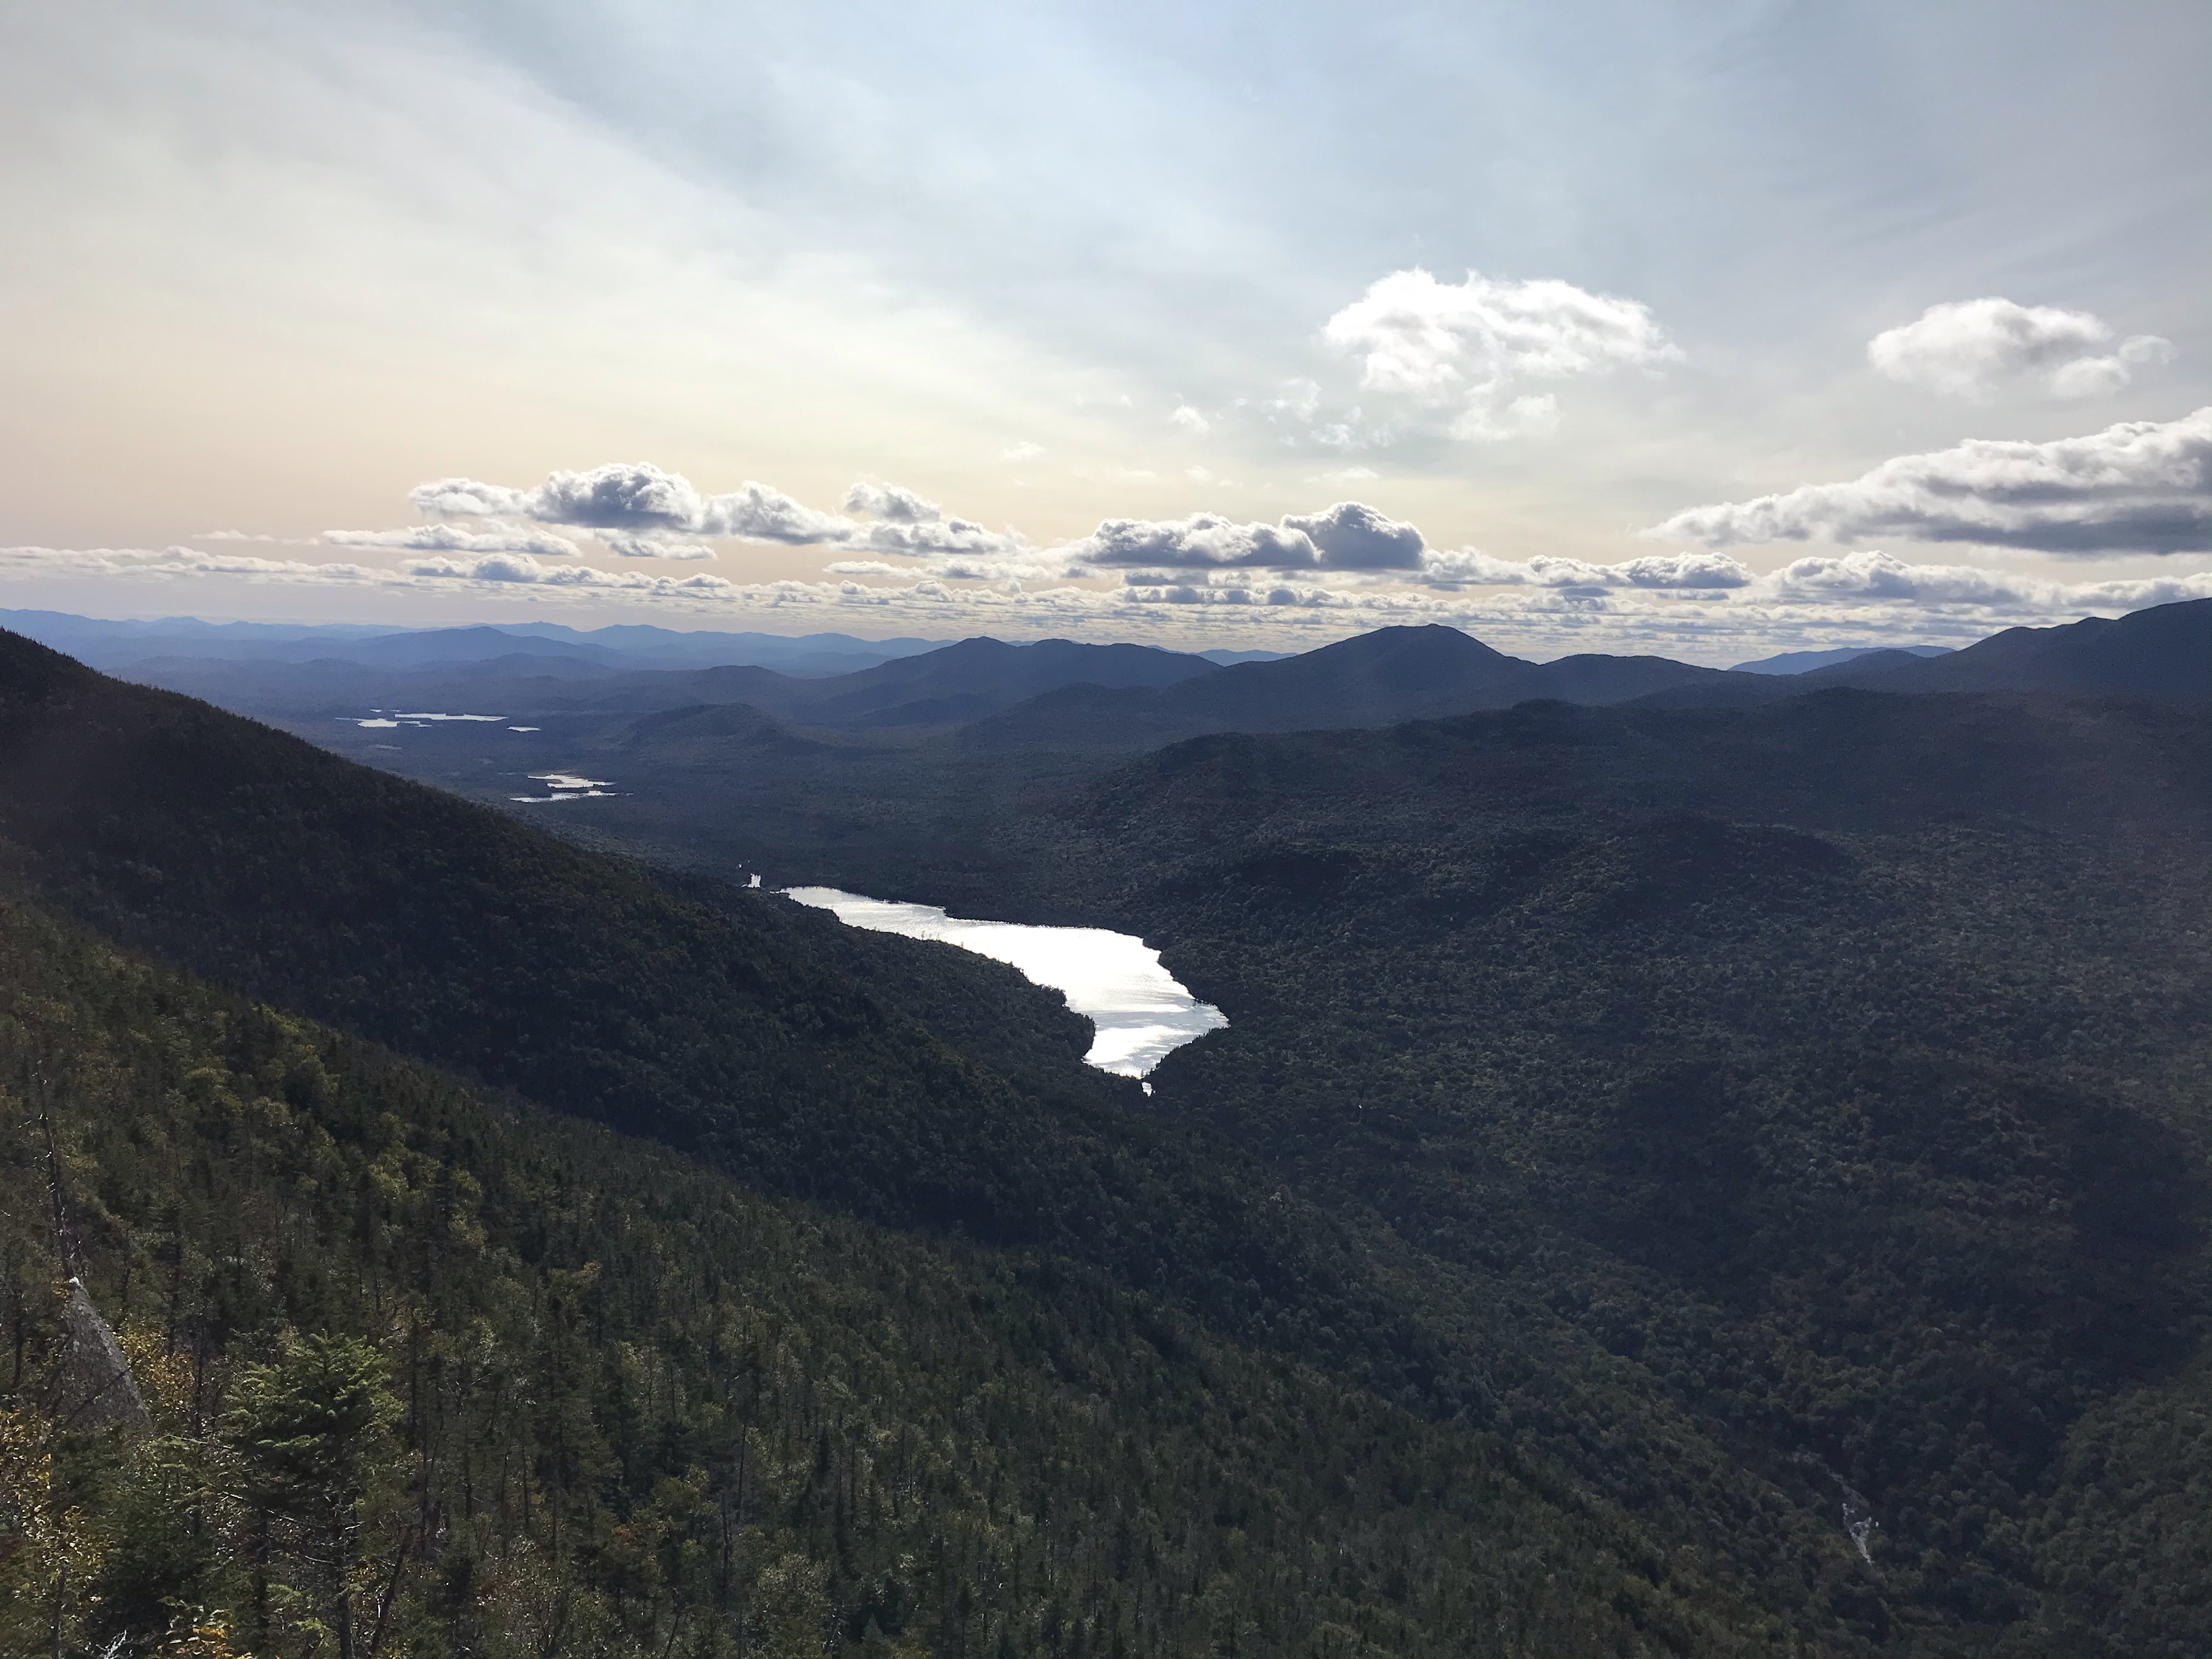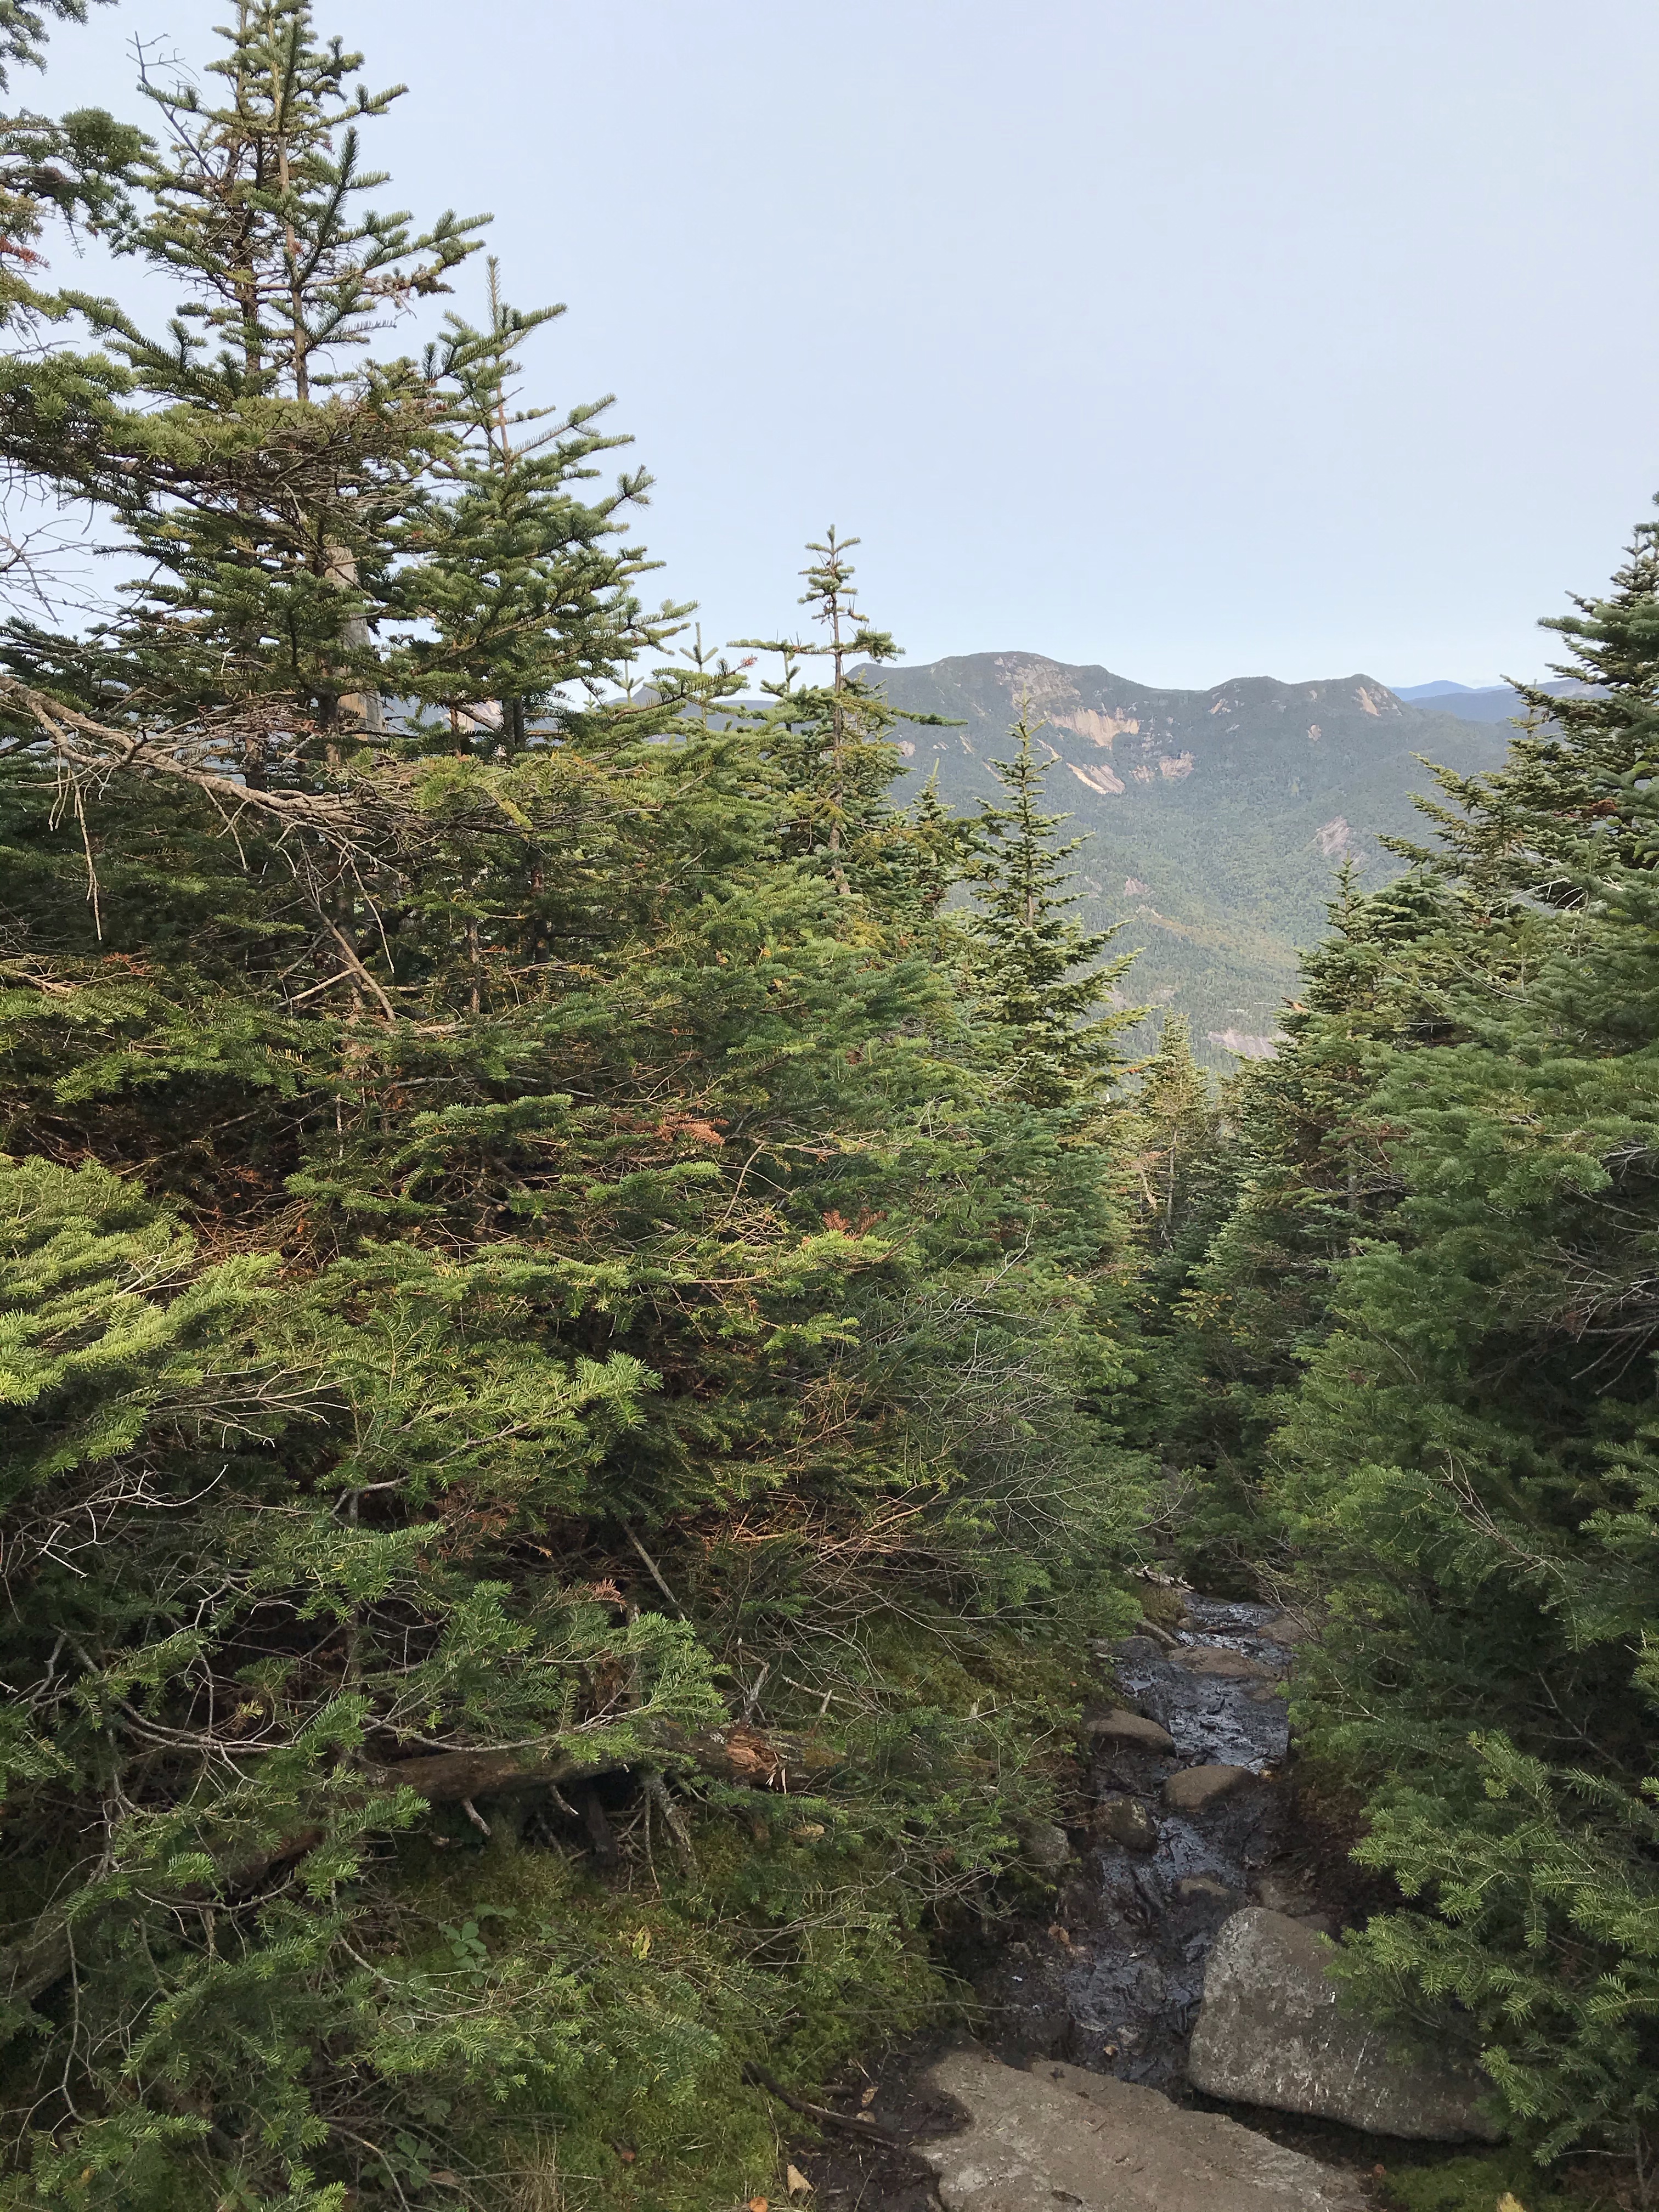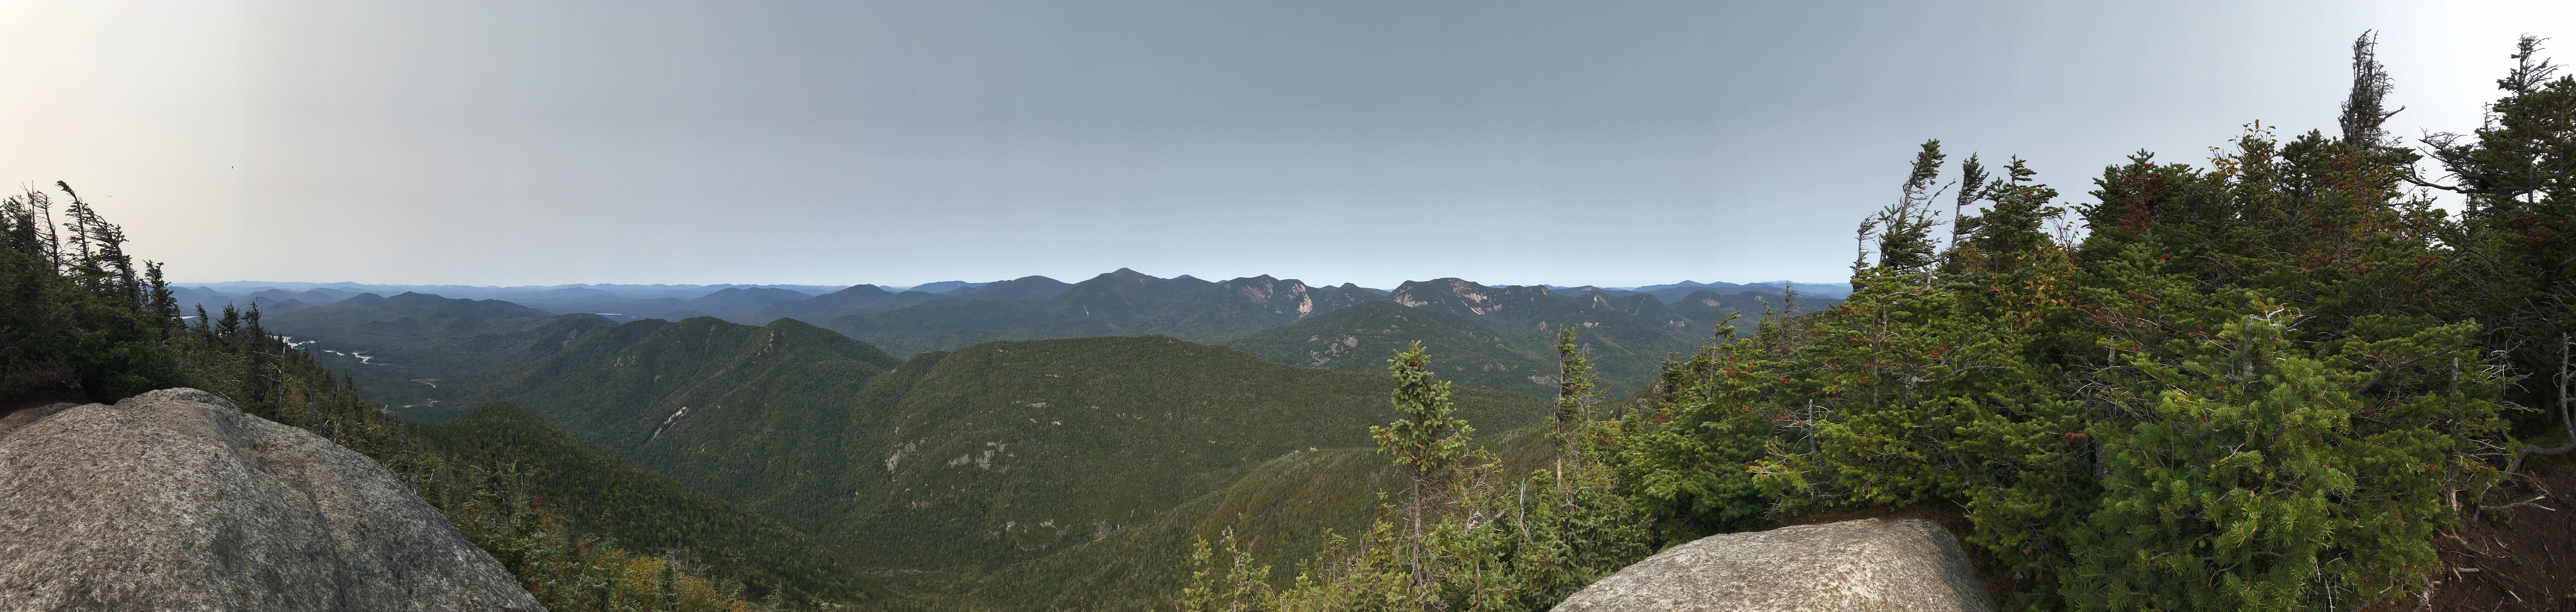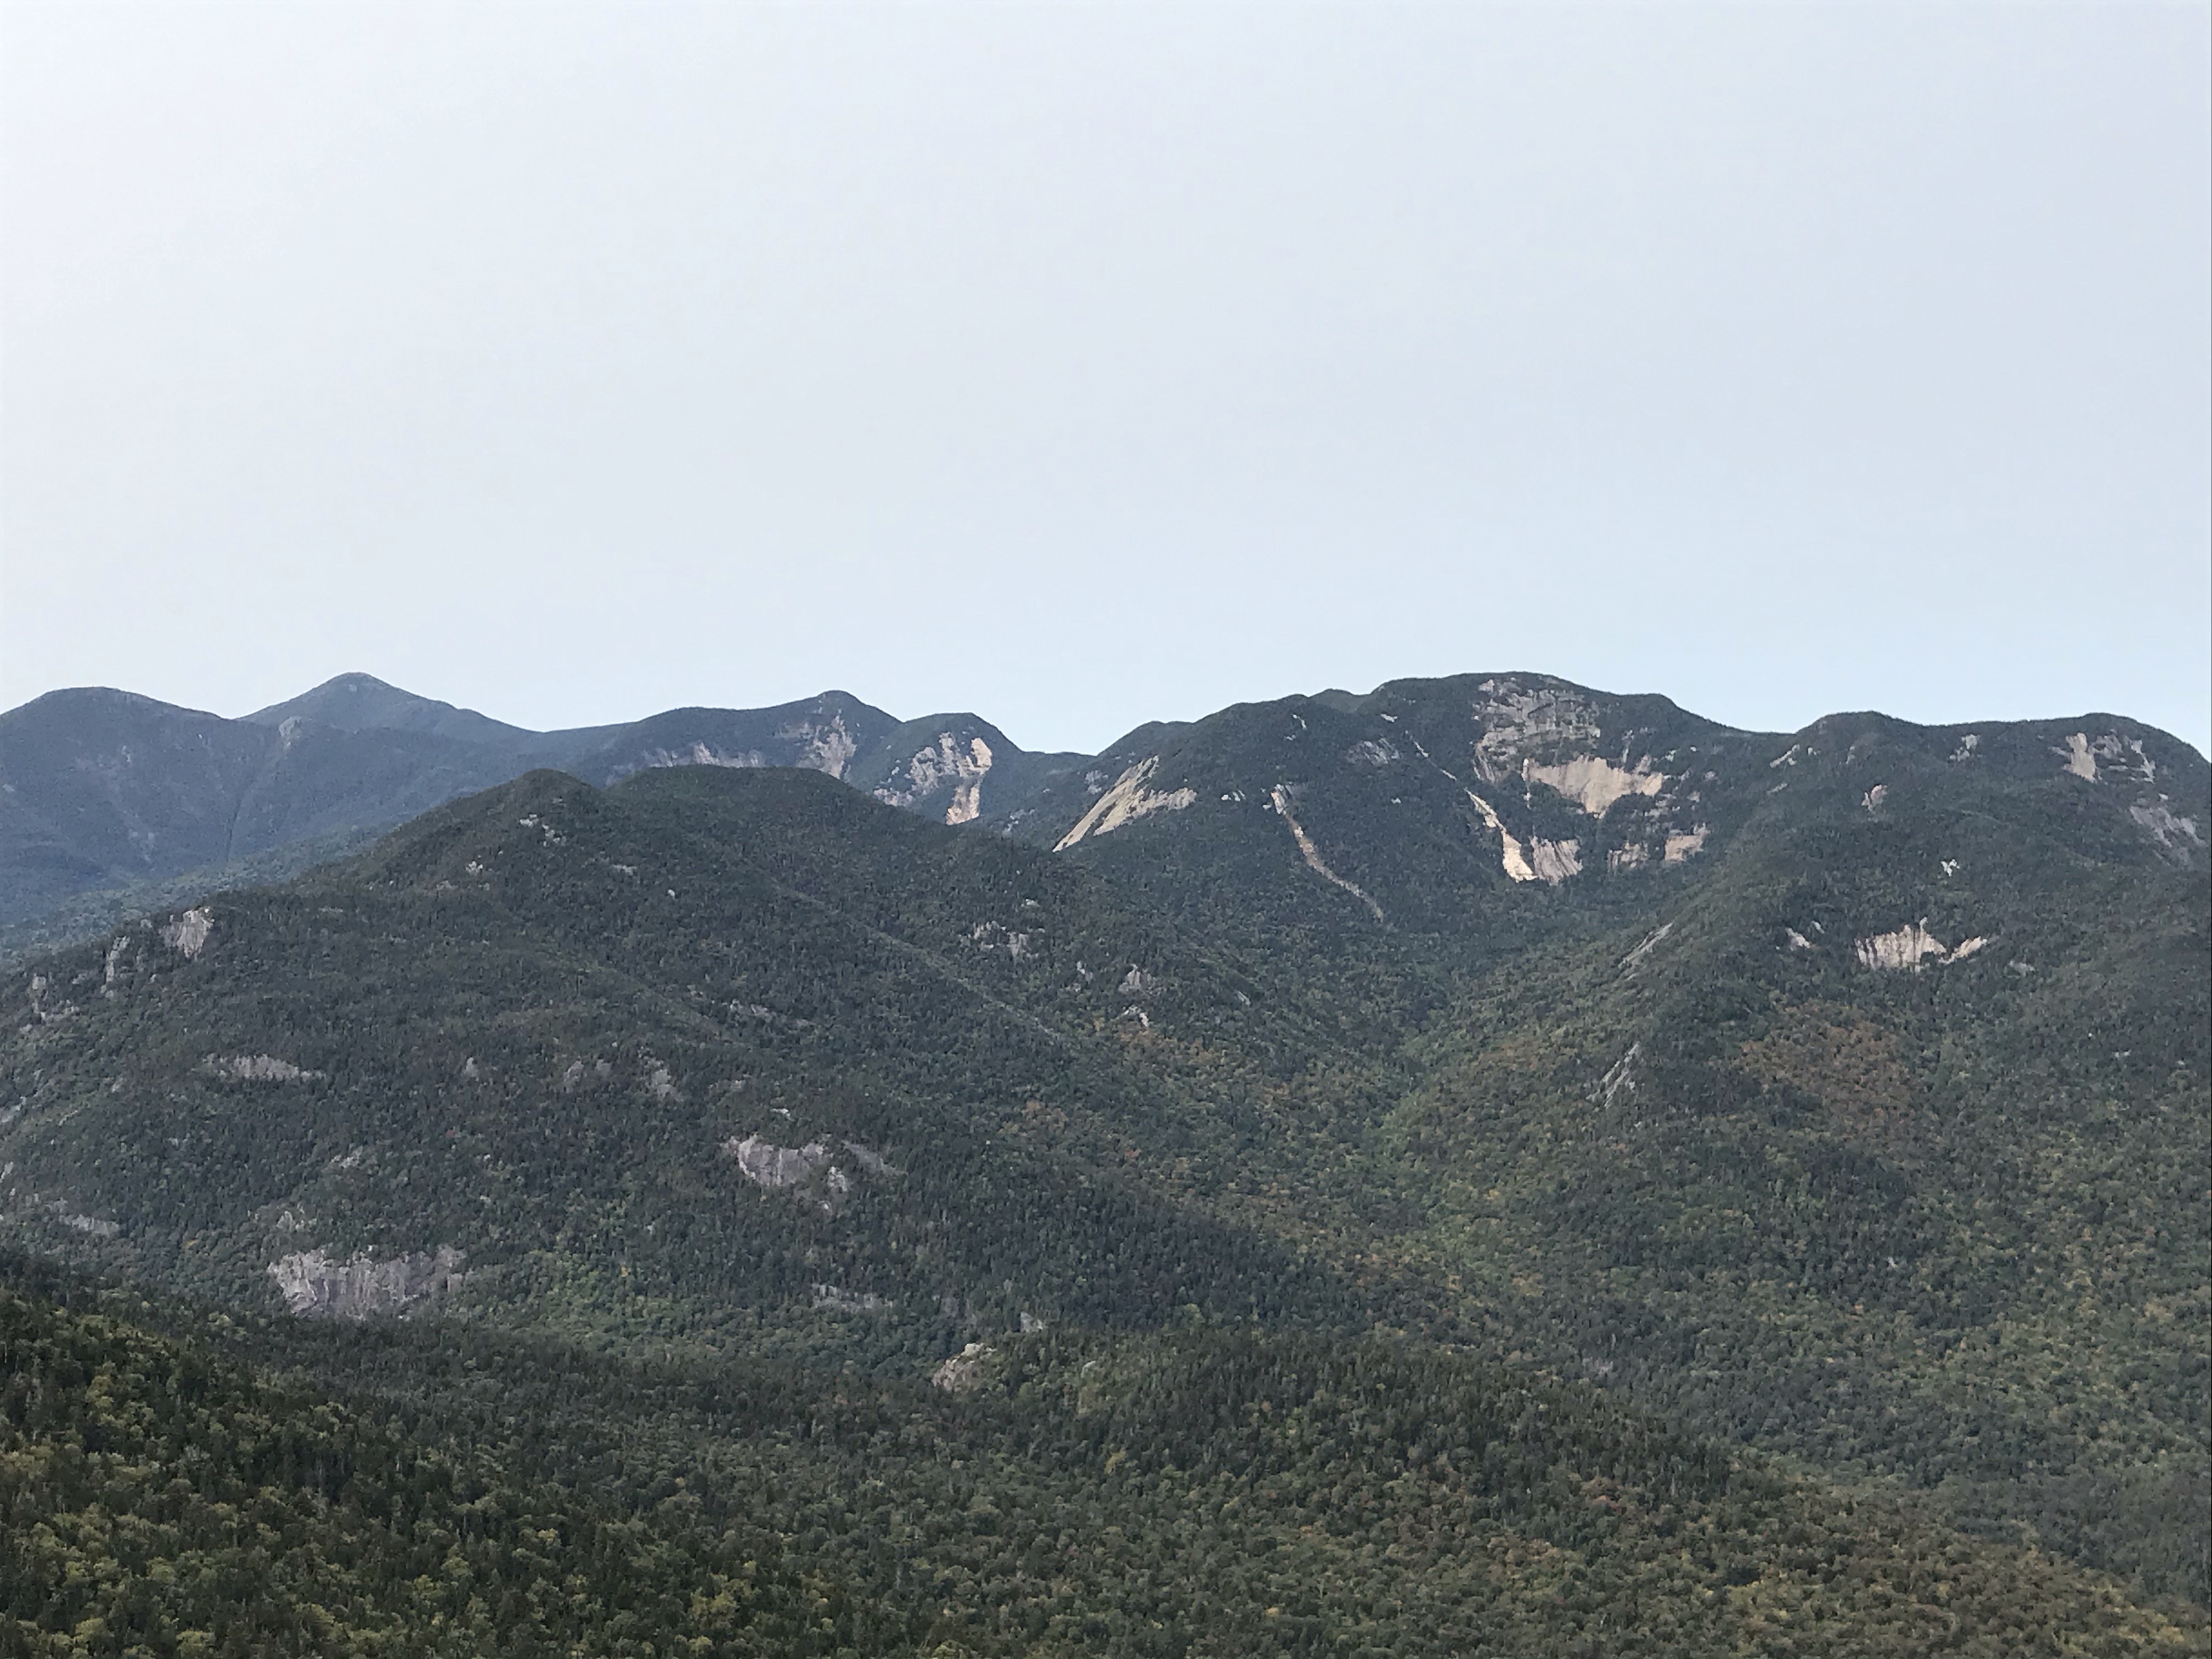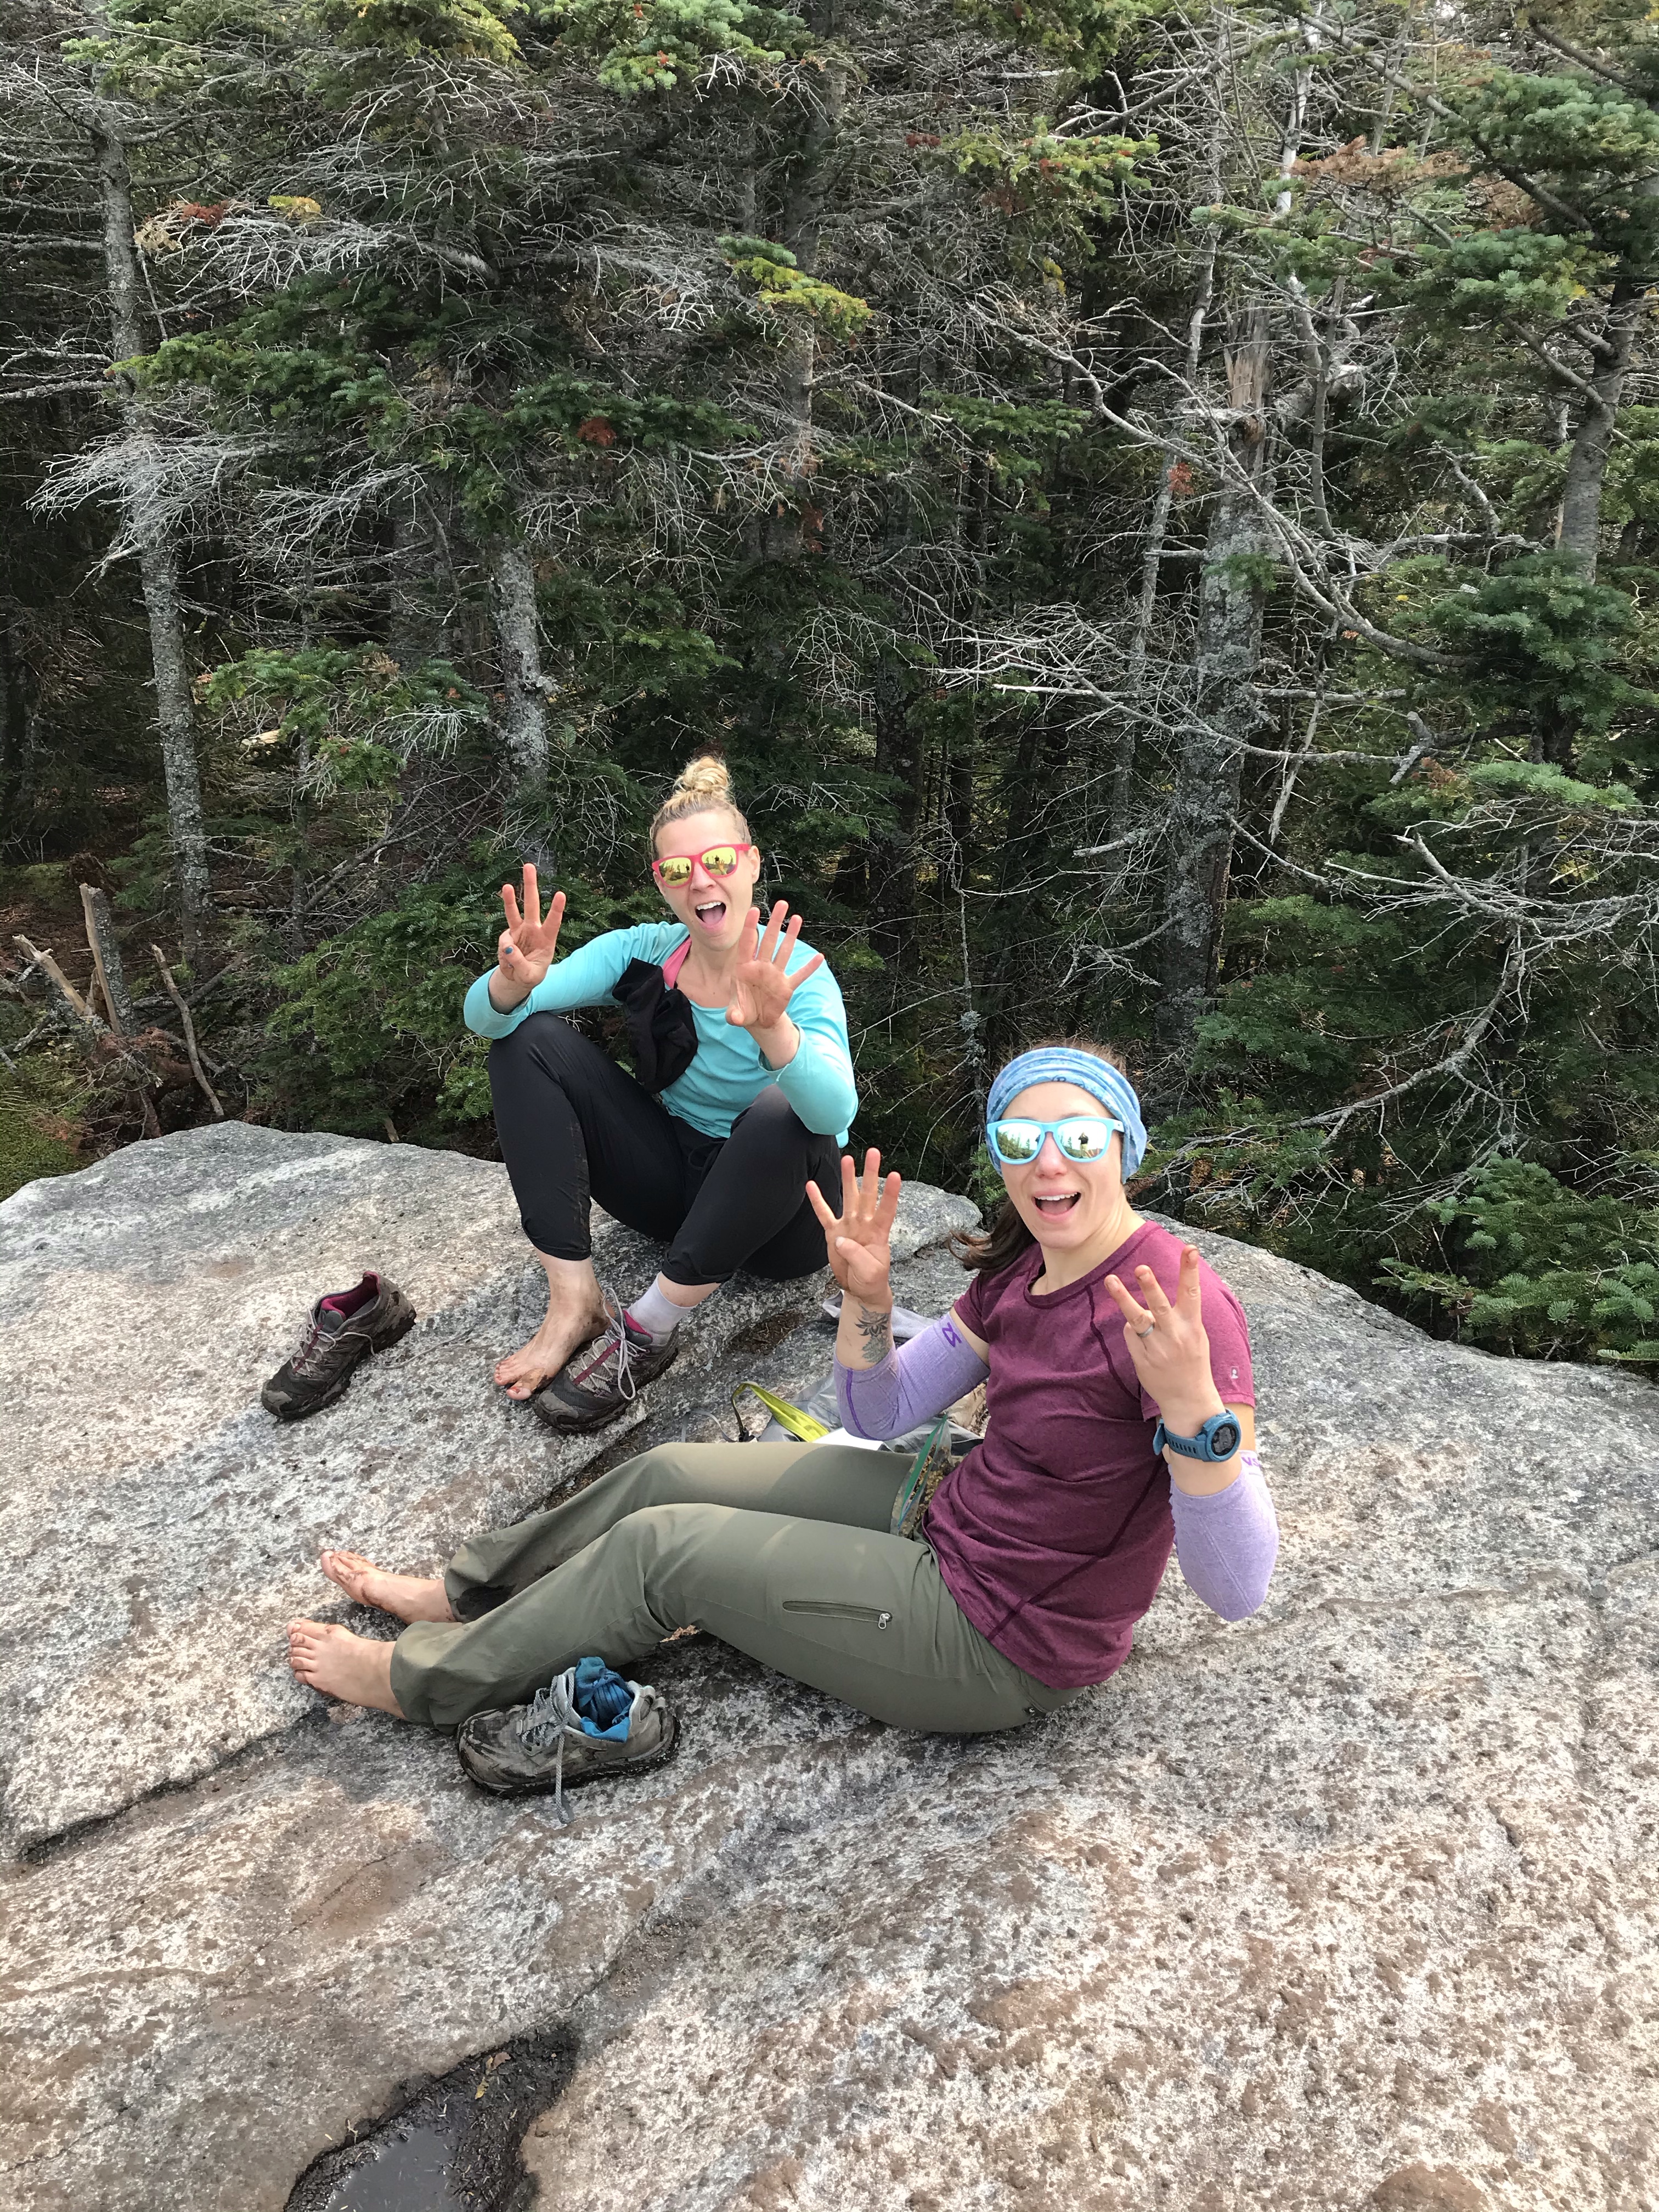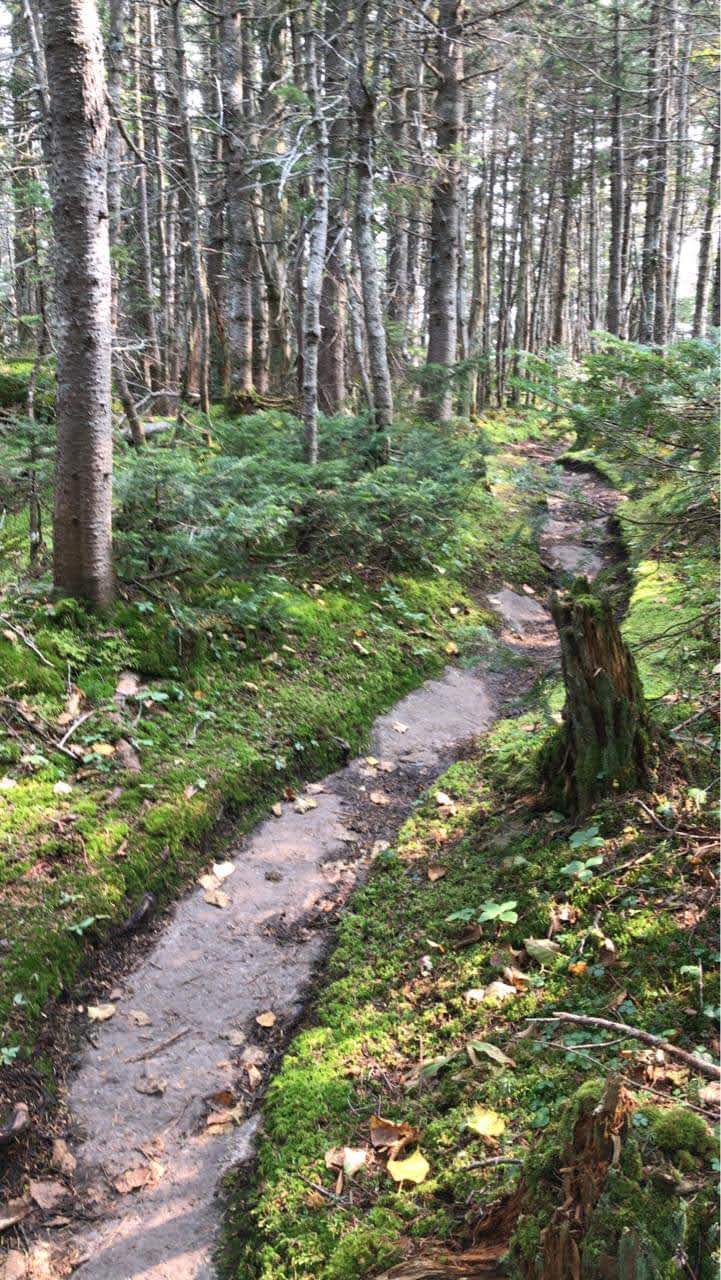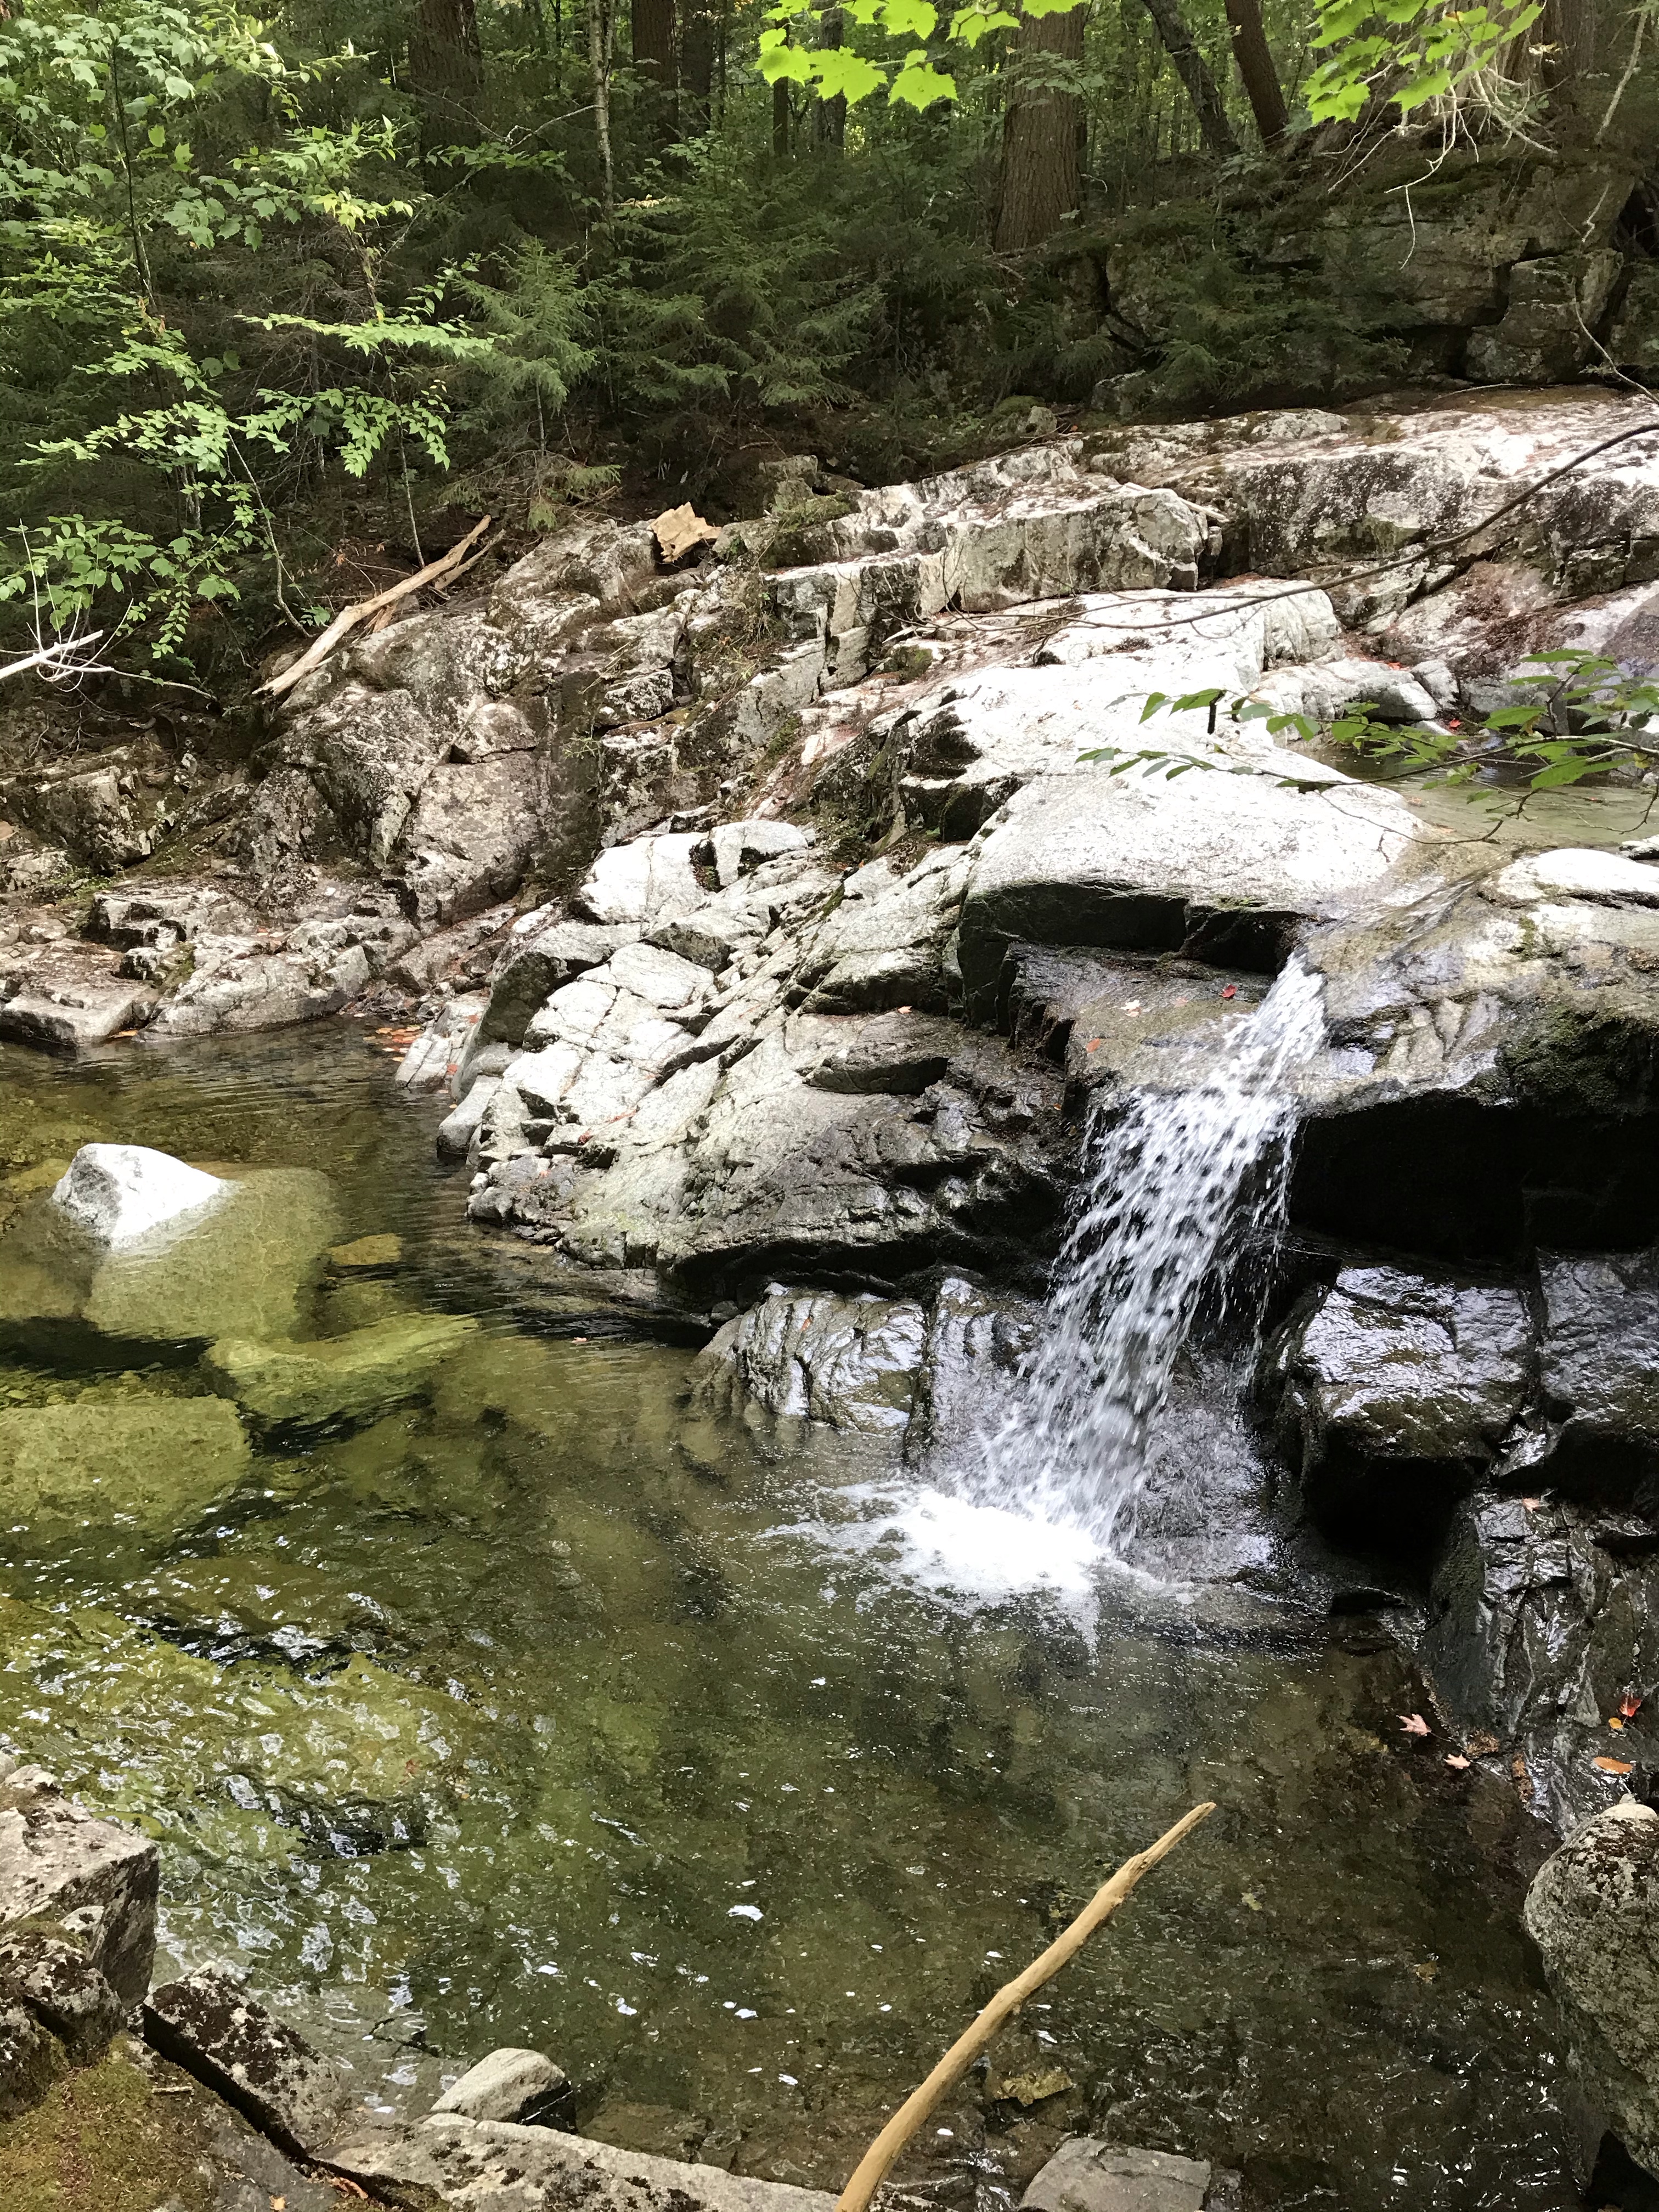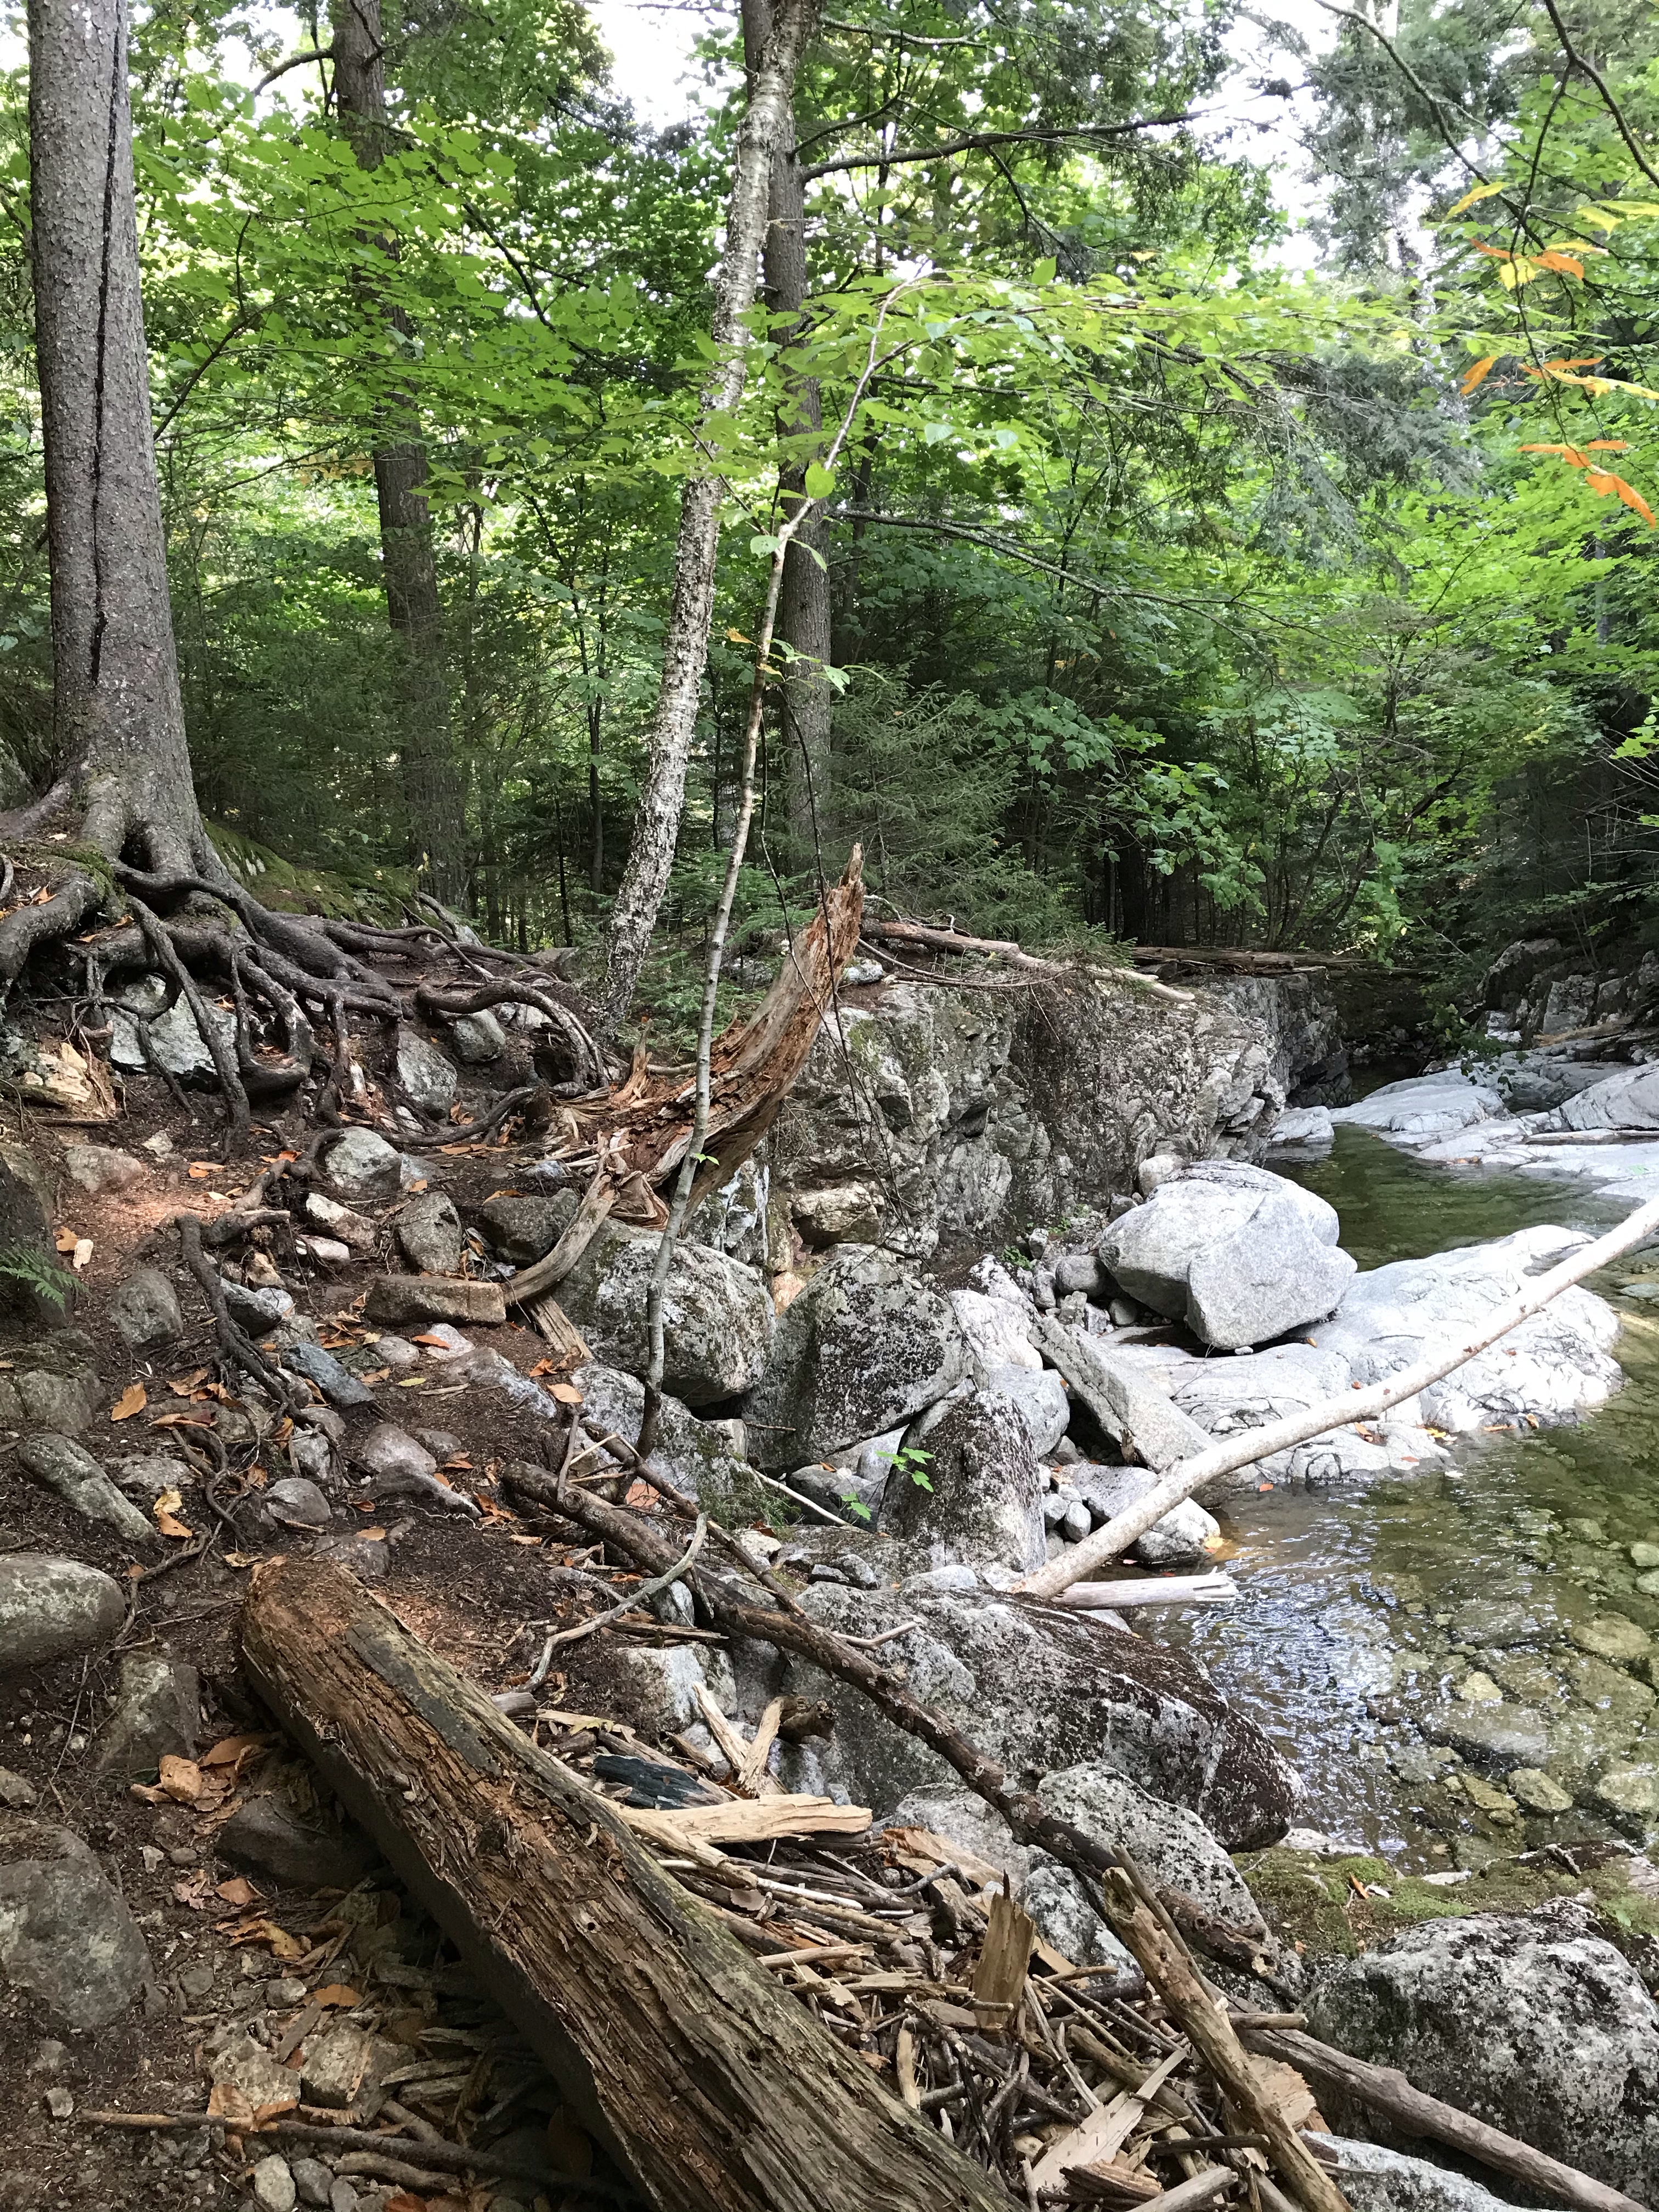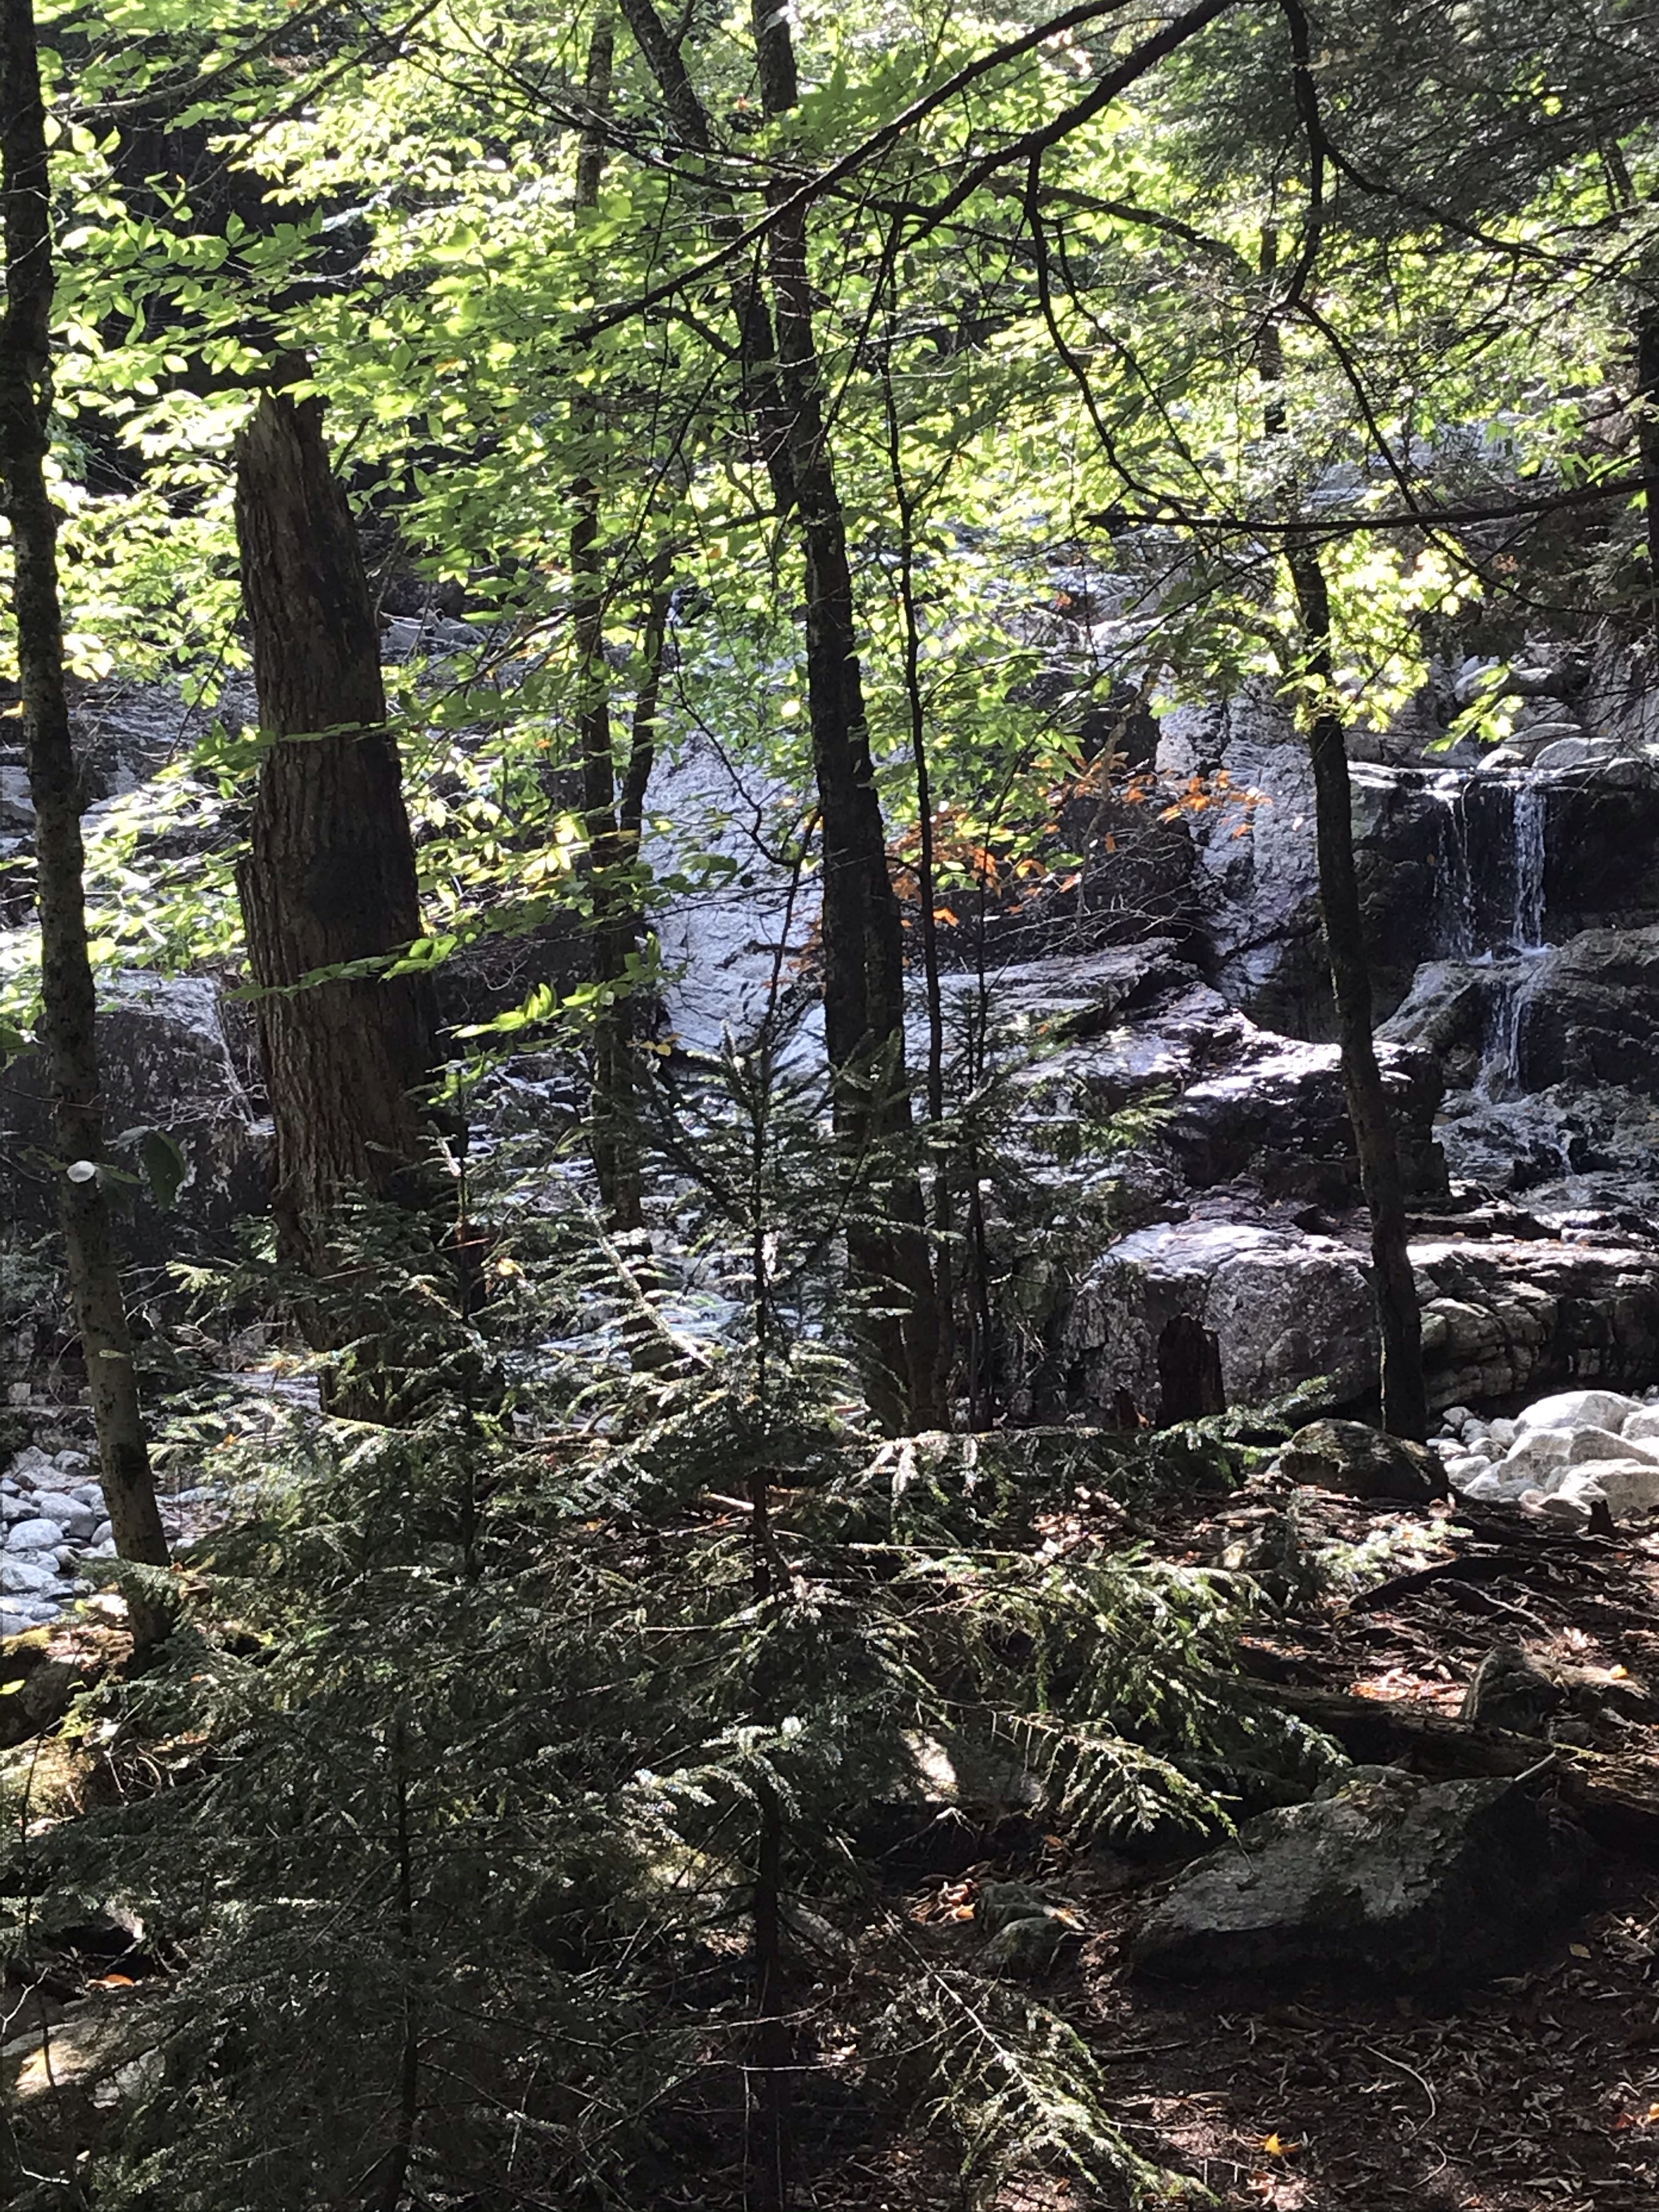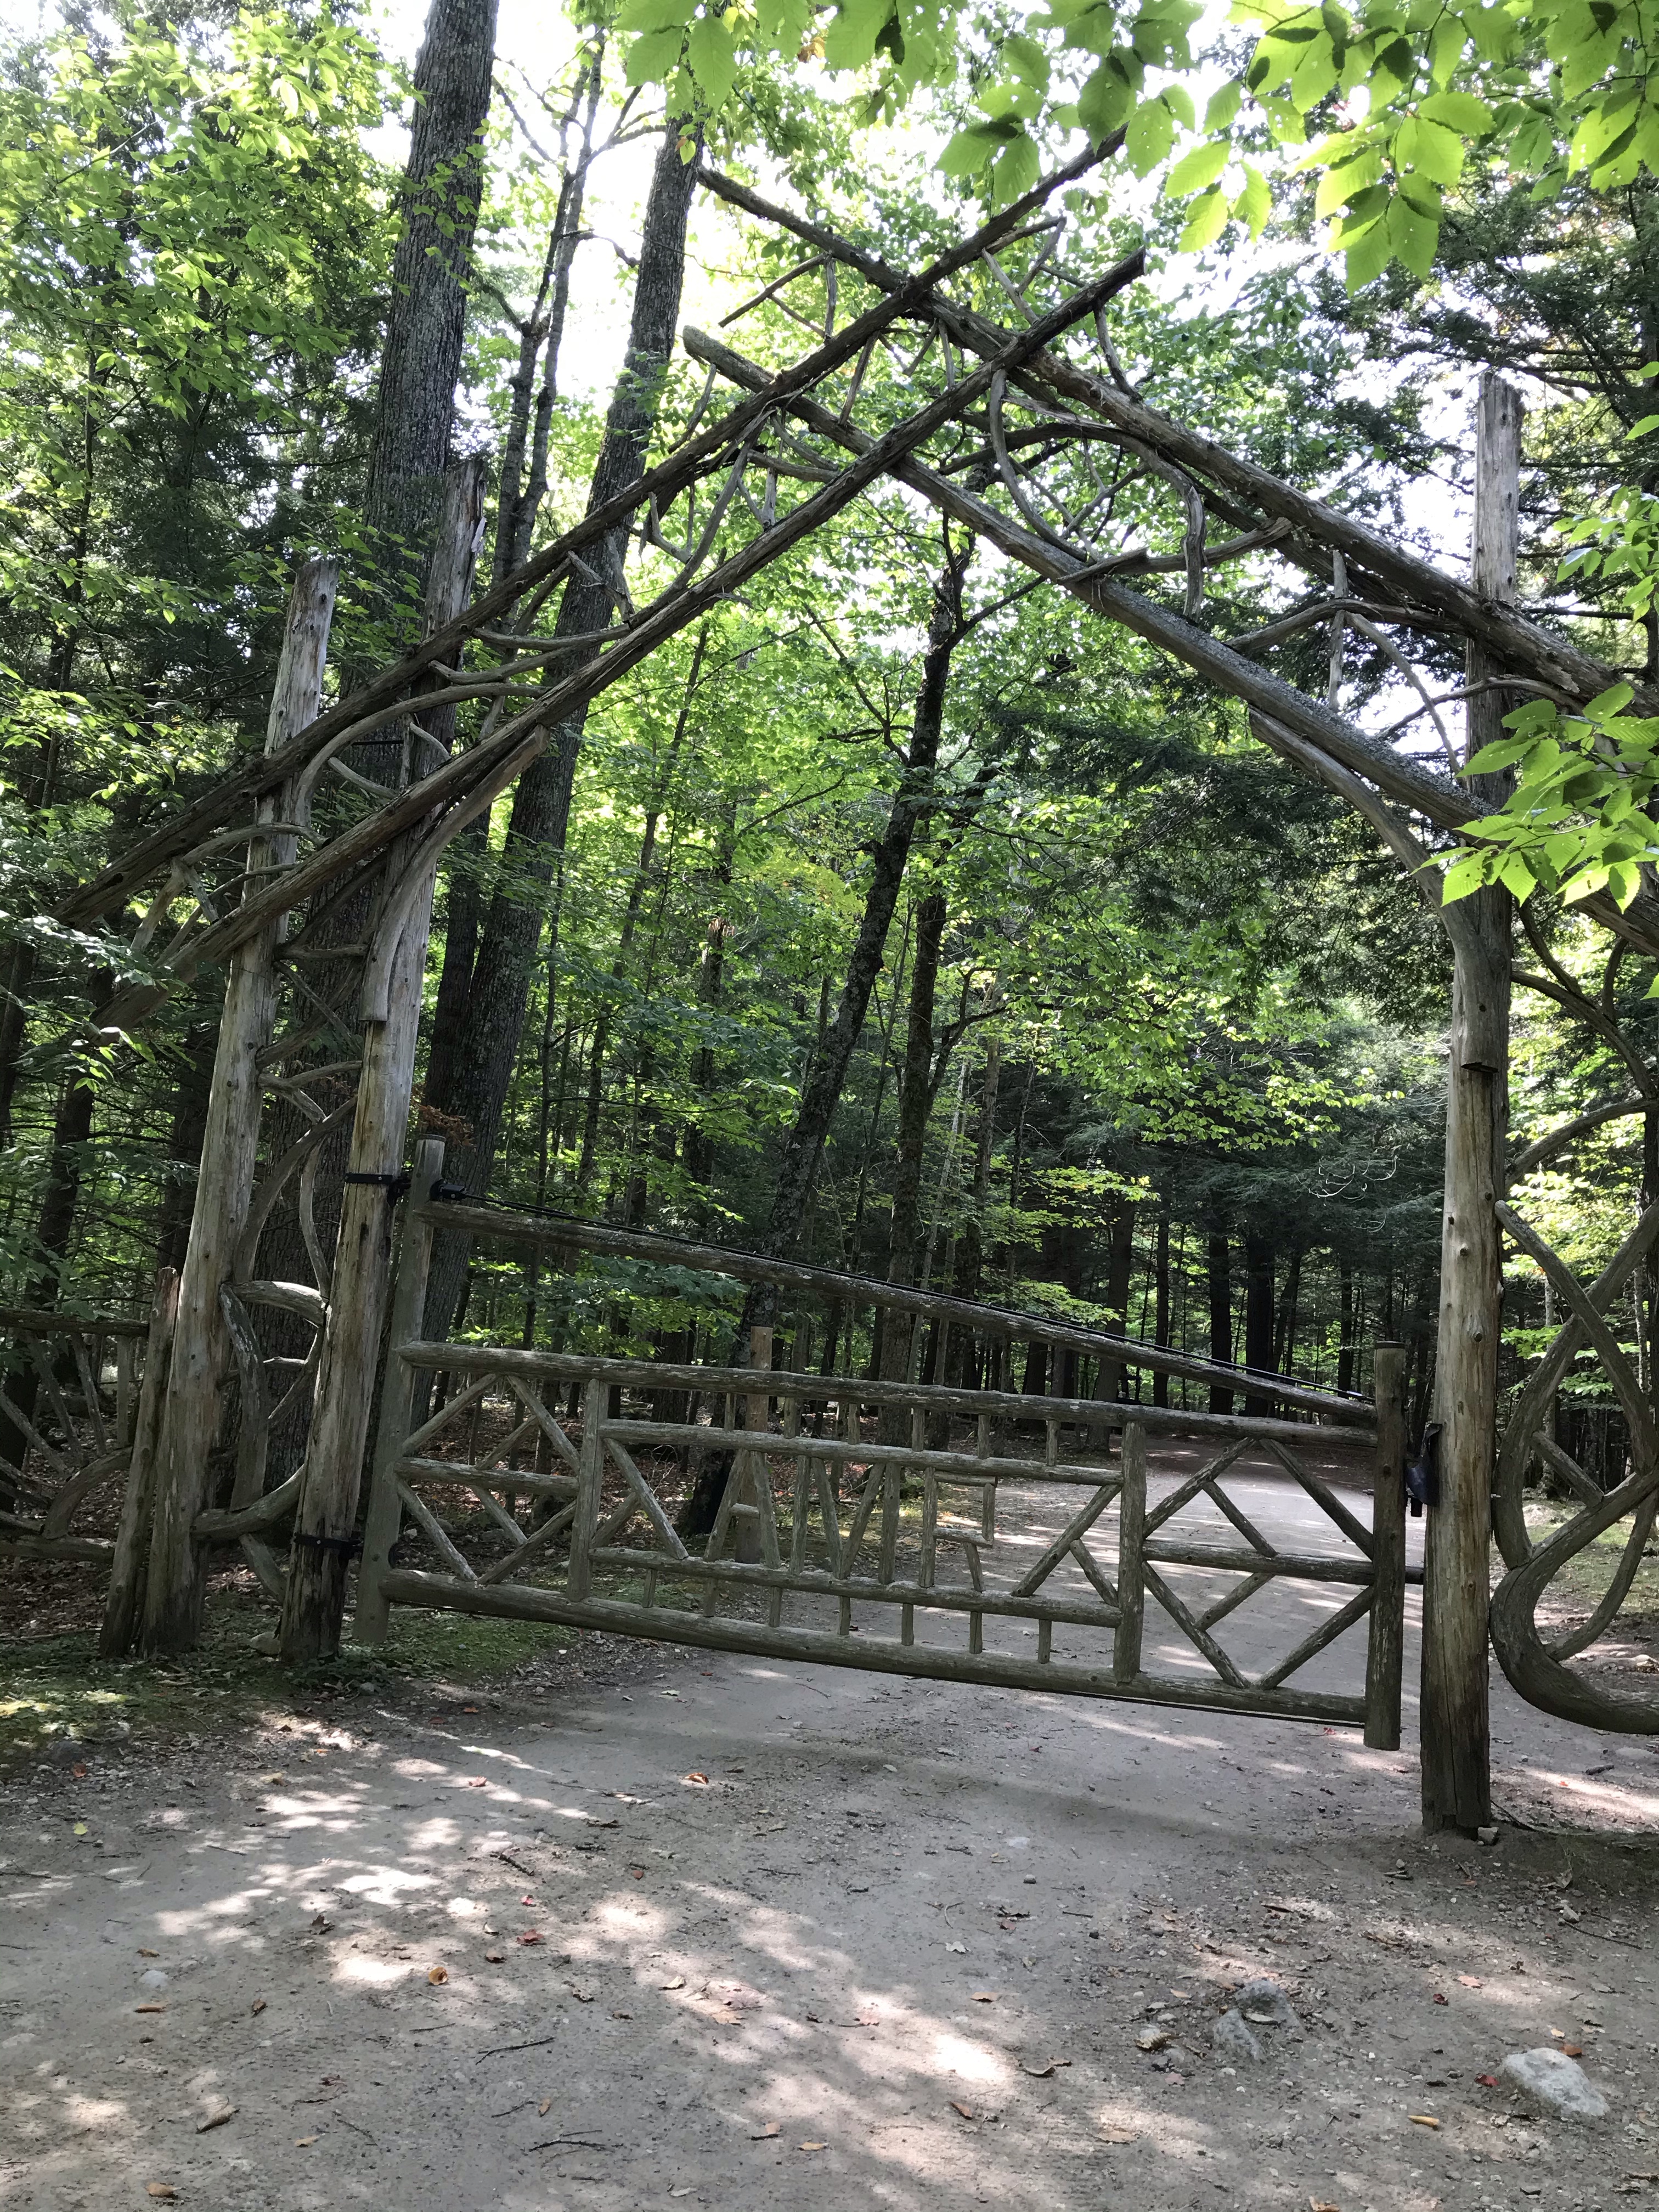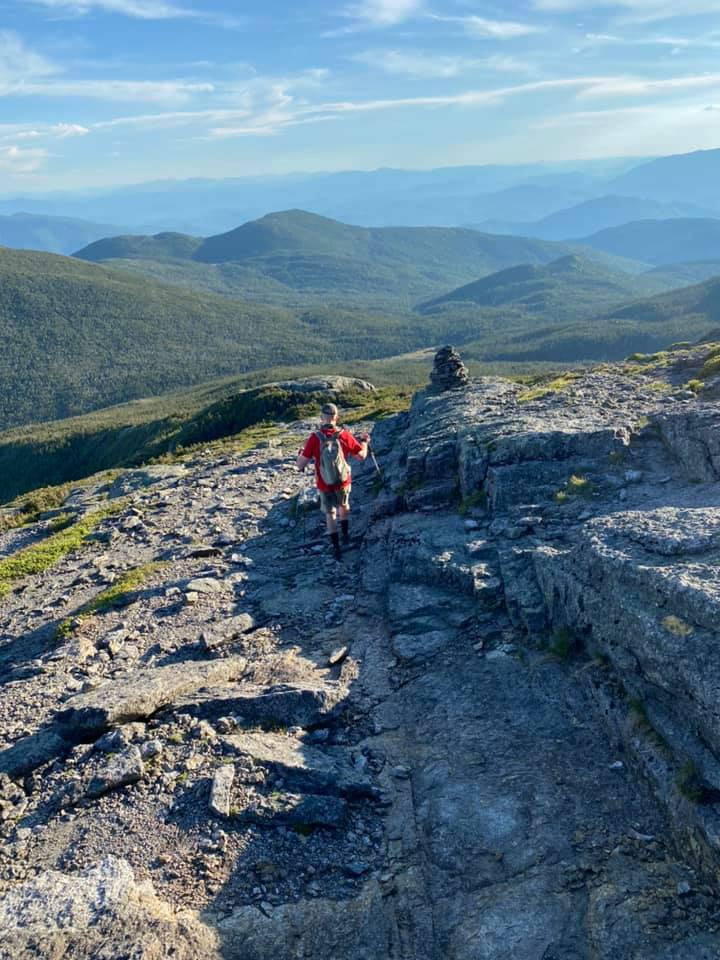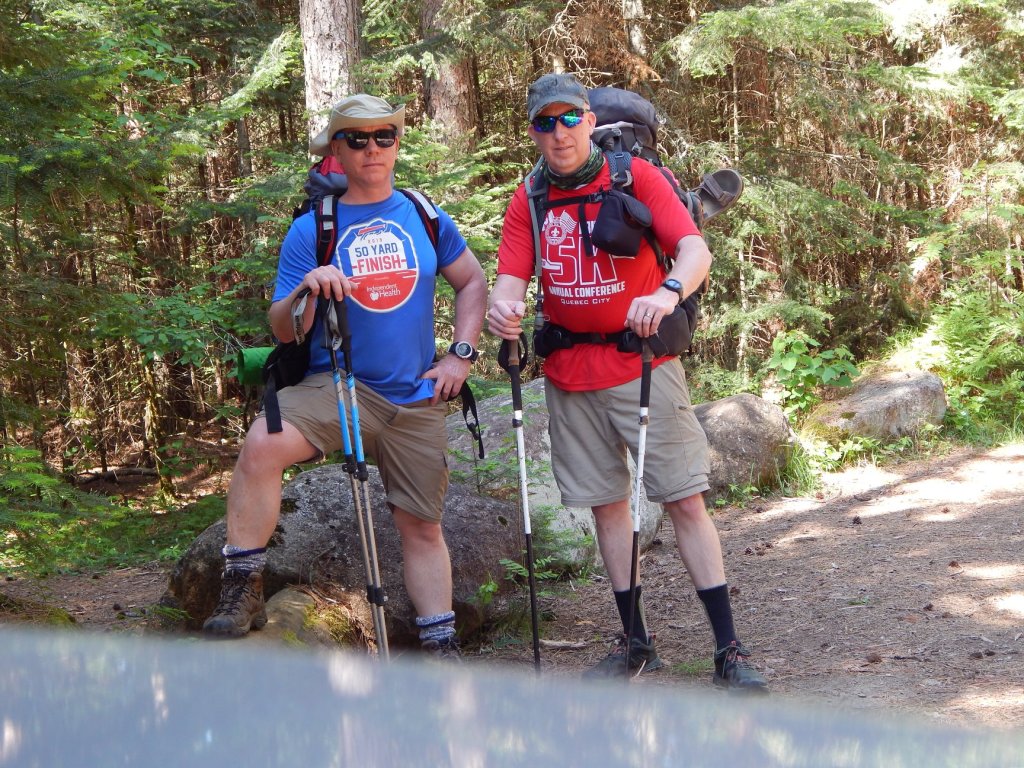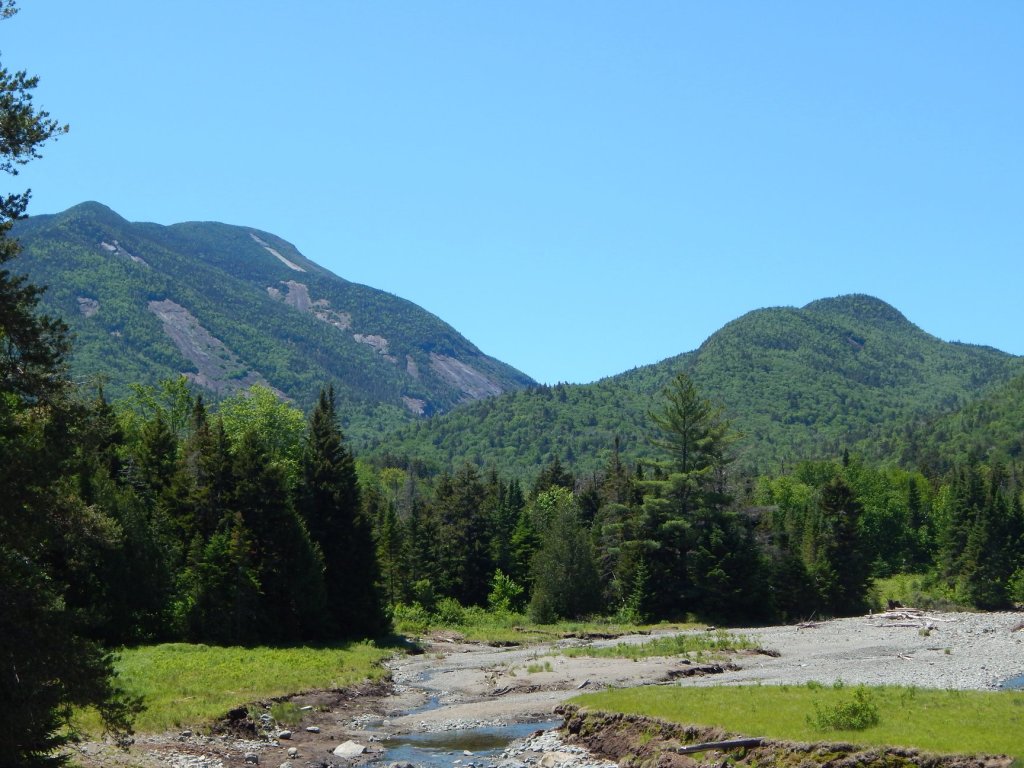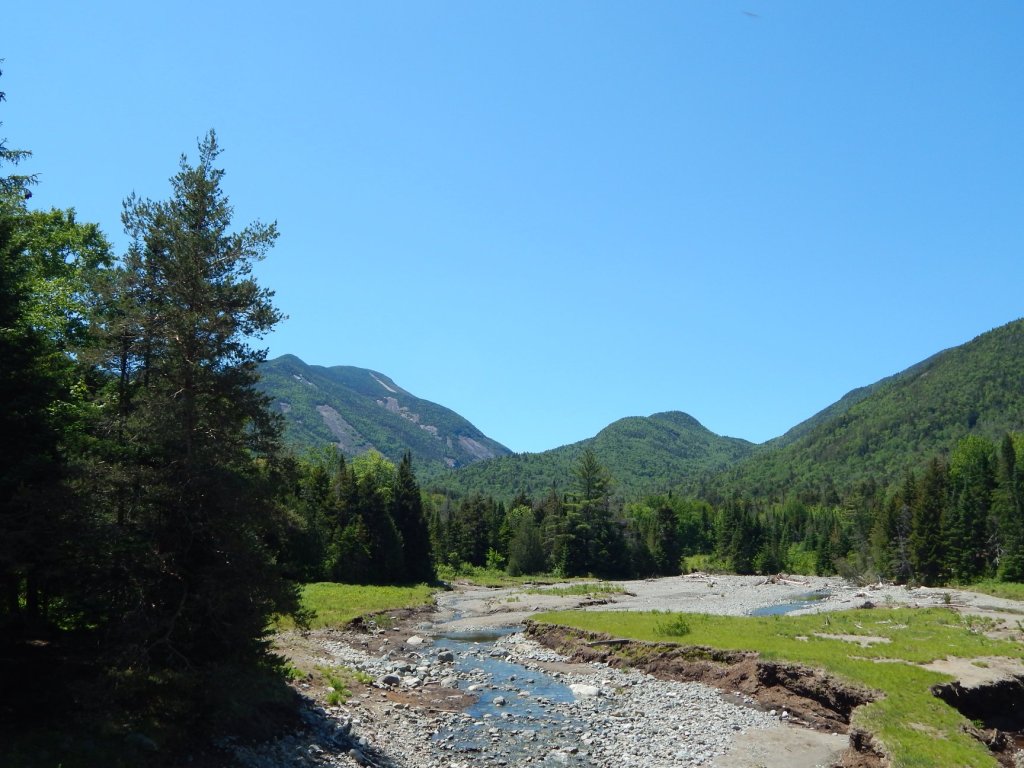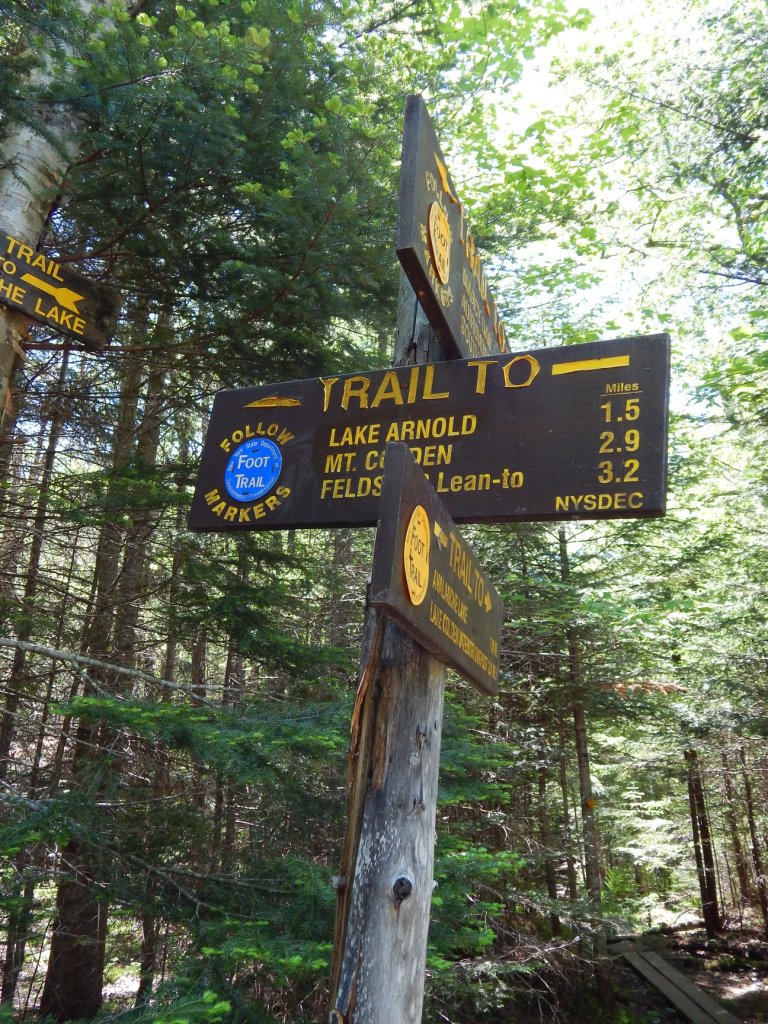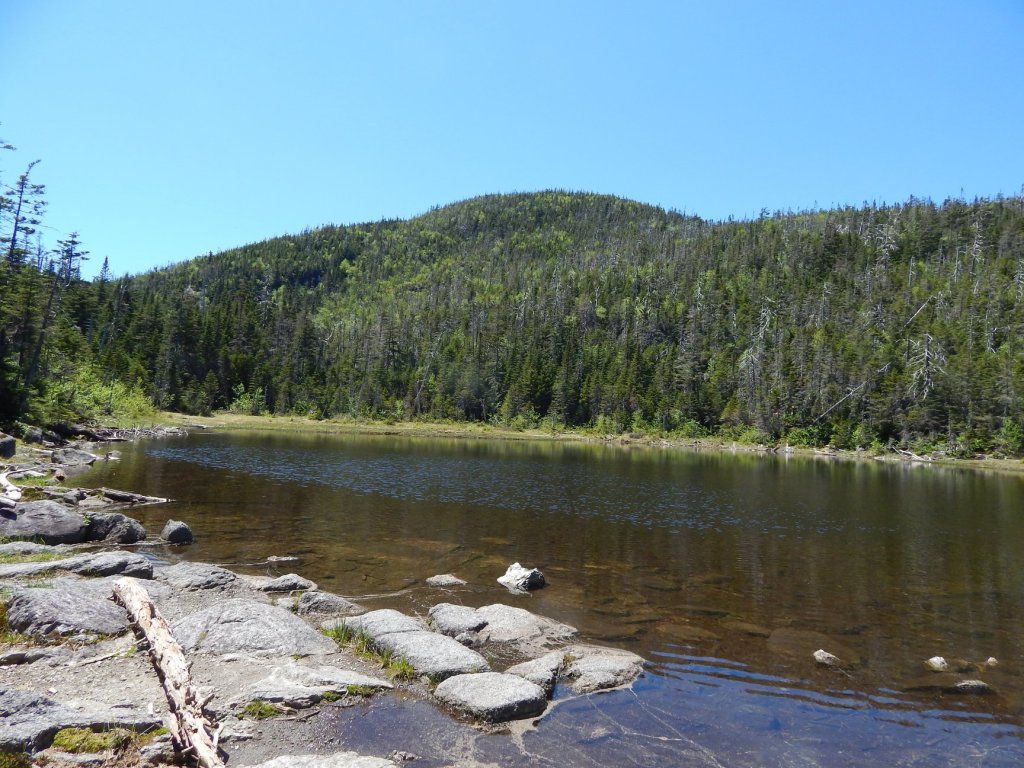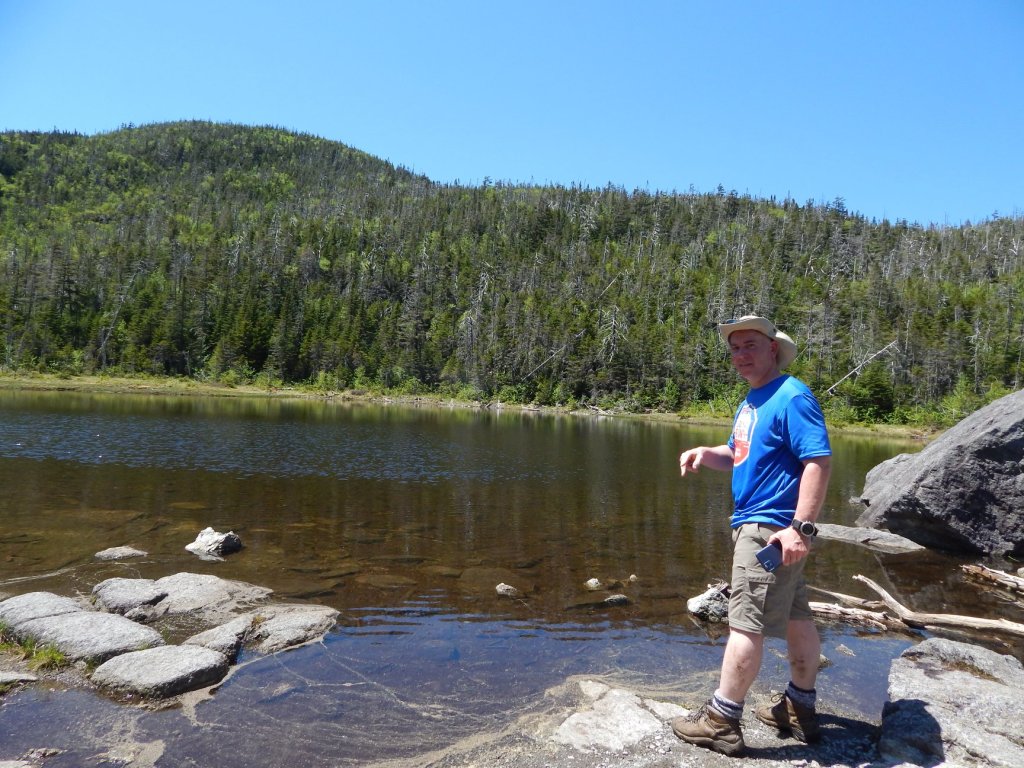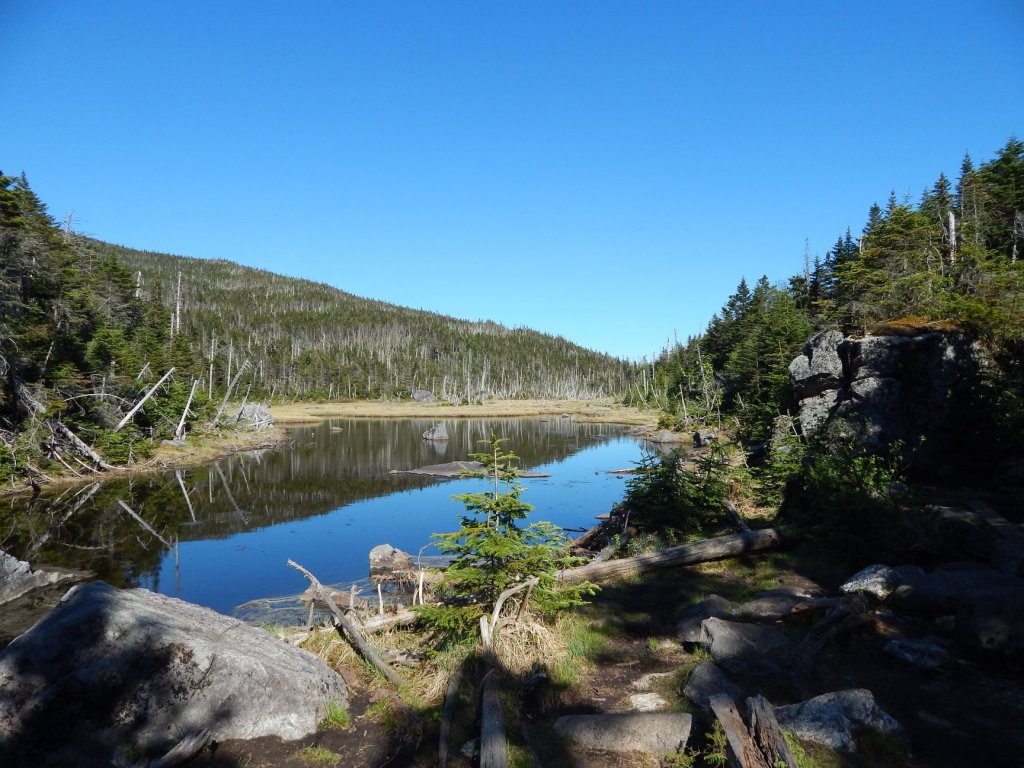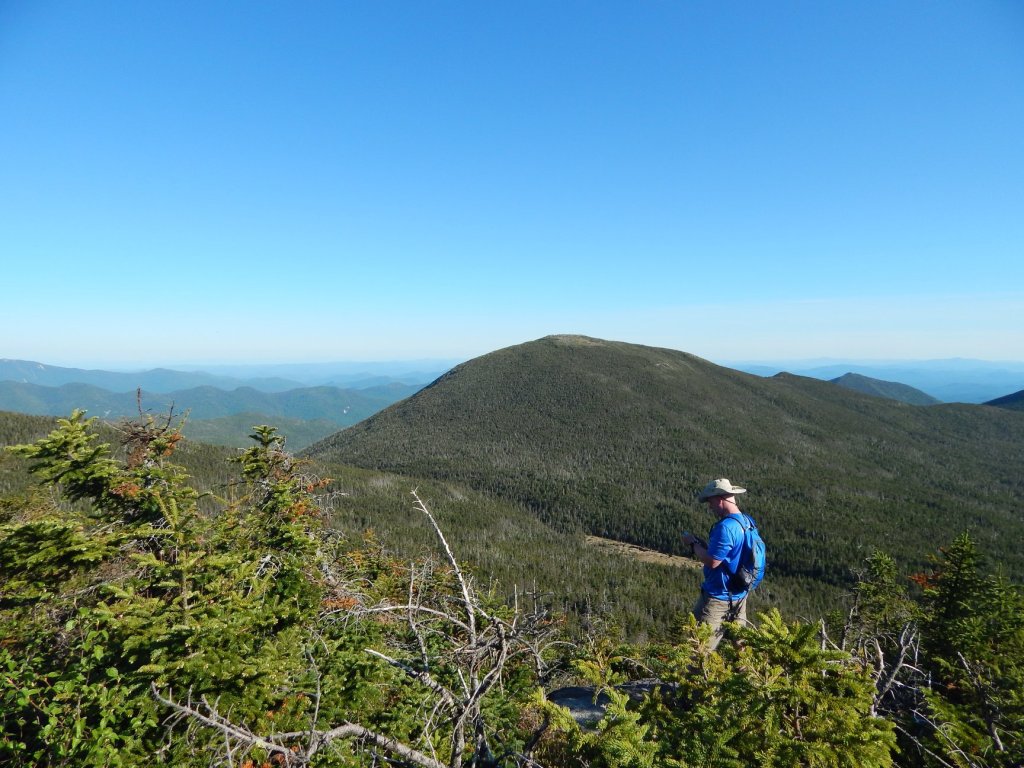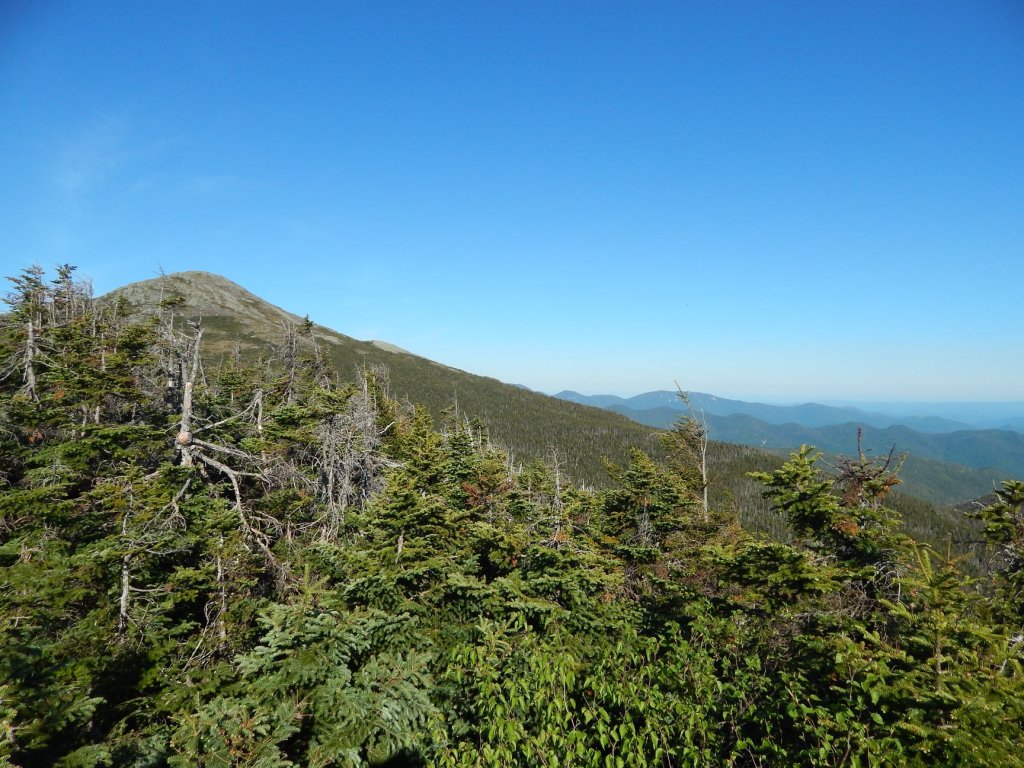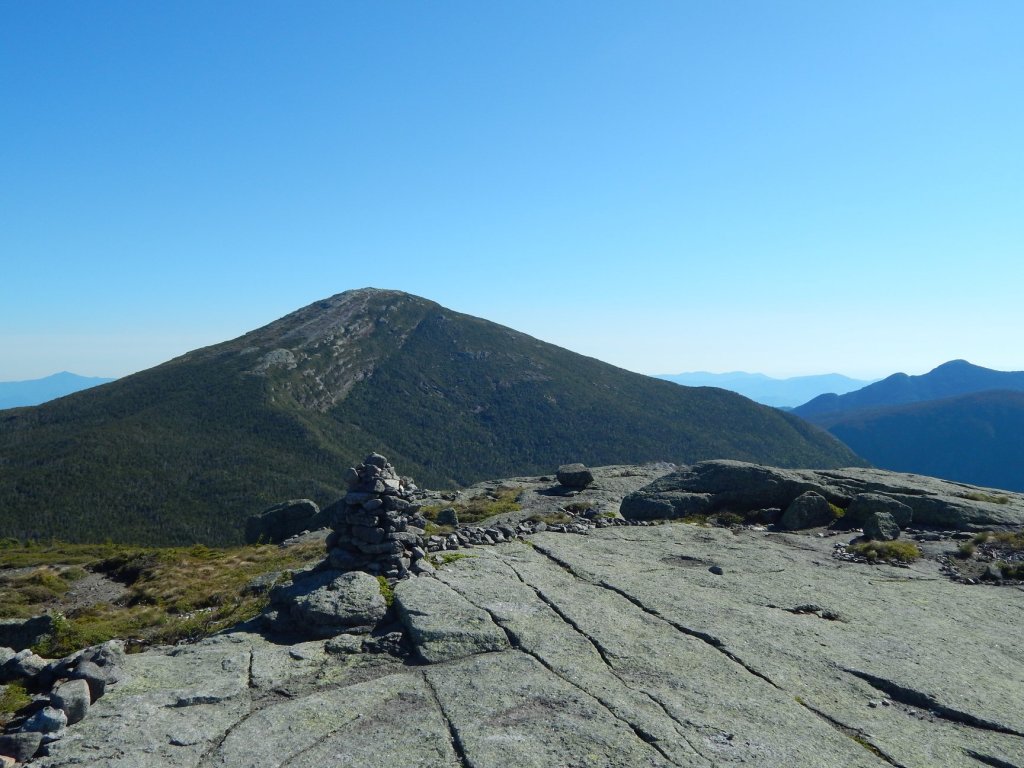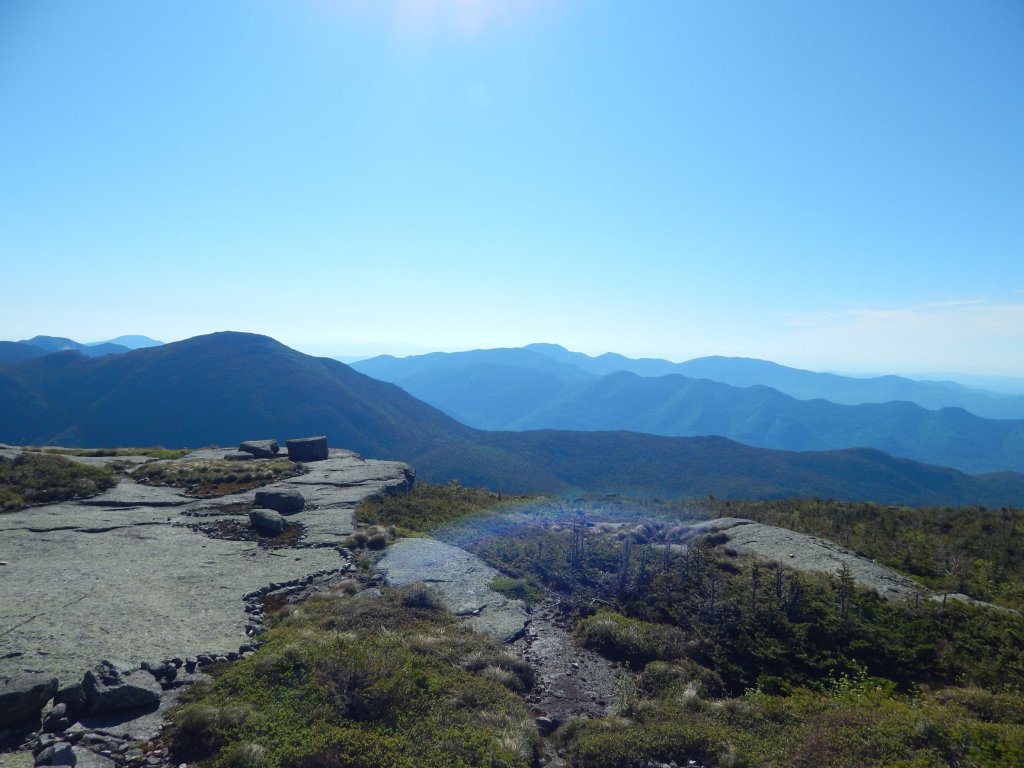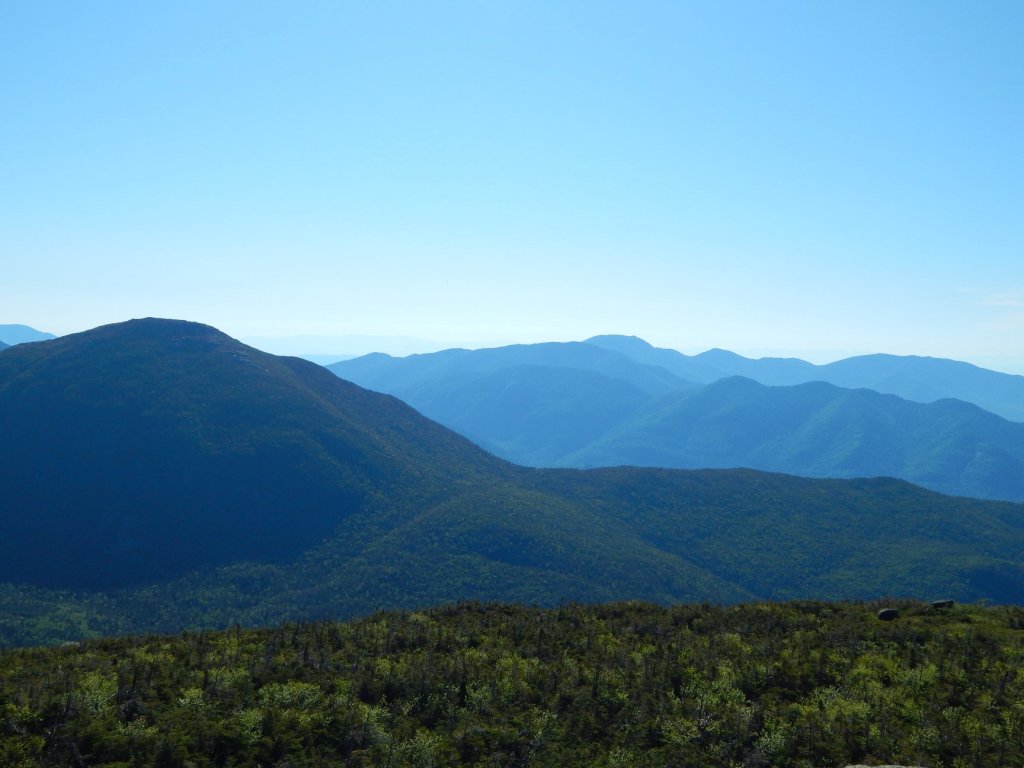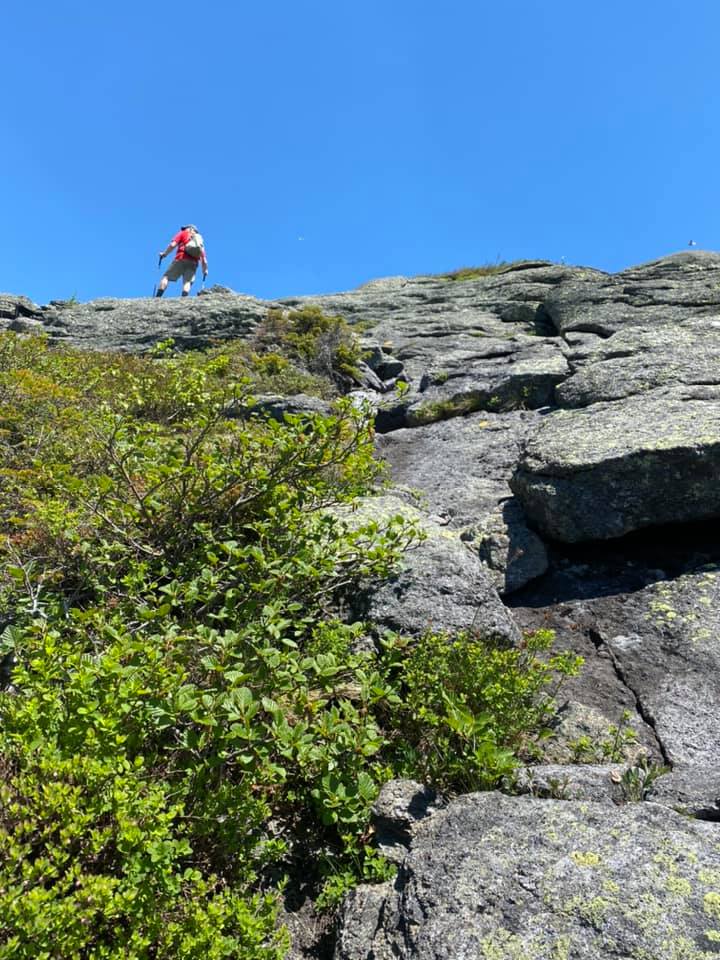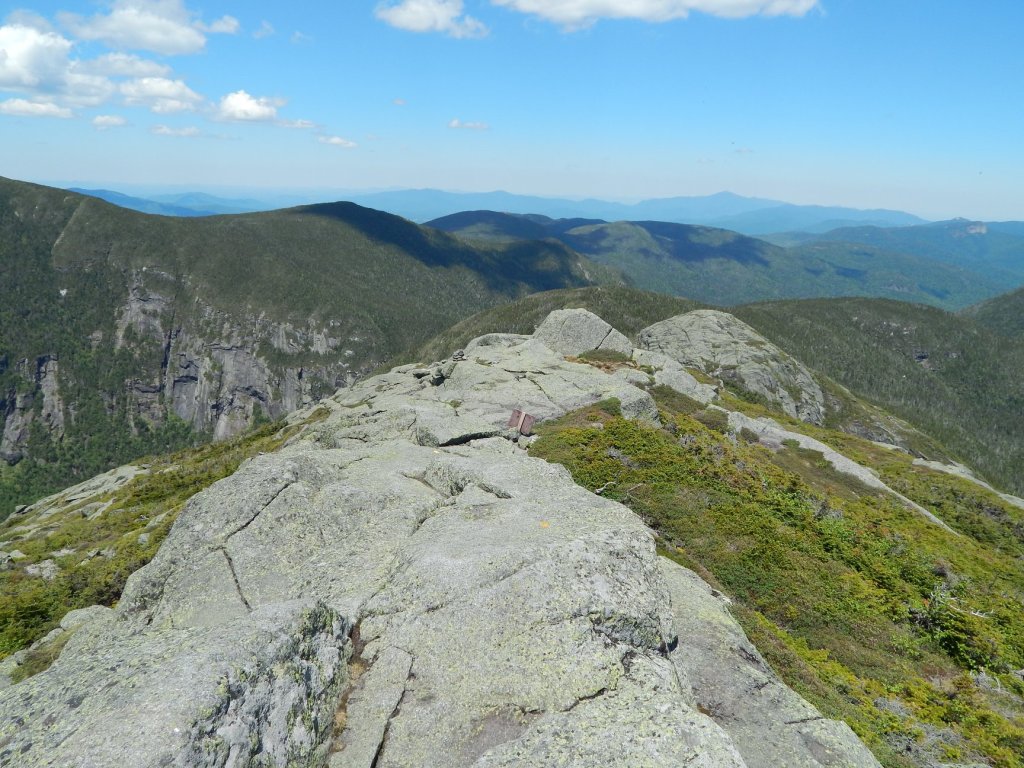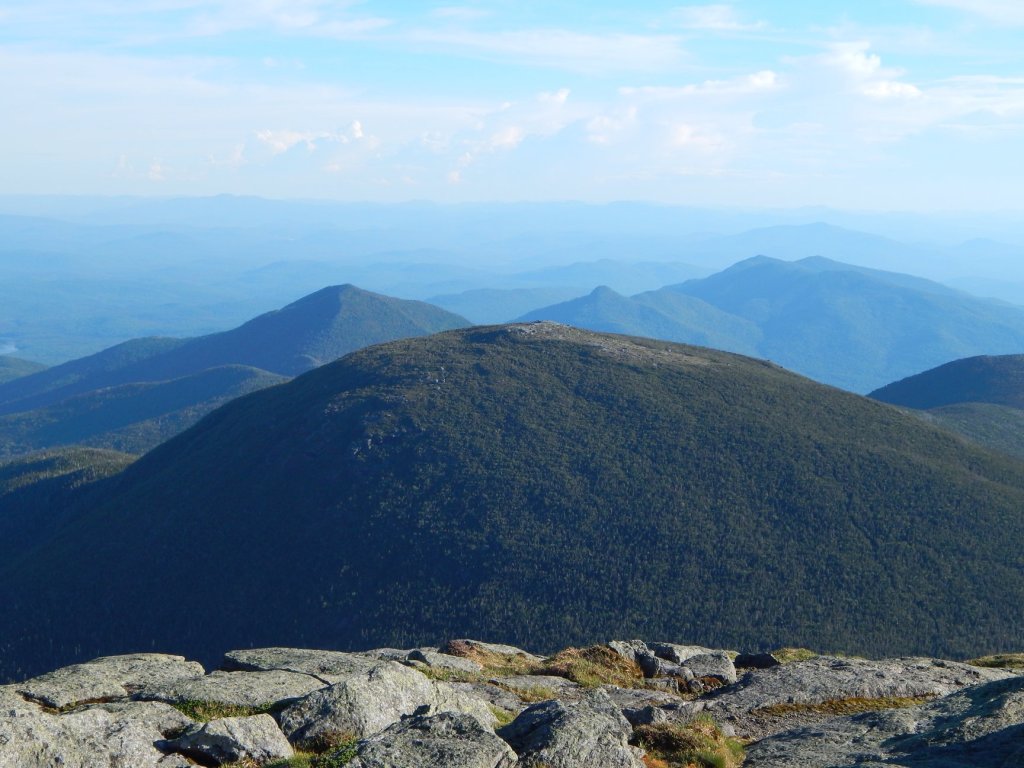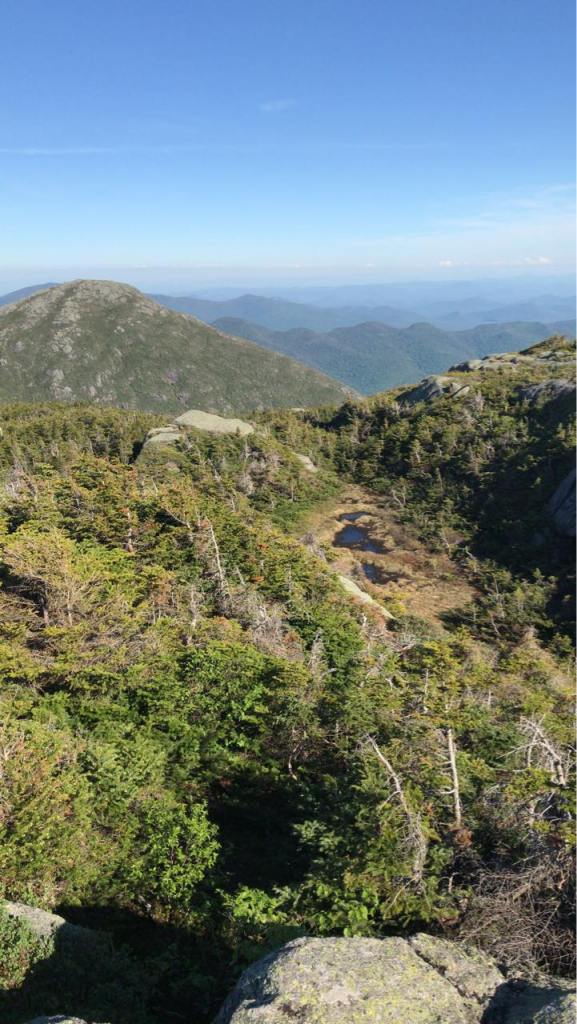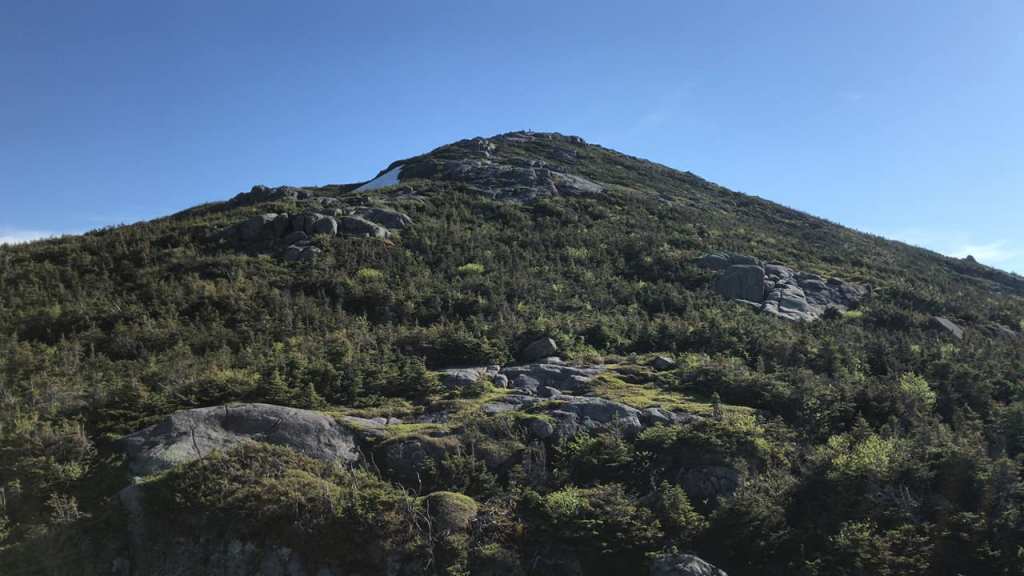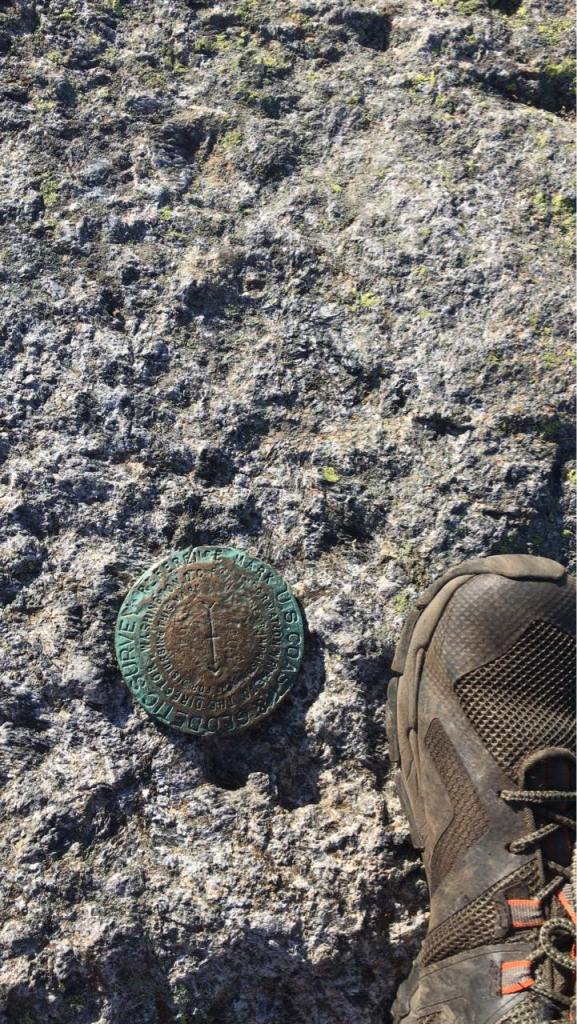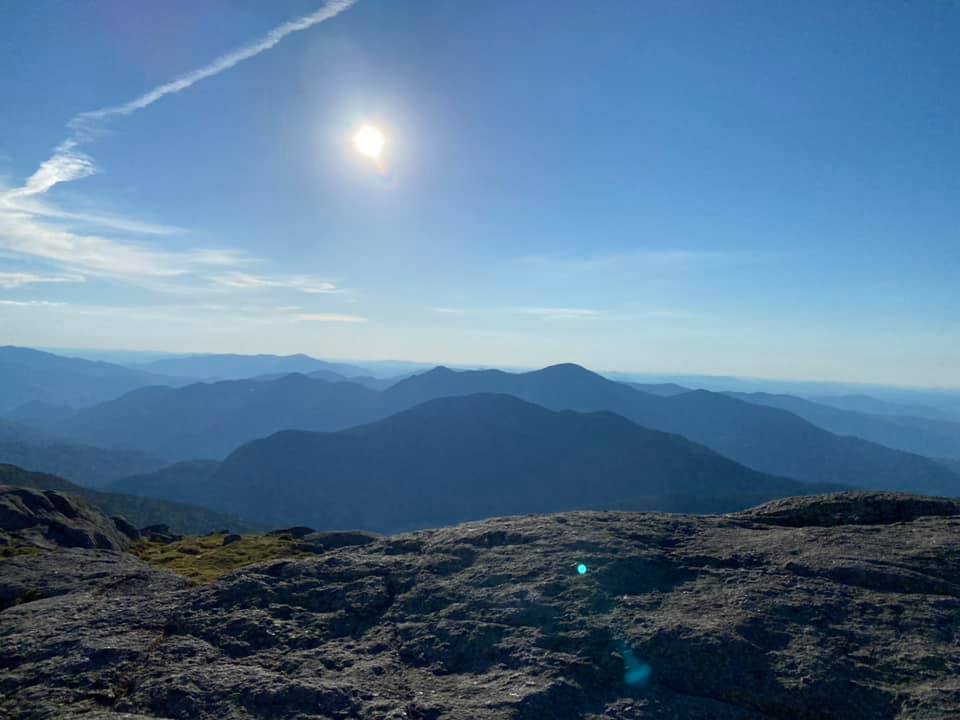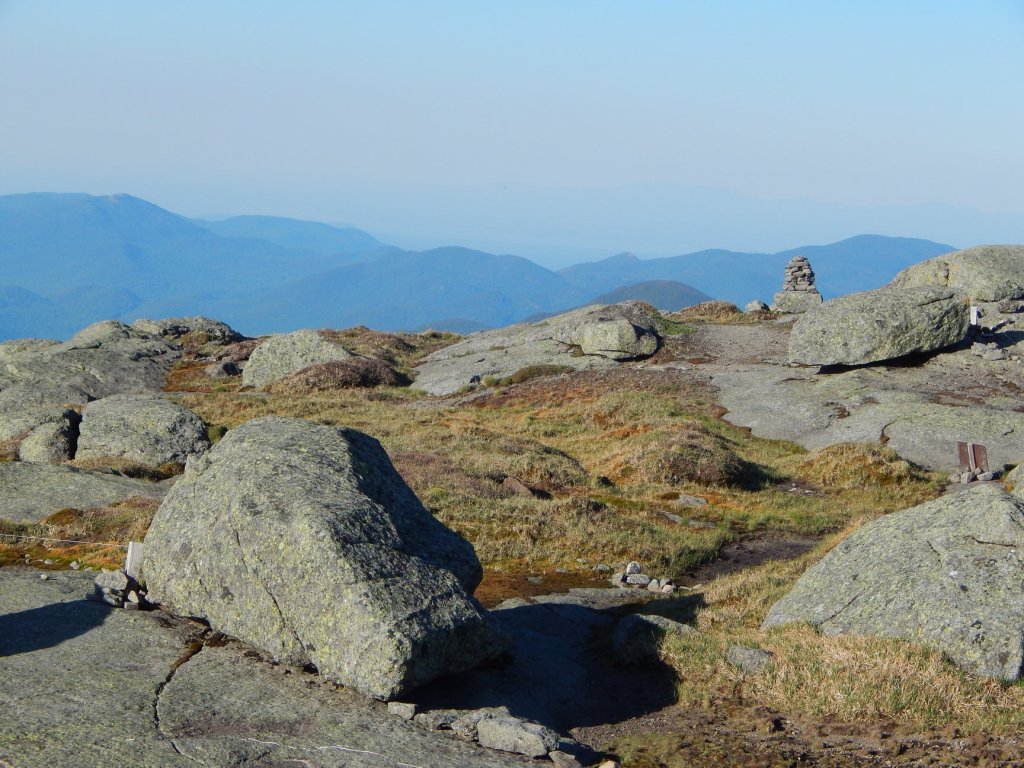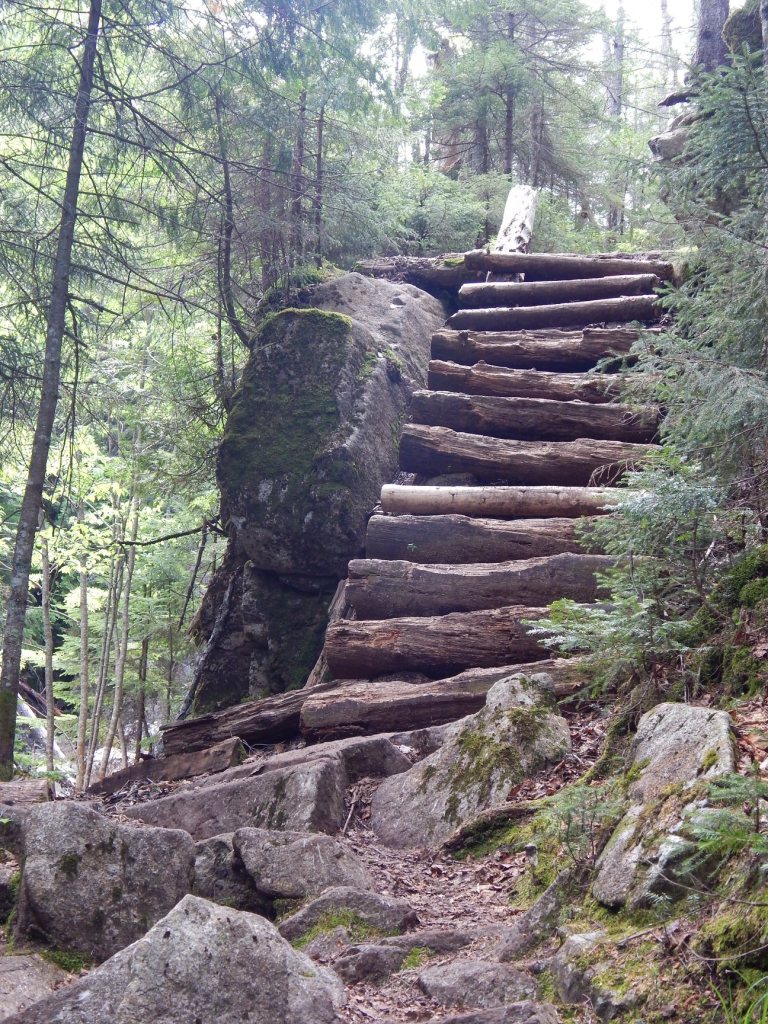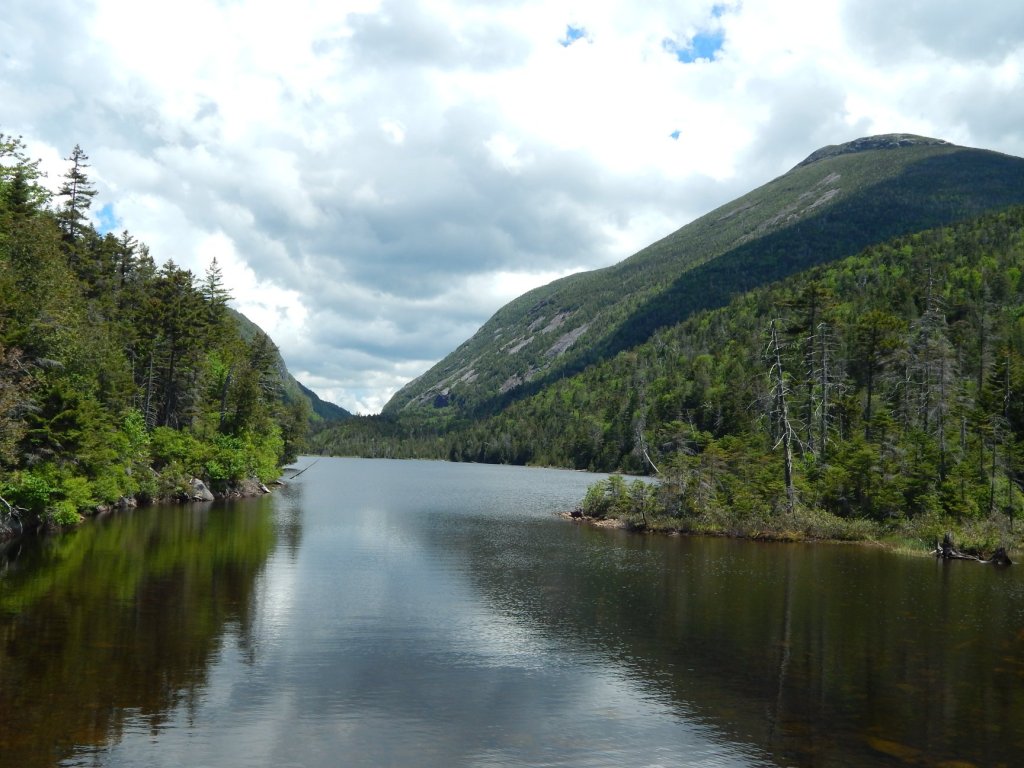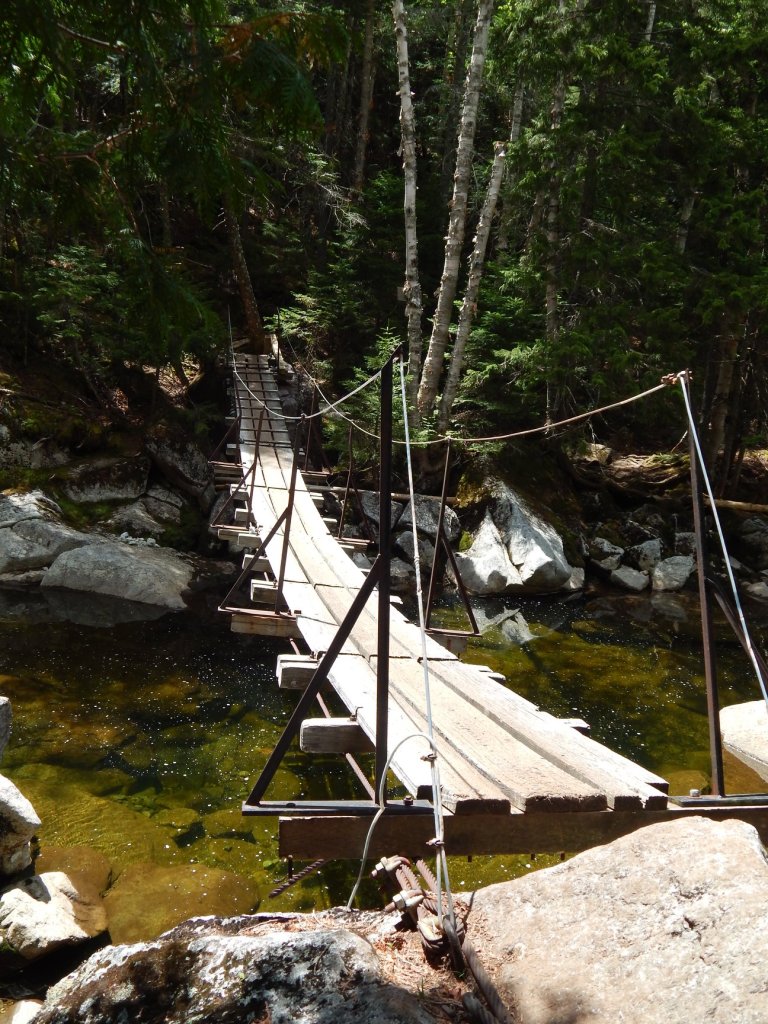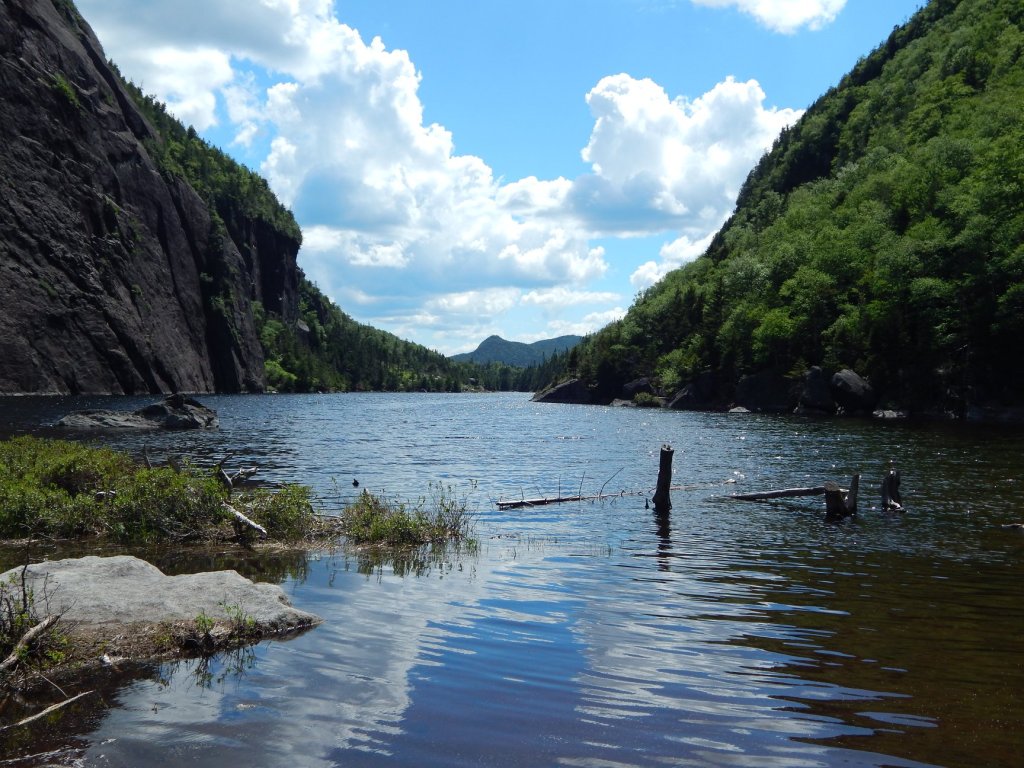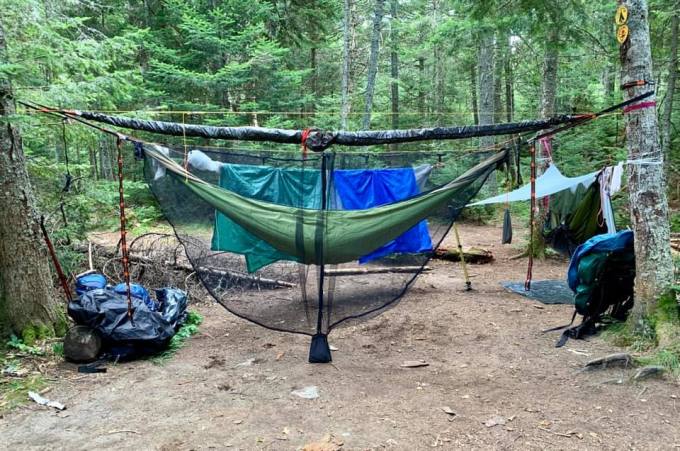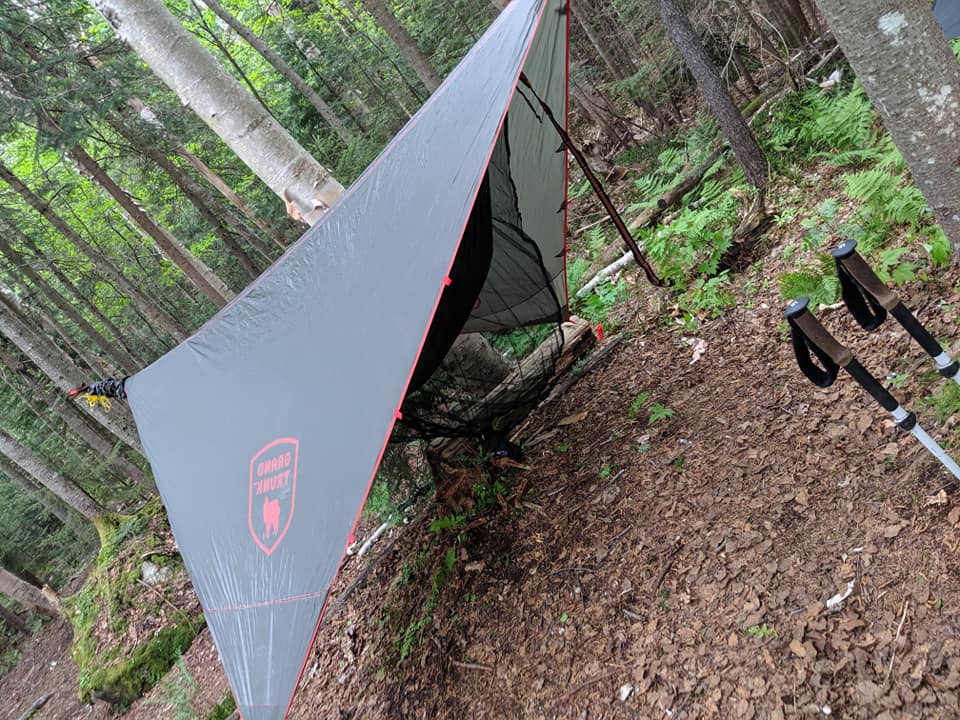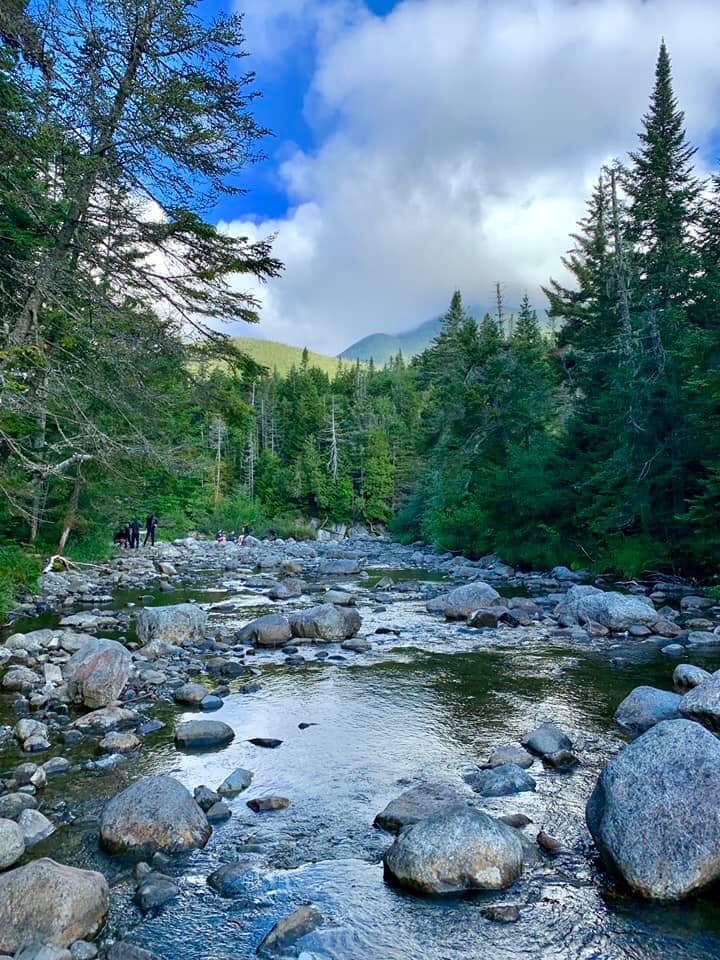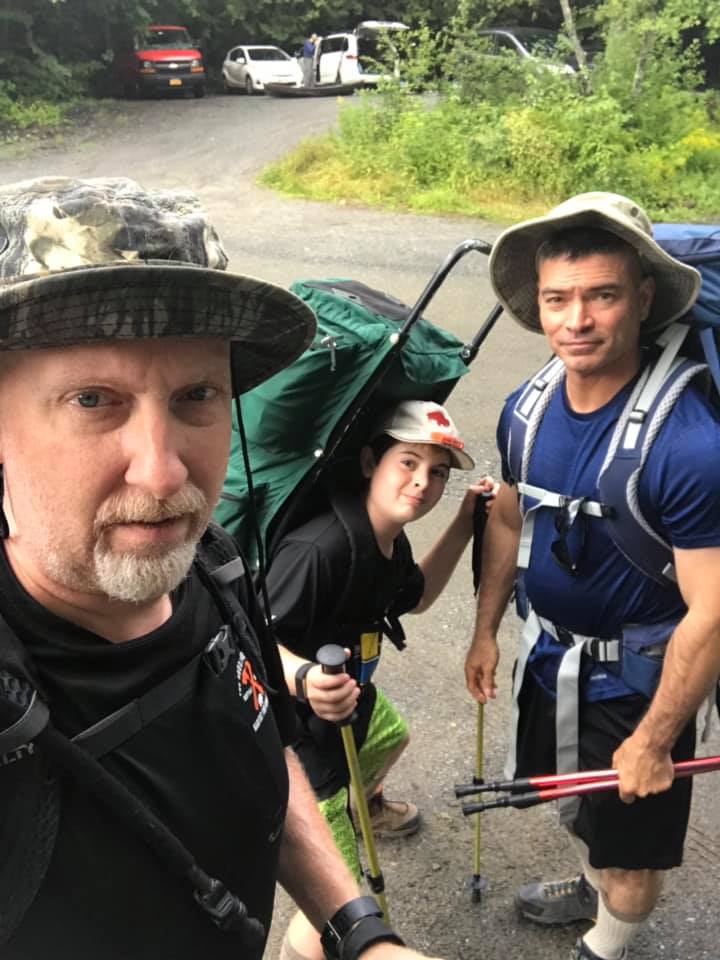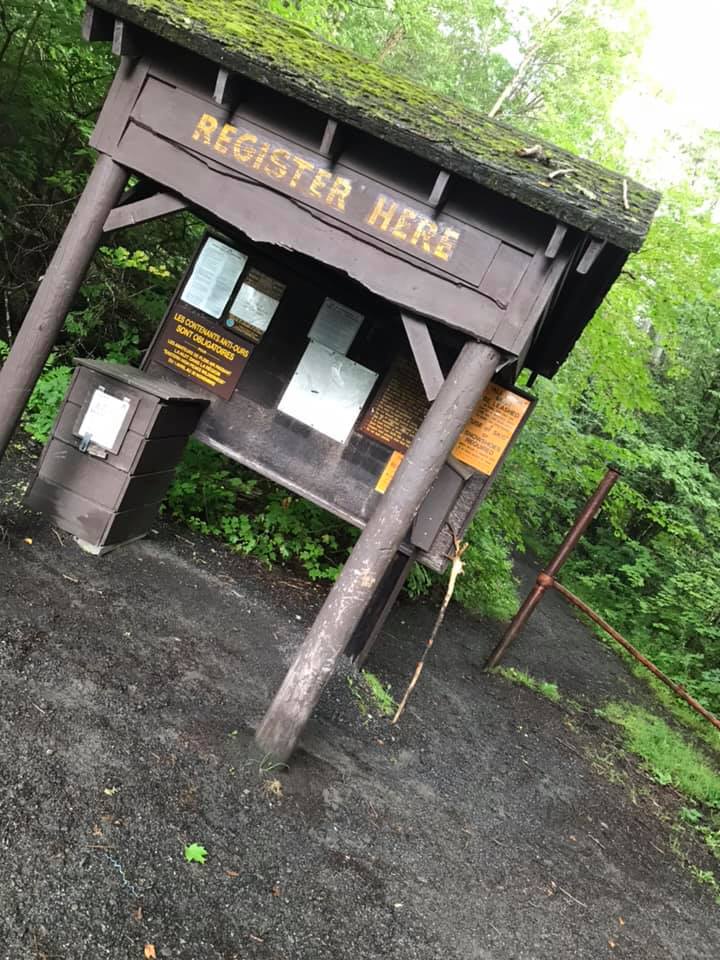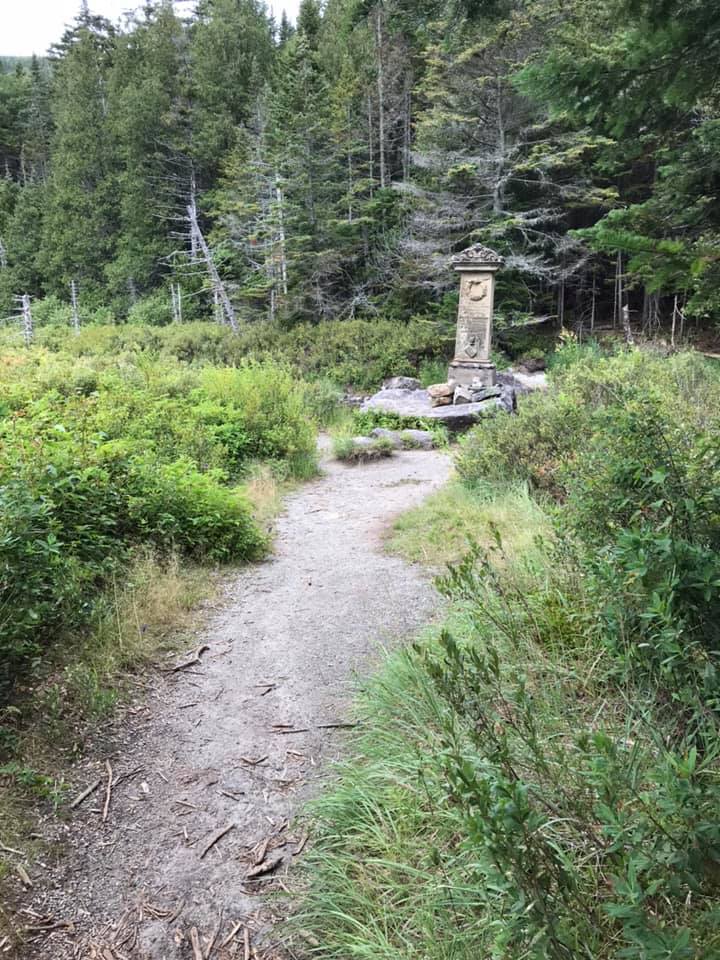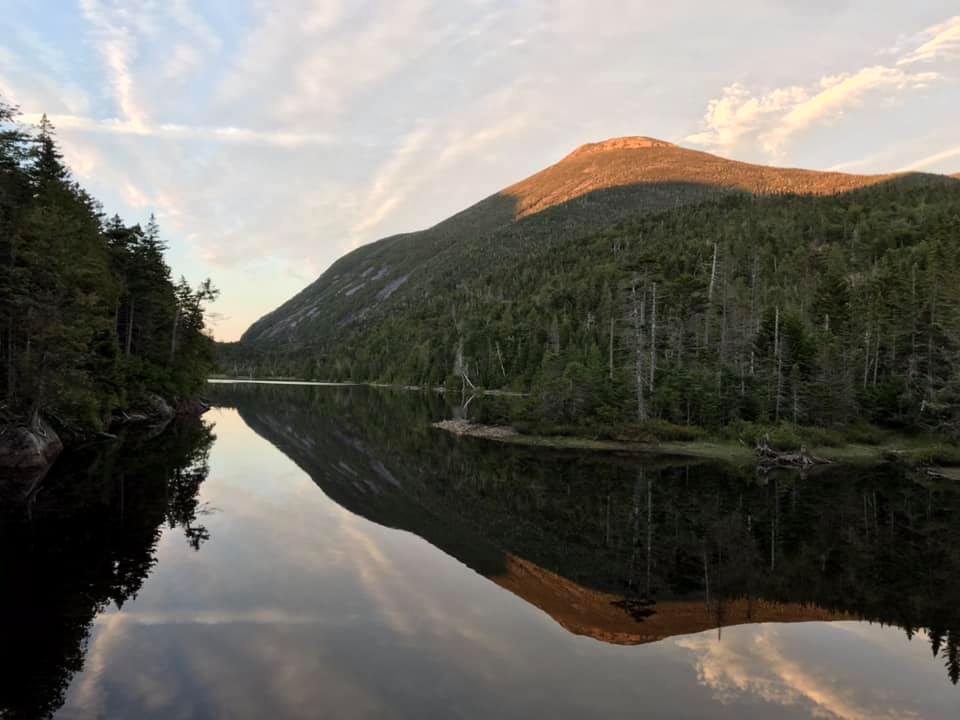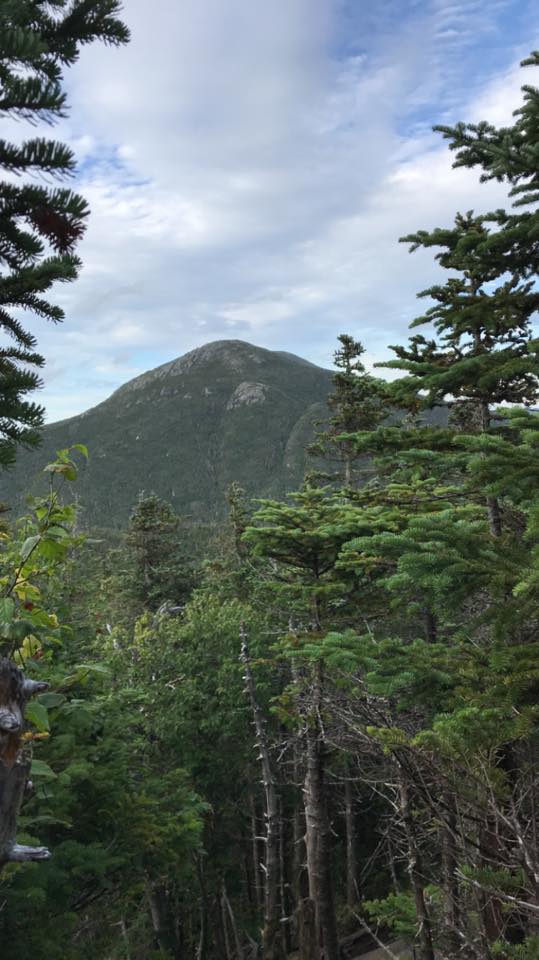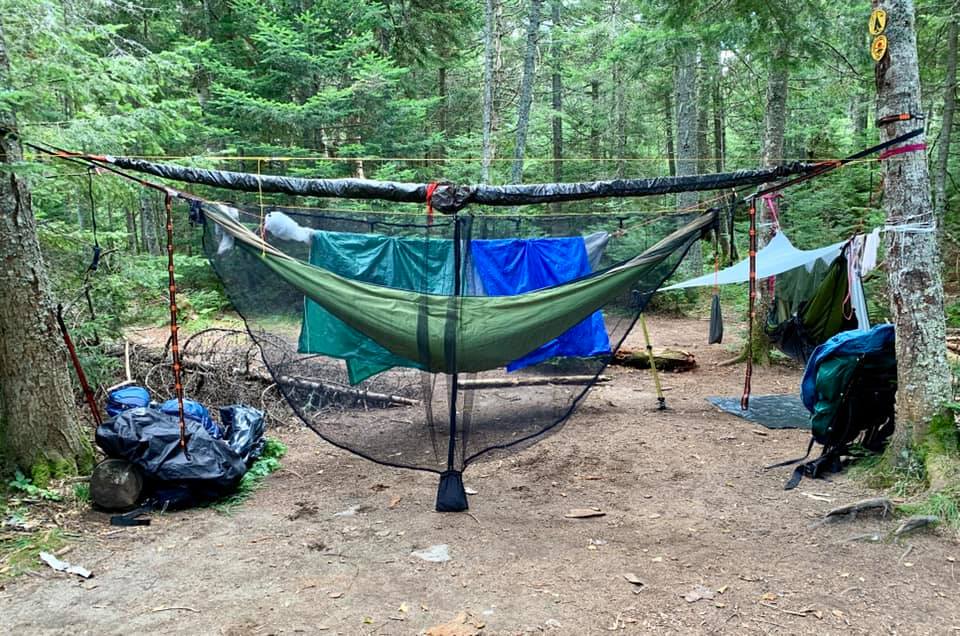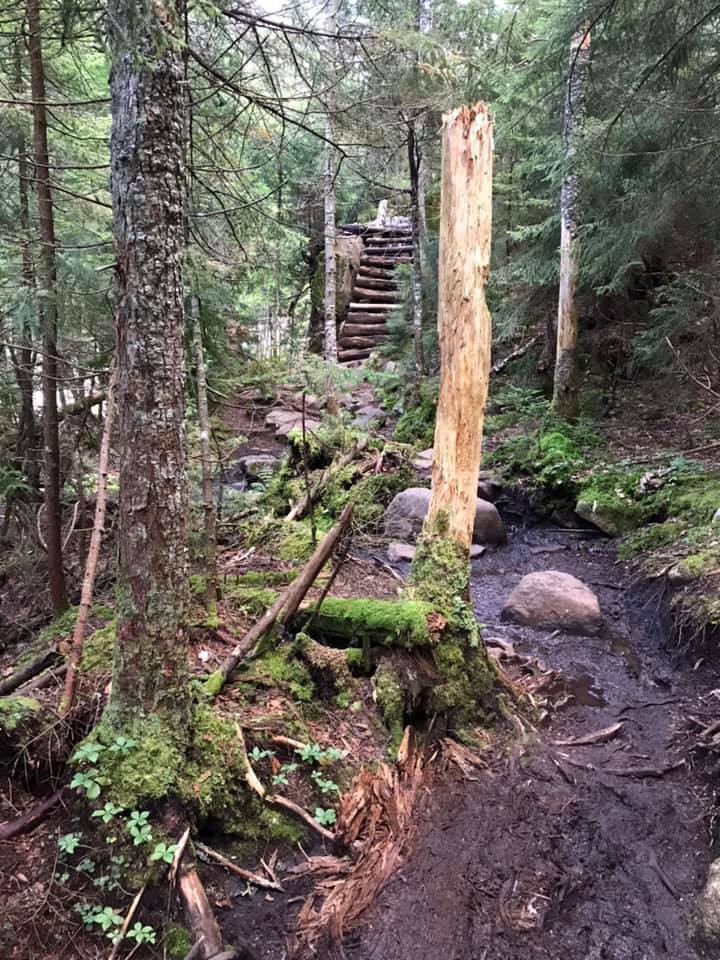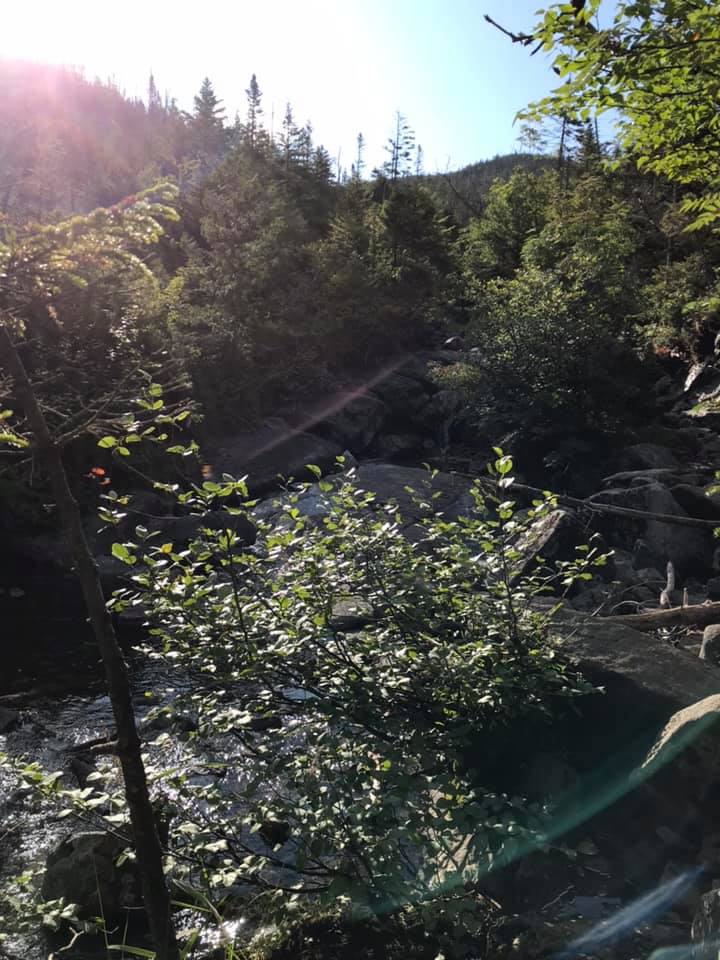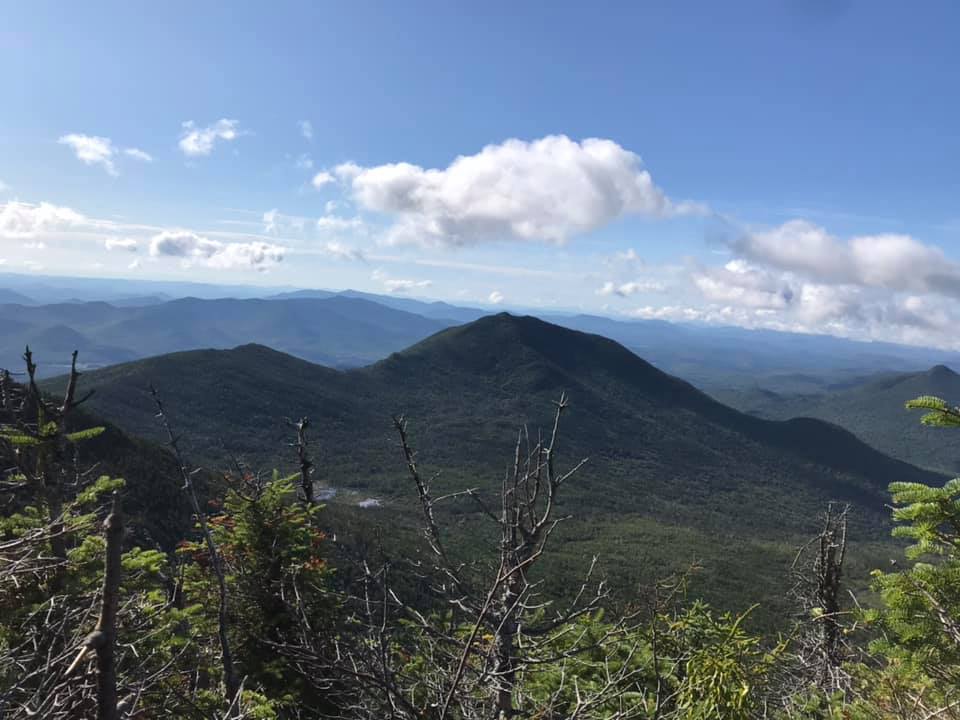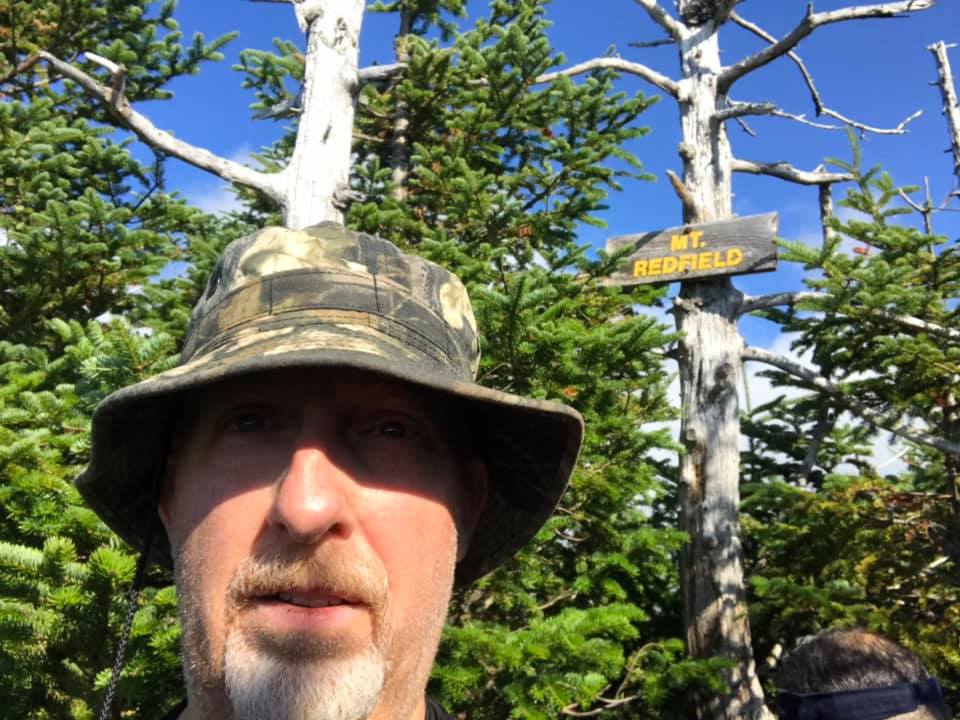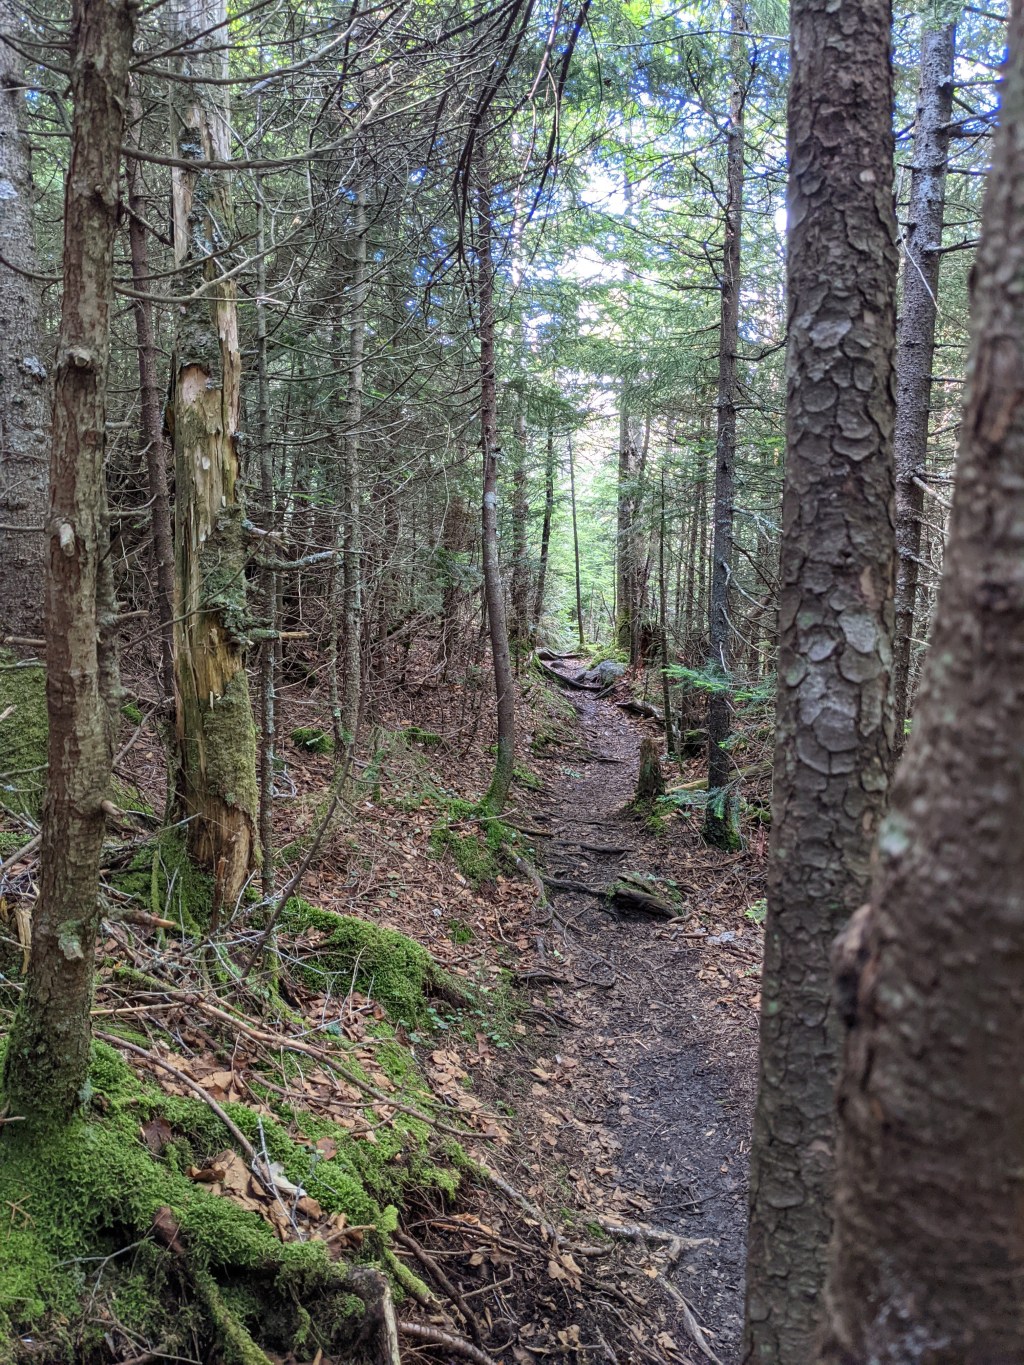
• Just some memory lane photos of the place I like to go to forget the “Day to Day Bullshit” society and media burdens me with.

  • Hiking Planning

    It’s that time.

    Time to start planning my first trip to the Adirondacks for the season. I have developed a planning method that has been working well for me so far. My time estimates and weather predictions have been more “on” than “off” on most of my hikes so I’m sticking to my method.

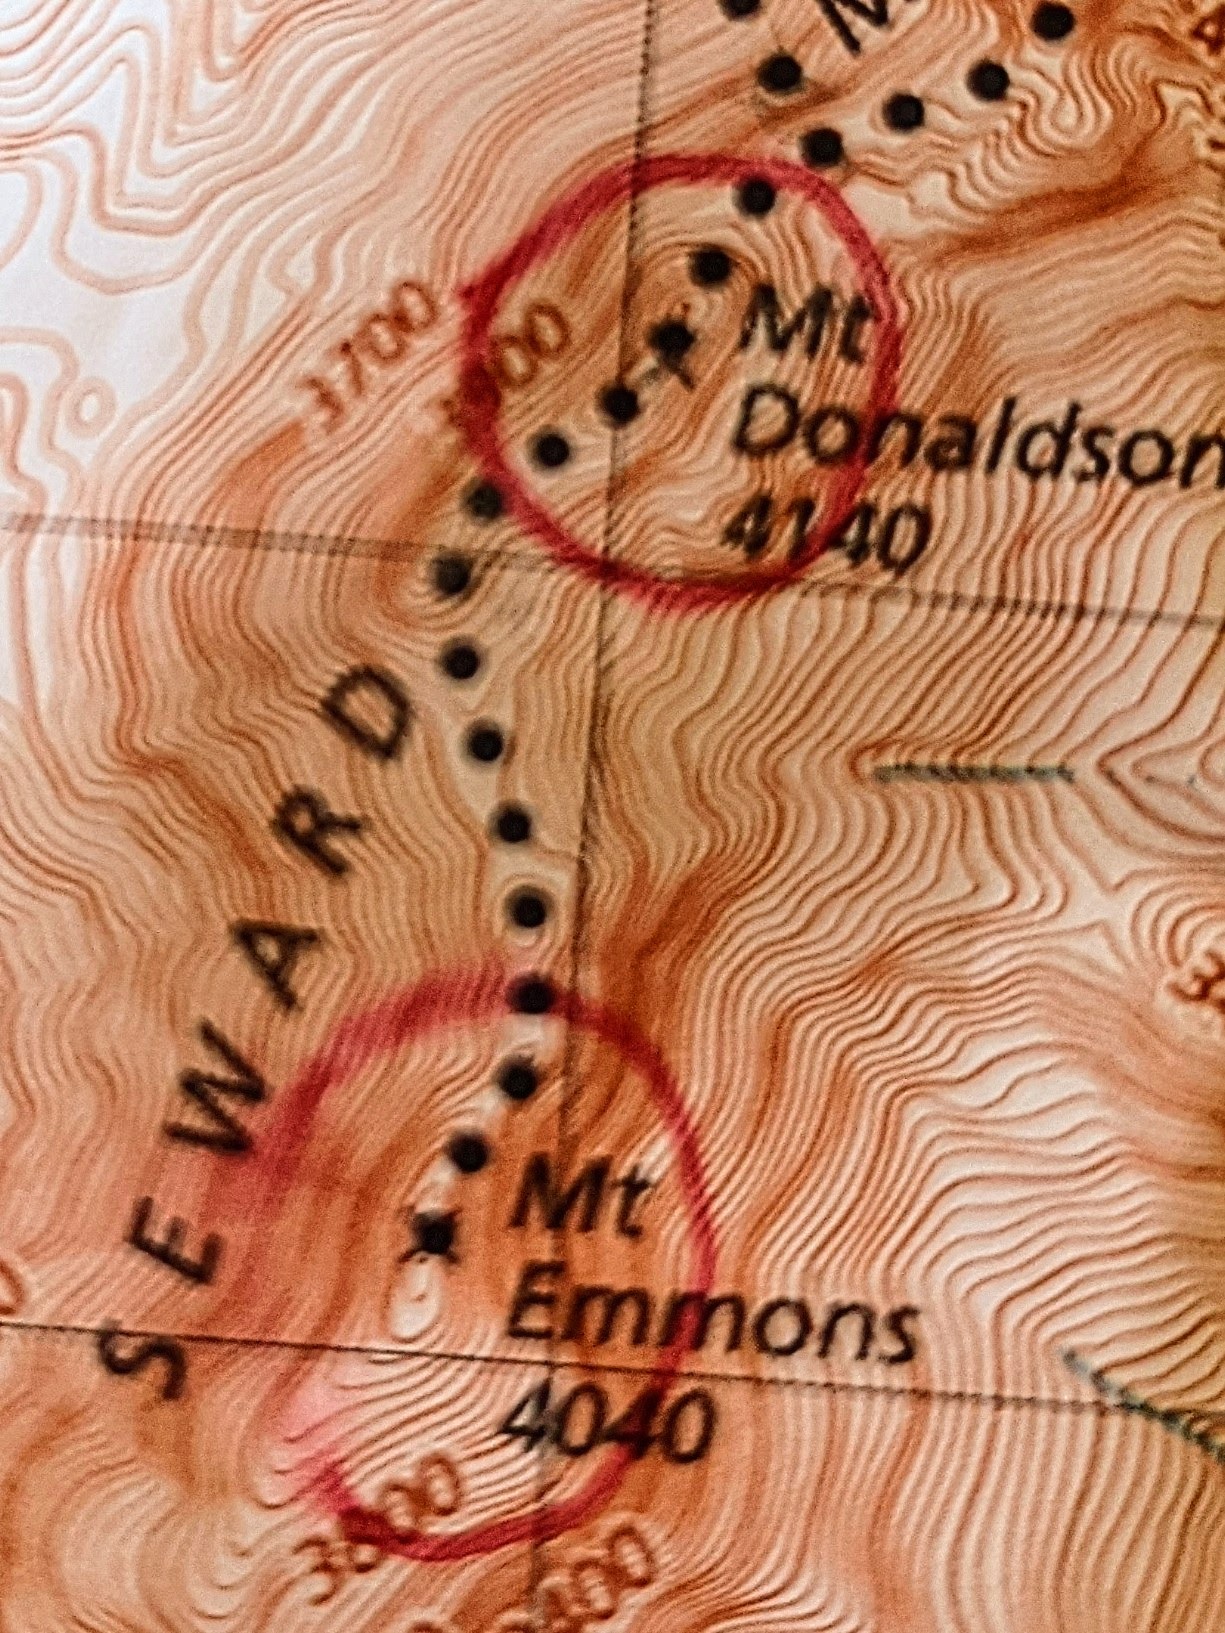
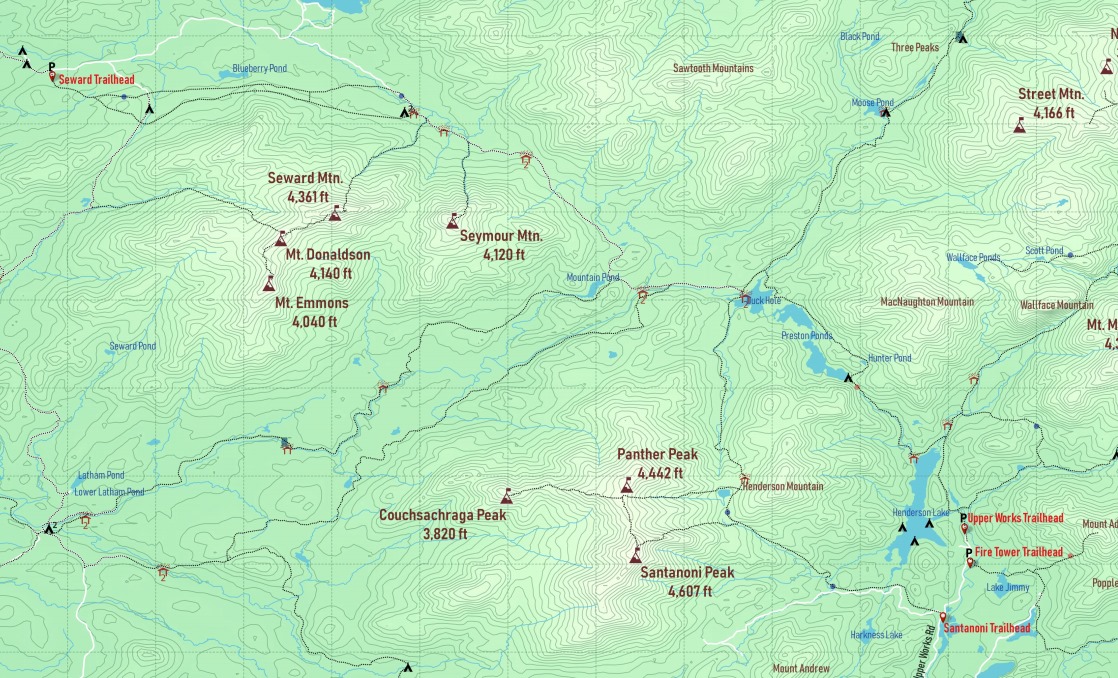
    The first thing I do is look at the list of remaining peaks I need for the 46 then break out the map. I am at the point in the 46 where there are only a few “ranges” left. After the Seward’s and the Santanonis I have a hodge podge of summits scattered throughout the Park.

    Once I have determined how many days I want to spend on the trip I drill down to a rough plan; something like “Travel early in the AM . Arrive at trailhead. Hike to campsite. Set Camp. Summit a peak or two. Return to camp. Next morning hike all day. Return to Camp. Next morning hike back to trailhead. Travel Home.” If I have more time I may pencil in travelling to another trailhead, maybe resupply along the way, etc.

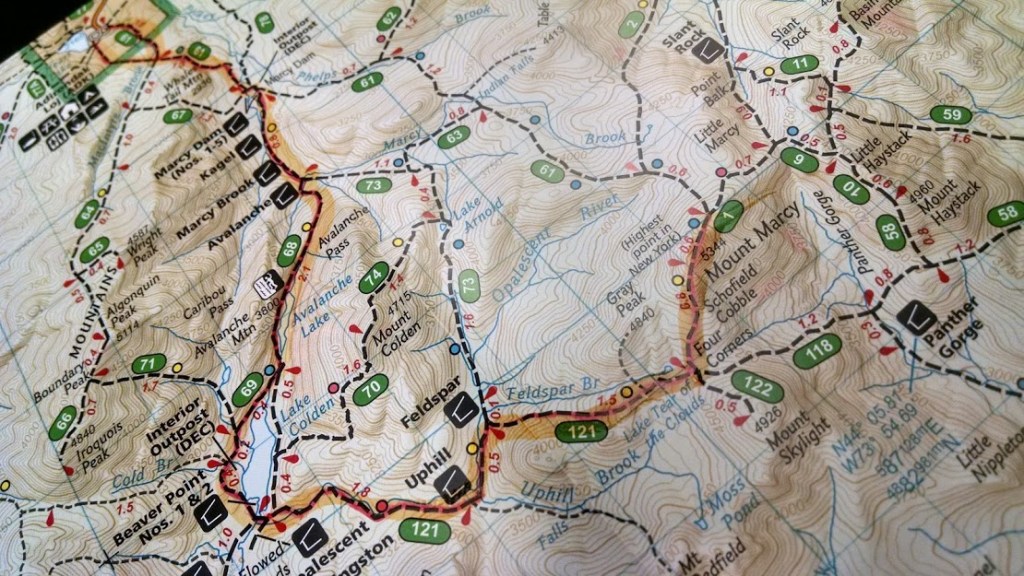
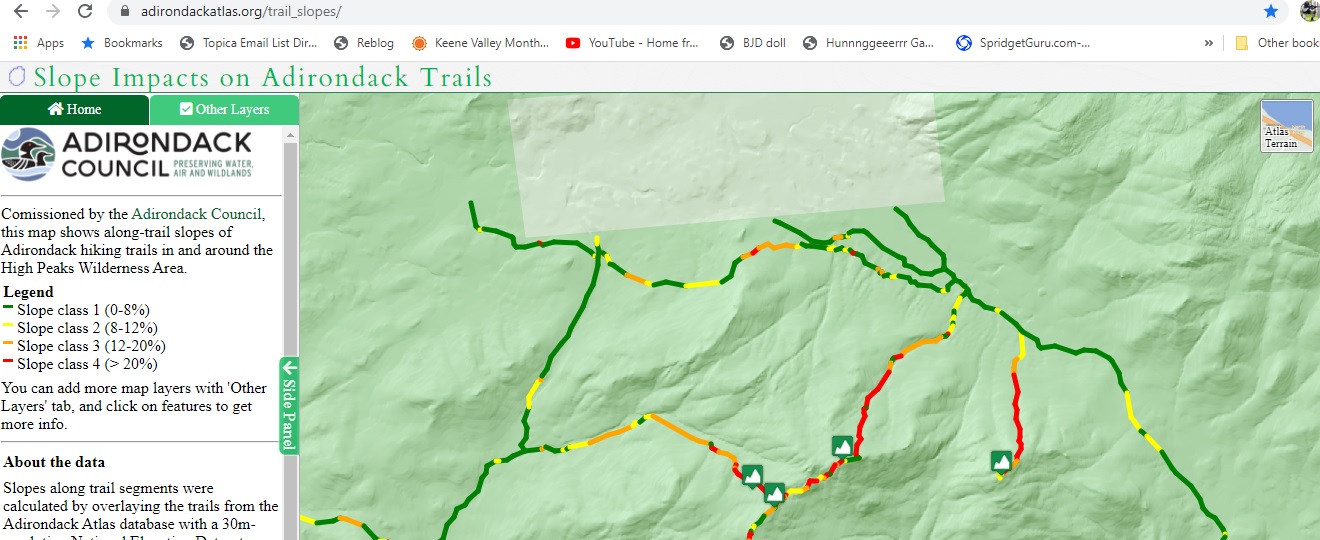
    I then consult the Adirondack Atlas to get an idea of trail elevations/slope.

    I don’t use any complicated equations for hike time, just the “rule of thumb” of 3 MPH on the flats (green/yellow), 2 MPH on “rugged terrain” (yellow/orange), and 1 MPH on the steepest (orange/red). Depending on what “color” dominates a particular leg of the hike, I just plug in the time estimate…I always err on the side of slower if it’s an area I have never been to before. If I’m familiar with the area I can make a more accurate estimate based on previous hikes.

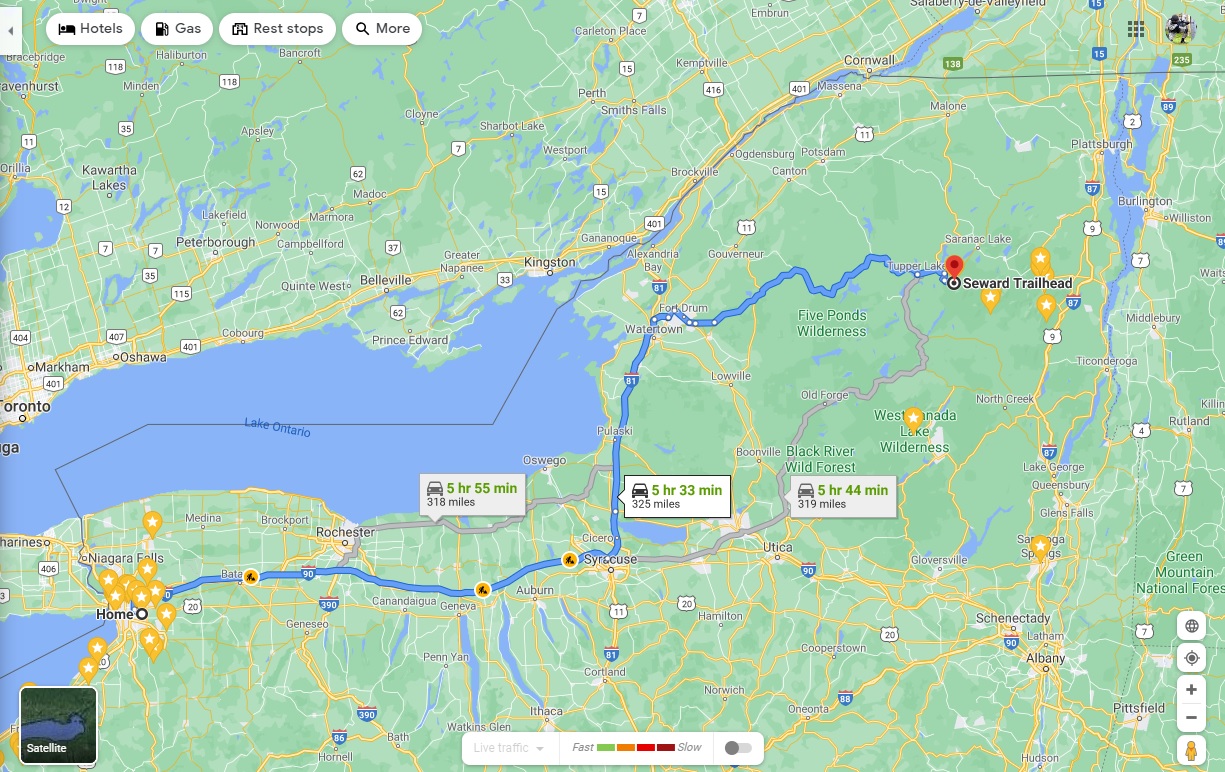
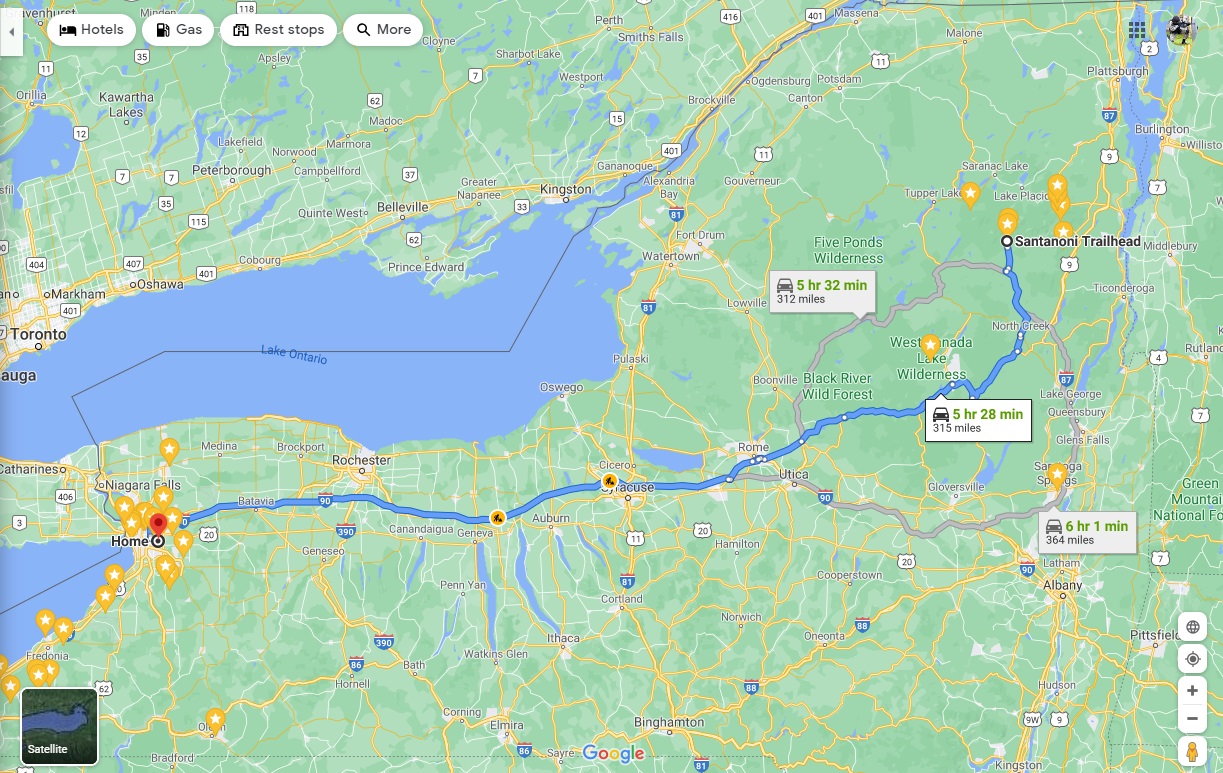
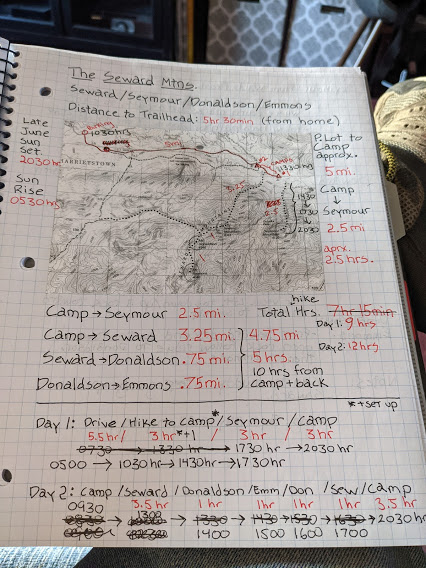
    Now I break out my notebook and start marking out legs of the trip with the time estimates. Google maps is damn accurate for the drive time estimates.

    Once I mark out the hike-time estimates, it’s time to work out what times I want to leave home, hit the trailhead, arrive in camp, etc. I usually do this “backward planning” style. I plan to be in camp before nightfall on my first night so I use sunset as the target time, then its simply a matter of going backward in time with the hike/travel estimates to figure out what time I should leave my driveway.

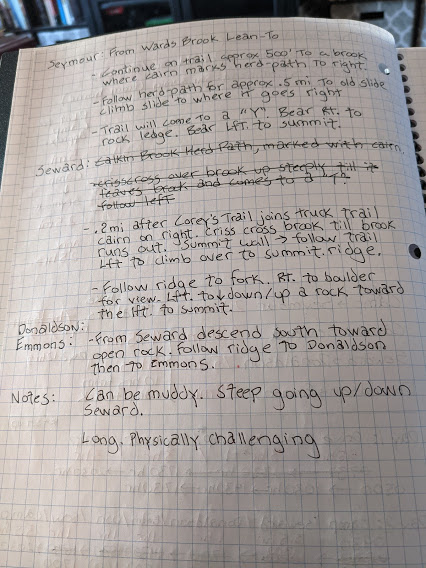
    I’ll also note any trail info I can find.

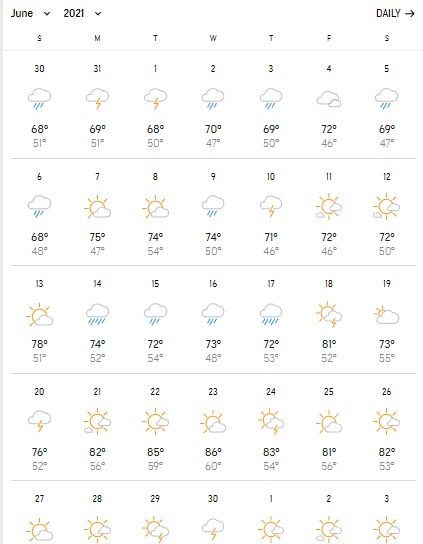
    Now that I know what time I have to leave, I have to figure out what day. I have been using AccuWeather to pick my day. Their extended forecast is based on historic averages and is useful for determining what the weather is “likely” to be a long way out. Late June is my usual Month for trip #1.

    The weather changes…well like the weather…so you watch these estimates change daily/weekly. As I get closer and closer to the middle of June I tend to see the pattern settling down with the possibility of the prediction flexing a day or two up or down the calendar. I then pick my day and go.

    I will then figure out the food plan. Always pack one extra meal than planned.

    If I’m renting a GPS beacon, I factor in shipping time/day to coincide with departure plan.

    Finally, I will print out a packet with my entire plan and emergency contact numbers (DEC/Rangers/Etc) to leave with my wife.

  • Hiking Conditioning

    It’s that time of year.

    The time of year that I start my 12 week training cycle for this Summer’s hiking plan. I have tried a few various programs over the years, but this is the one that I have settled on. It’s based strongly on the FitClimb 12 Week Mountaineering Fitness Plan-Intermediate. I have tweaked their program somewhat to adjust to my schedule, my lifestyle and the aches and pains.

    The program is heavy on stepping and cardio. I found my right knee barking at me a little after my last cycle through so I’m replacing some of the cardio with rowing to minimize impact. It’s a Heart Rate based program and I suggest getting a chest strap monitor to get the best results.

    Being in my 50’s (and using the easy but less accurate 220-age formula to generate HR data) some of the cardio is just brisk walking at the beginning, but if you stick with it you will find over time that you have to build up to a trot to get the HR up into your training zone.

  • How THIS 50-something stays fit for the trail.

    Success is where preparation and opportunity meet. -Bobby Unser

    First off. I’m not going to oversell myself. There are a ton of (almost) 53 year old guys in FAR better shape than I am, and I guarantee there are plenty of men who are far better physical specimens to look at than me. However, I feel confident saying that I’m maintaining an above average level of fitness compared to the Average American Male of my age.

    For example, last September I ran 12 miles to raise charity funds for Tunnels to Towers. I left the next day for the Adirondacks where I packed in a solid 8 miles, set camp then summited two High Peaks. The following day I did two more summits then packed out the next morning. After I returned home I went back to work and passed my annual Physical Fitness test within the 75th percentile of my age bracket. I can deadlift twice my bodyweight, I could run a respectable 5k right now if needed and I feel safe to say I could strap on a full pack RIGHT NOW and get myself anywhere I want to go.

    What advice can I give you?

    I don’t have some “magic formula workout” to give you. I’m not going to show you photos of me describing how-to do step-ups or lunges nor will I belabor, for the millionth time on the internet, the importance of cardio for hikers. All of that is great, you need to do them, I do them, but I think that…in the long run…you need to prioritize a MINDSET about staying in shape more than you need a list of sets, reps, weights, distances and heart rates.

    My personal fitness philosophy can be broken down into two main themes.

    Train For an Objective: I have always tried to have a “purpose” to my training. When I enlisted I wanted to be able to perform all the physical tasks of a soldier without embarrassing myself. I knew I had to be able to run, to carry a pack, to do push-up’s and sit-up’s, etc. etc. so I trained accordingly. I took the same approach with the Police Academy and SWAT. Now that I’m working on the 46 I have another purpose for training.

    This sort of approach needs you to be capable across various fitness requirements to be successful vs singular fitness goals. While objectives like “lose 50 pounds”, or “run a Marathon”, or deadlift 400 pounds are perfectly legitimate, it’s my opinion that “end state goals” like that tend to end with a “well..what now?” conclusion for some people. After they reach their goal they lose interest in the program that got them there. Certainly many “Marathon Goal” runners continue to run races and maintain their motivation by striving to make faster times and continue their training, but all to many people check the “well I did that” box and call it a day.

    I like to have “all encompassing” goals that have varied physical demands as well as skill requirements. An objective like,” be able to take a full pack at any moment and go 25 miles with it across varied terrain”, requires physical demands like cardio, core strength and muscular endurance as well as skills like land navigation, food and water procurement/supply/preparation and various others.

    Do Something Everyday: This doesn’t mean to over train or ignore programming. I’ve followed various programs and will continue to do so. This isn’t about following or sticking to a program (that’s a given), it’s about your mindset. I try to do something every day to improve myself. A large part of that is exercise, but not all of it. If I am on a rest day, or feeling particularly drained, or seeing my resting heart rate on the rise I may maintain my equipment, research a new fitness program or do some map reconnaissance for my next hike.

    Some days my “something” may be to do some dry-fire weapons training. Or I may just walk 5 miles around town with a 45lb pack. Today my “something” is writing a blog post to try and actually lay out what I’m doing in words…maybe I’ll learn something about myself and find a better way.

    So. What do I actually do?

    My training for hiking for the past 3-4 years is usually the selection of a 12 week program that I begin around the end of March and finish in June when my hiking season typically starts. These programs are heavy on the cardio, with lots of stepping movements, core work and with a dash of “supporting” exercises like chins, push-ups, weights etc. Time is coming up for that again.

    When I’m off program I tend to do a hodge-podge of workouts that have a strong cardio/muscular endurance component. The following is a list of various workouts I do for about an hour 4-5 days a week interspersed with ruck walks and runs/jogs. Sometimes the other 2 days of the week are rest days (where I try to do a skill session) or “recovery workout” days that may include a walk with the wife/dog or an additional “pack walk” about town.

    I usually do one of the workouts below, not repeating for the week OR at least not repeating any one workout the next day.

    Cardio: IMO cardio probably the most vital thing for hiking. Running, treadmills, ellipticals, heavy bag/boxing drills, burpees, step-up’s/down’s, walking.

    Research Heart Rate Training and get a Heart Monitor. It works. You don’t have to be a marathoner, or run till you puke….I think too many people get turned off to cardio by biting off too much too soon. Working up to higher efforts can actually be fun if you do it right. Somedays my cardio is an hour on the treadmill (It’s winter here) or the elliptical at my target heartrate. Many days its a blended workout where I run/lift/run or run/box/run/. Run/burpee/run. Burpee/box/burpee…etc. etc. Ill talk more about that later.

    Deadlifts: Deadlifts are great core, posterior chain and overall strength builders. Hauling that pack, hoisting it off the ground, all of that can be trained with deads. Be warned, there is a skill/technique learning curve to them so you don’t hurt yourself. You can work max strength by working up to single rep lifts and you can improve your endurance by doing higher reps at lighter (but still challenging) weight.

    Traditional Weight Lifting: Most of my Trad Lifting these days are “Push Pull” lifts. This week was Bench Press 12-15 reps followed by 10-12 chin-ups followed by 25 ab/core movements (sit-up/ab machine, leg lifts, etc). Wash, rinse, repeat.

    Somedays I’ll do overhead presses vs bench, rows vs chins, etc. One “push” movement followed by a “pull movement”. Squats find their way in some days too. I’ll also include core/ab stuff here. Planks, roll-outs, crunches, leg-lifts, etc. etc.

    Heavy Bag/Boxing: I do “rounds” (typically a song on my playlist) on the heavy bag. I mix in kicks, combinations, sometimes burpees. Rest a minute or two then back at it till you have covered 45 min/hour. My gym also has a “loose bag” that’s available to “bear hug walk”, slam on the ground, or “ground and pound” (straddle it and punch/elbow away at it for a round).

    Step Up’s/Downs/Lunges: Mix it up. Sometimes I’ll just do step ups for 30-45 minutes straight (don’t even bother counting anymore). Sometimes it will be 10 minutes on a regular height bench, followed by 5-10 minutes on a high bench. Sometimes I put a sandbag across my shoulders and alternate that for 5-10 minutes at a shot.

    Walking lunges, walking weighted lunges, lunges with a kettlebell held overhead, split squats, one leg deadlifts. They have all found their way into this workout.

    Burpees: They suck to do, but I think they are great. Some days my only goal is to do 100 of them (in “chunks”). Other days I will do burpees mixed in with other exercises (see “Blenders” below). Burpees under a chin-up bar with chins “on the jump”. Burpees mixed in with Heavy Bag.

    Rucking: Simple. Put on a pack and walk. Vary weight, vary distance, vary pace/speed. Good for cardio, core, muscular endurance, foot toughening/blisterproofing.

    Blender Workouts“: While a workout day may be just one of the workouts described above, more and more I will “blend” stuff together into an hours workout. Burpees are a good “ingredient” here.

    One of my go-to’s is the Run/Fight/Run workout. I run 1/2 mile, hit the heavy bag for 5 min, run 1/2 mile, hit a grounded bag for 5 min, run a 1/2 mile. Sometimes I toss in “10 deadlifts at 225 lbs”. Sometimes its 10-20 burpees, or a “bear hug” heavy bag carry for a set number of laps around the gym. My goal is to do a set number of cycles till the “run” portion of the workout hits a specific distance. For me between 3-5 miles.

    Some other examples:

    30 min on the treadmill then 30 min of step-up’s (alternating weighted and not).

    Run/burpee/run/burpee/run (repeat till mileage is met).

    Run/deadlift/run/chins (repeat till mileage is met).

    Run/deadlift/run/sit-ups and push-ups/run/chins (repeat till mileage is met).

    The combination possibilities are endless.

    In conclusion. I’m not a certified physical trainer. I’m not claiming that my approach to fitness is “ideal” for me or for you (lol), but I have been doing OK for myself with it so far. If you are looking for some ideas to “mix-up” your training, maybe you can incorporate some of what I do into your routine.

  • Catching up with my log…In mid September 2020 my childhood friend Paul and I headed out to the ADK to tackle Colvin, Blake, Nippletop and Dial. We left WNY around 2300hrs and drove through the night, arriving at the Ausable Club public lot around 0530hrs and it was good we left so early because it was already beginning to fill up.

    We took the club road to the gate and began our hike to the Gill Brook Trail to Elk Pass. A “not too steep” hike but continuously uphill.

    We set up our hammocks near the pond at Elk Pass and took off for Colvin and Blake. The ascent was sharp but I’m now used to the terrain and it wasn’t the worst I ever faced. Eventually we topped out, finding a nice rocky ledge near the summit to get a spectacular view of Ausable Lake and the Great Range…breathtaking.

    Then there was nothing to do but bite the bullet and tag Blake. All the stories are true. An unremittingly steep col to a wooded peak with no good views. But….you don’t have to like it, you just have to do it. So we did it.

    We then backtracked to camp, stopping at Colvin to get that view again. We then cooked up some grub and got into our hammocks. My new underquilt was appreciated because it got very cool overnight.

    The next day we headed up for Nippletop. Once the trail tops out at the ridge between Nippletop and Dial you turn right for a quick half mile to Nippletop. Then it’s a trek along the ridge to Dial. It was a pleasant trail with views peaking out on both sides of you.

    Eventually you reach the col and ascent to Dial. It’s pretty steep but not horrific. At the top we met Katie Rhodes and Bethany Garretson who were halfway through their unsupported through hike of the 46. They were taking in the view for a few moments before starting their bushwhacking towards the Dix Range. Good people and hardcore hikers.
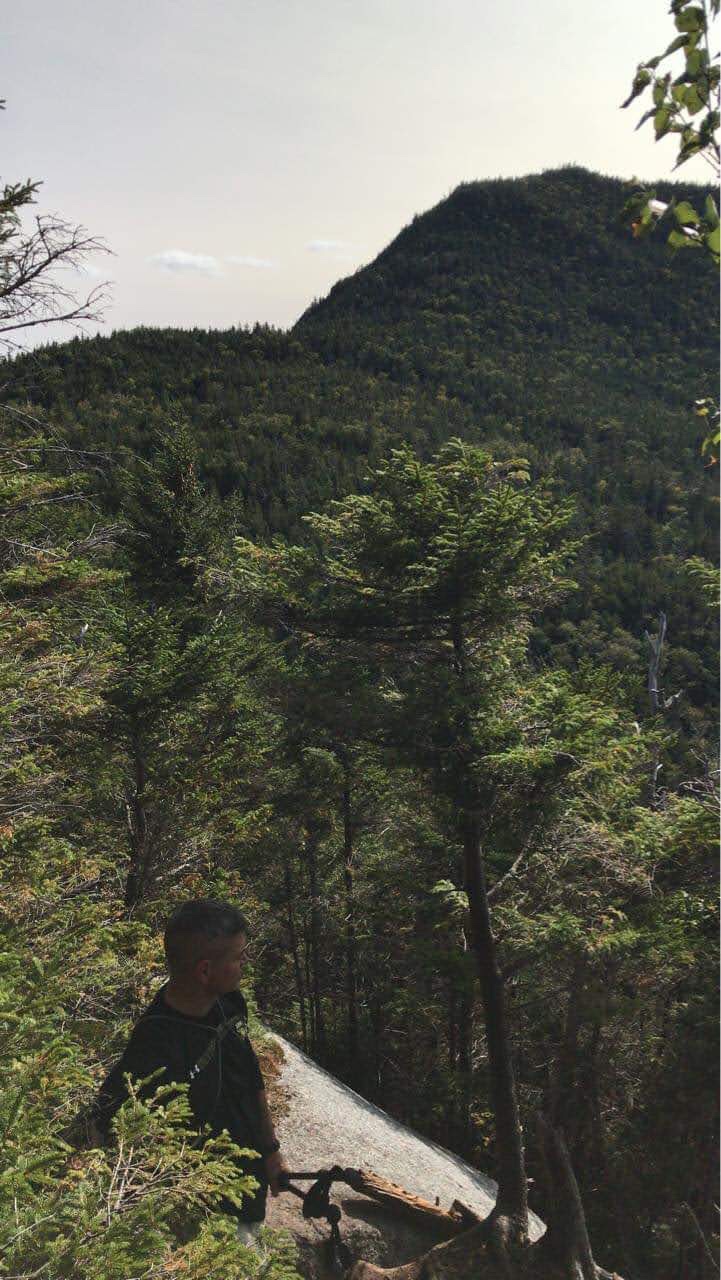
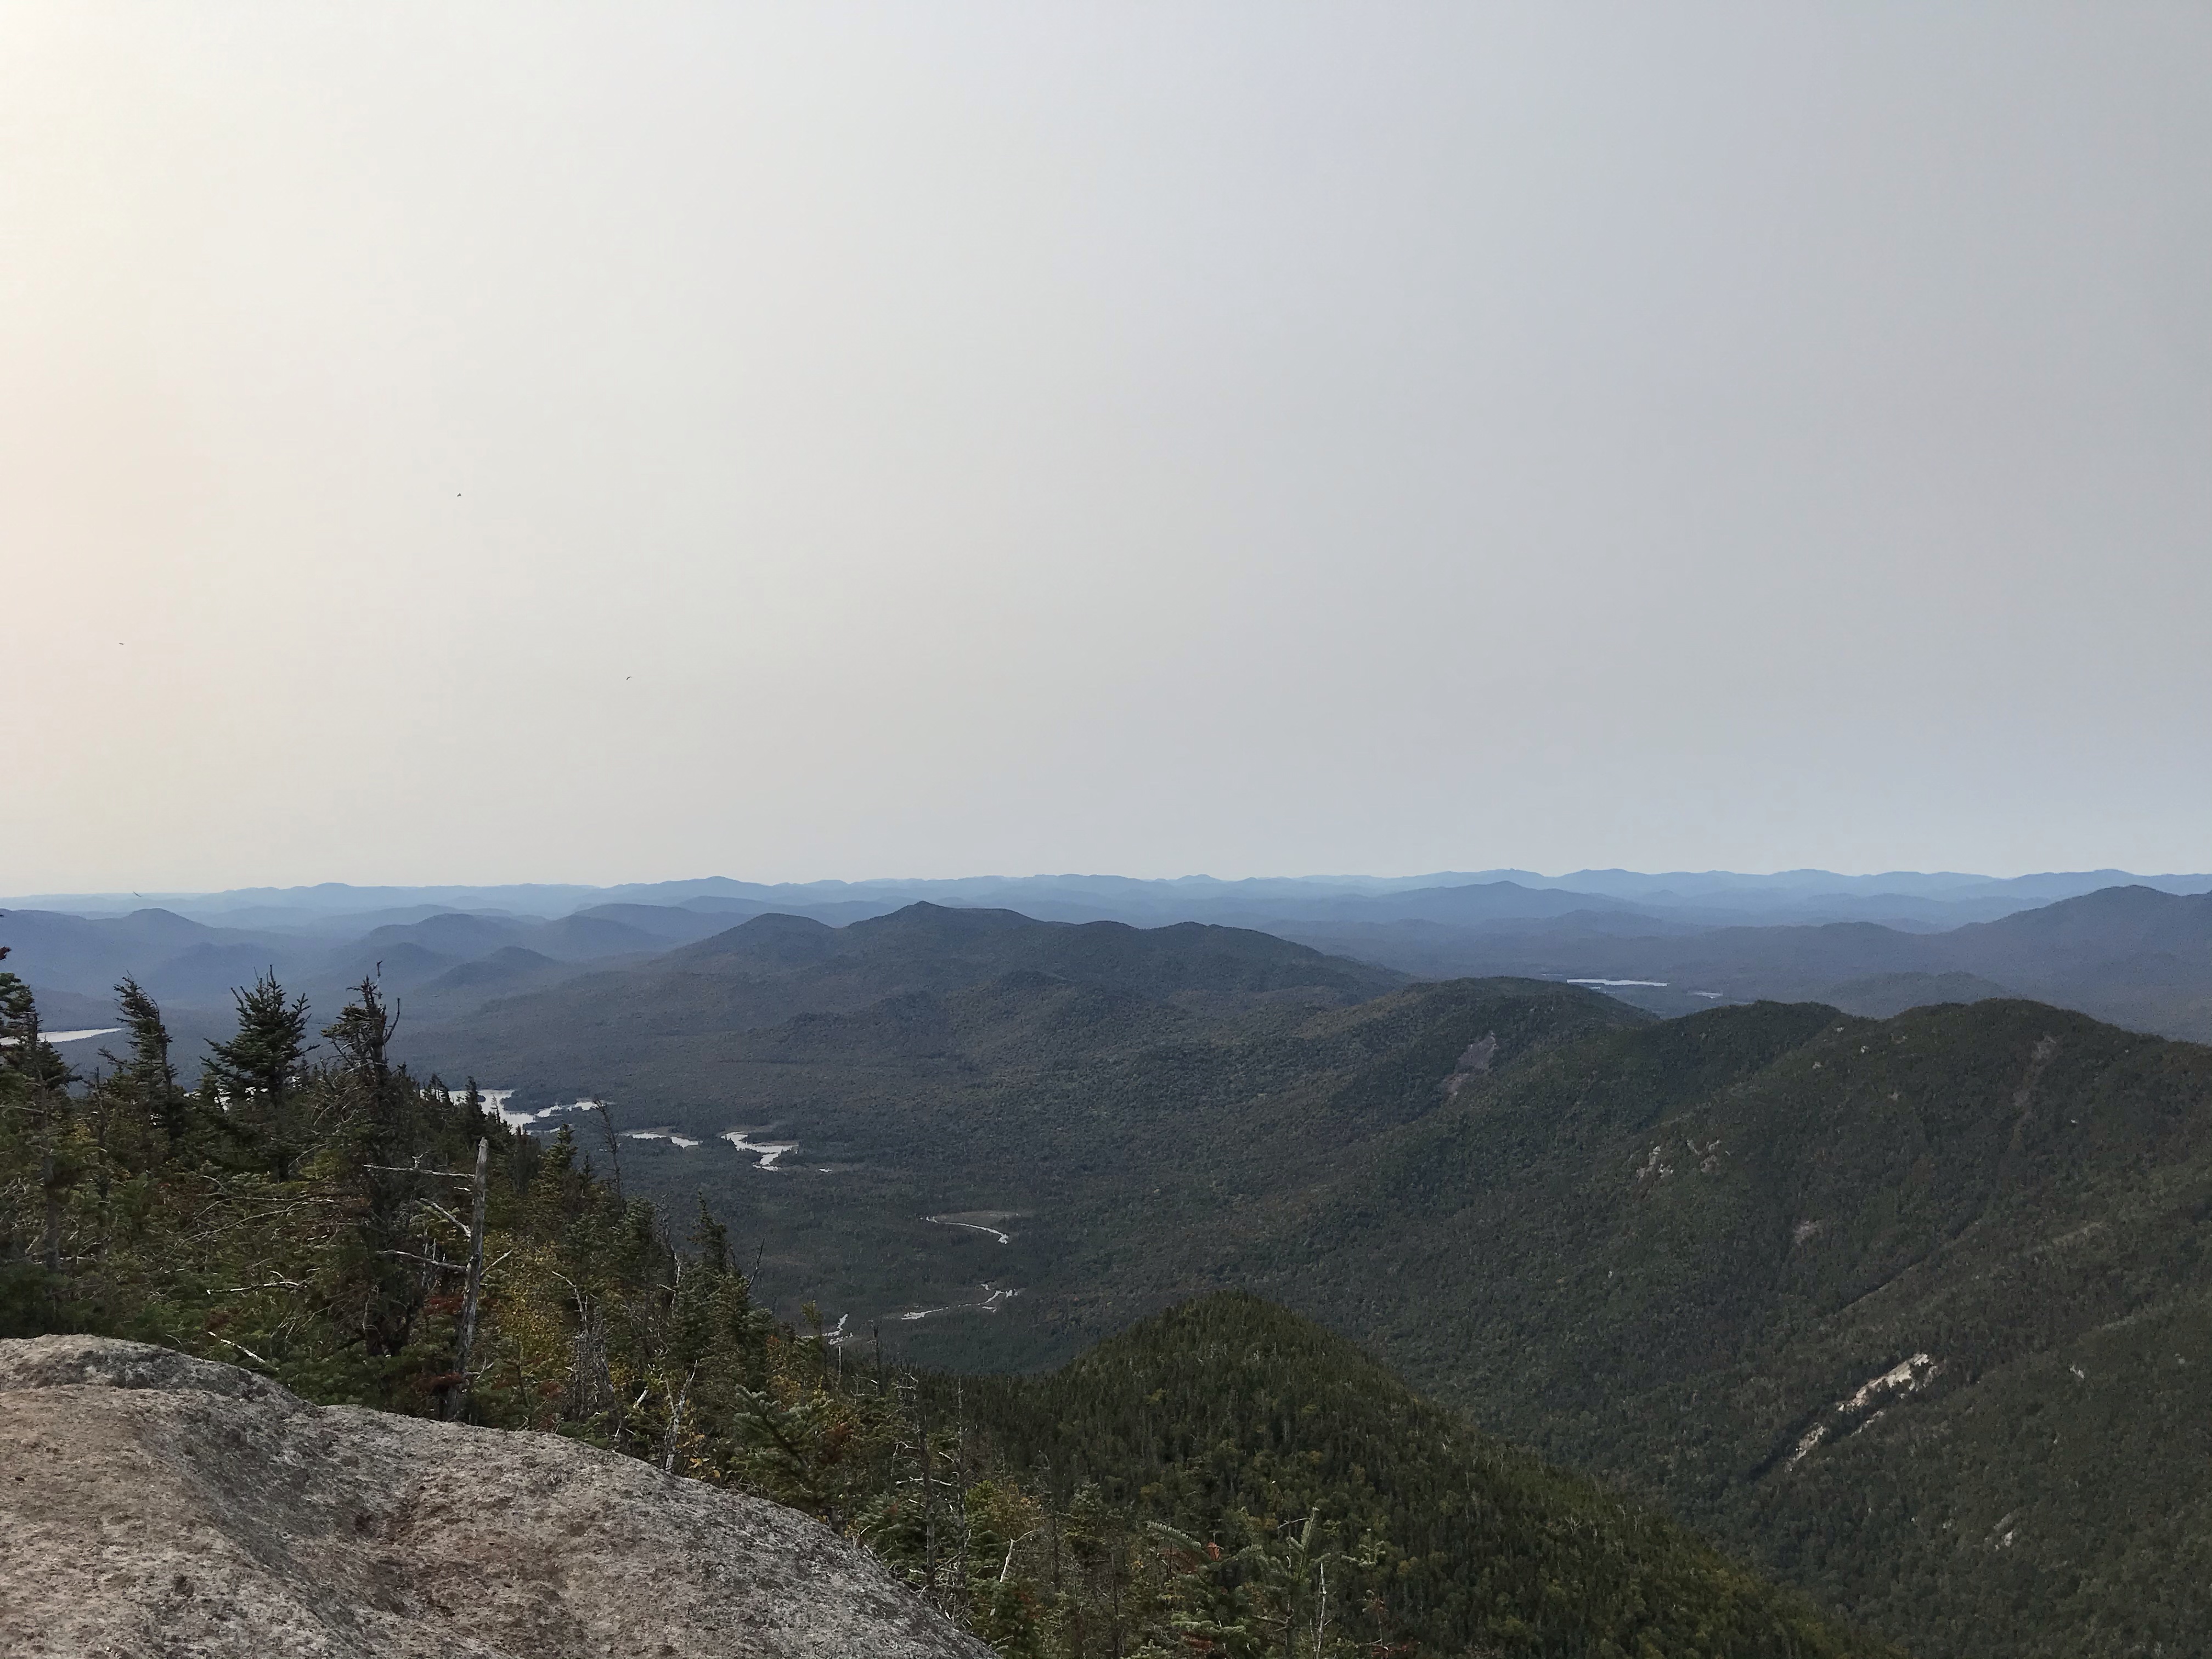
    We then backtracked toward Nippletop and then went back down to camp. We cooked dinner and shot the shit with a fellow camper (cool dude).

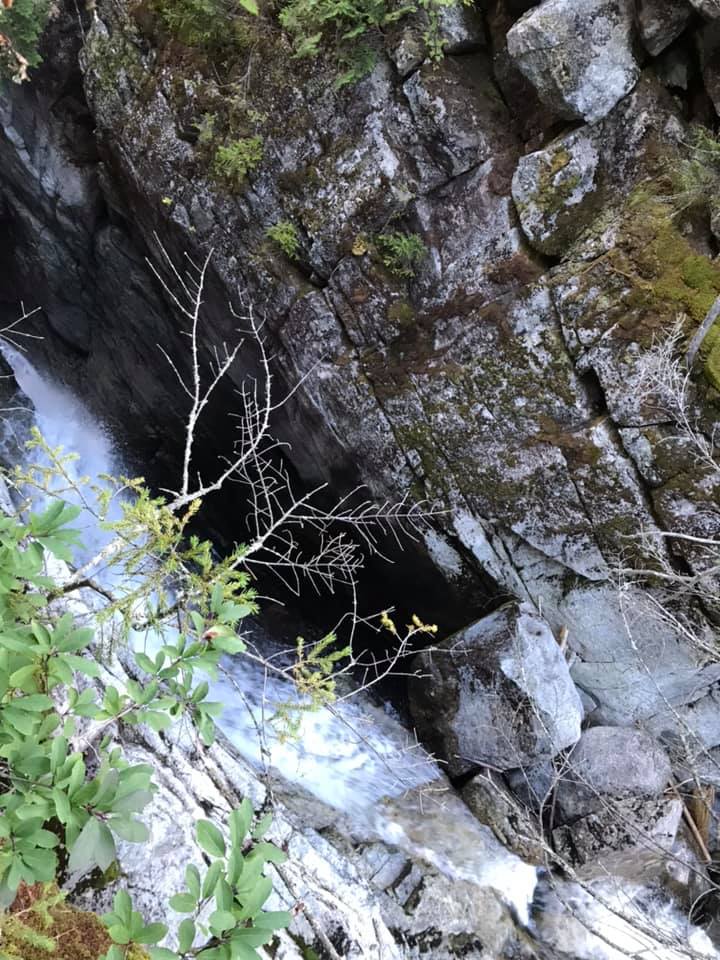
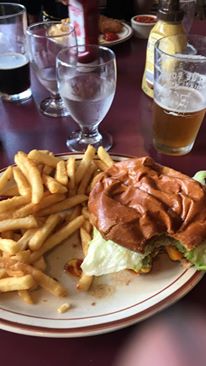
    The next morning it was pack up and hike out. We took a scenic detour along Gill Brook and were rewarded with some beautiful waterfalls. We reached the car…and packed lot…around 1100 and headed home (with a stop for burgers and beer). 31 down. 15 to go.

  • Gray, Skylight, Haystack and Marcy (again)

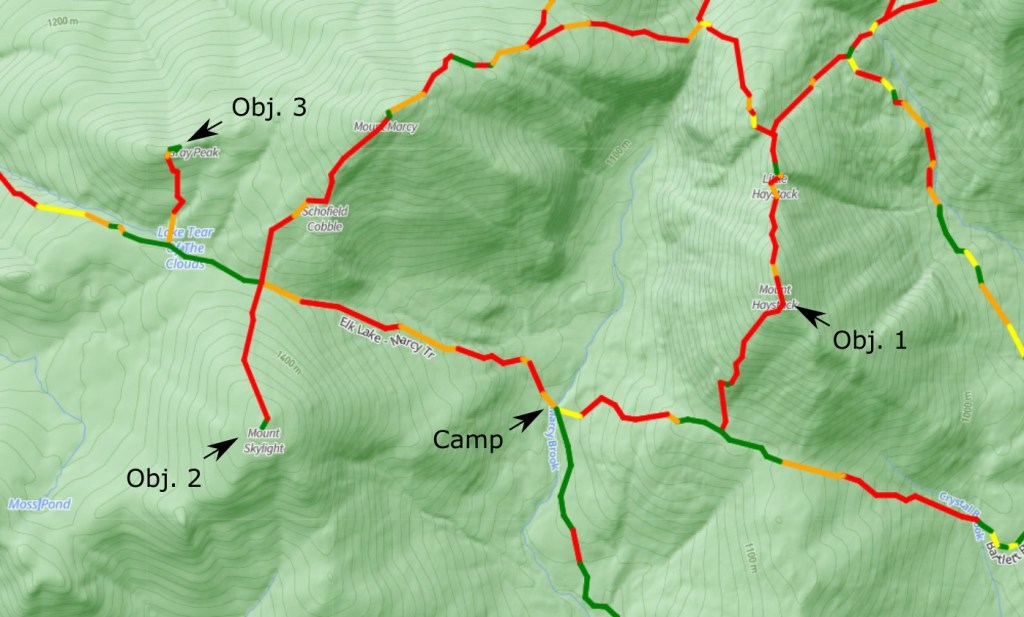
    On June 23rd I set out with my co-worker John to accomplish Gray, Skylight and Haystack. My Initial plan was to come in from Elk Lake and set camp at Panther Lean-to. Between the COVID closure of Elk Lake Lodge (closing the closest parking lot and adding 2 miles of road hiking) and the washouts reported on the trail I reconsidered my plan and chose to hike in from the Loj/Meadows Road.

    After the usual 6+ hr drive from Western New York we arrived at S Meadows Rd around 10AM on a weekday and had no problems parking (in the exact same spot I’ve parked the last 3 times I went in from here).

    The weather was warm and clear, turning to downright hot around noon. We hiked the truck access “road” to Marcy Dam and turned for Avalanche Lean-to.

    The plan was to get to Feldspar Lean-to to set camp by going up to Lake Arnold then down to Feldspar. The climb up was a “no-$#@!!er in the heat with a full pack. We made it to the Lake and filtered some more water and took a breather before continuing down to Feldspar. We crossed the infamous “Floating Logs” and managed to not fall in (no photos…sorry I was concentrating). Not far from the logs we found the camping area and set up our tent and hammock.

    We still had some daylight to burn so we decided to climb up Gray Peak. There’s a good mile worth of altitude gain from Feldspar to Lake Tear of the Clouds where you will find the heard path to your left where the stream/brook exits the western end of the lake. It’s pretty obvious if you look for it. About a .5 mile climb to summit. The views are not that bad, some trees but you can find some clear spots for great views of Marcy and Skylight.

    We took our time till the bugs drove us away. Nothing to it but to return down to Feldspar for food and sleep.

    The following morning we went back up to Lake Tear of the Clouds and continued onto Four Corners where left is Marcy, straight takes you down into Panther Gorge and right is up to Skylight. We went right and after an actually (relatively) pretty easy climb came out onto Skylight. The large, bare summit provides spectacular views.

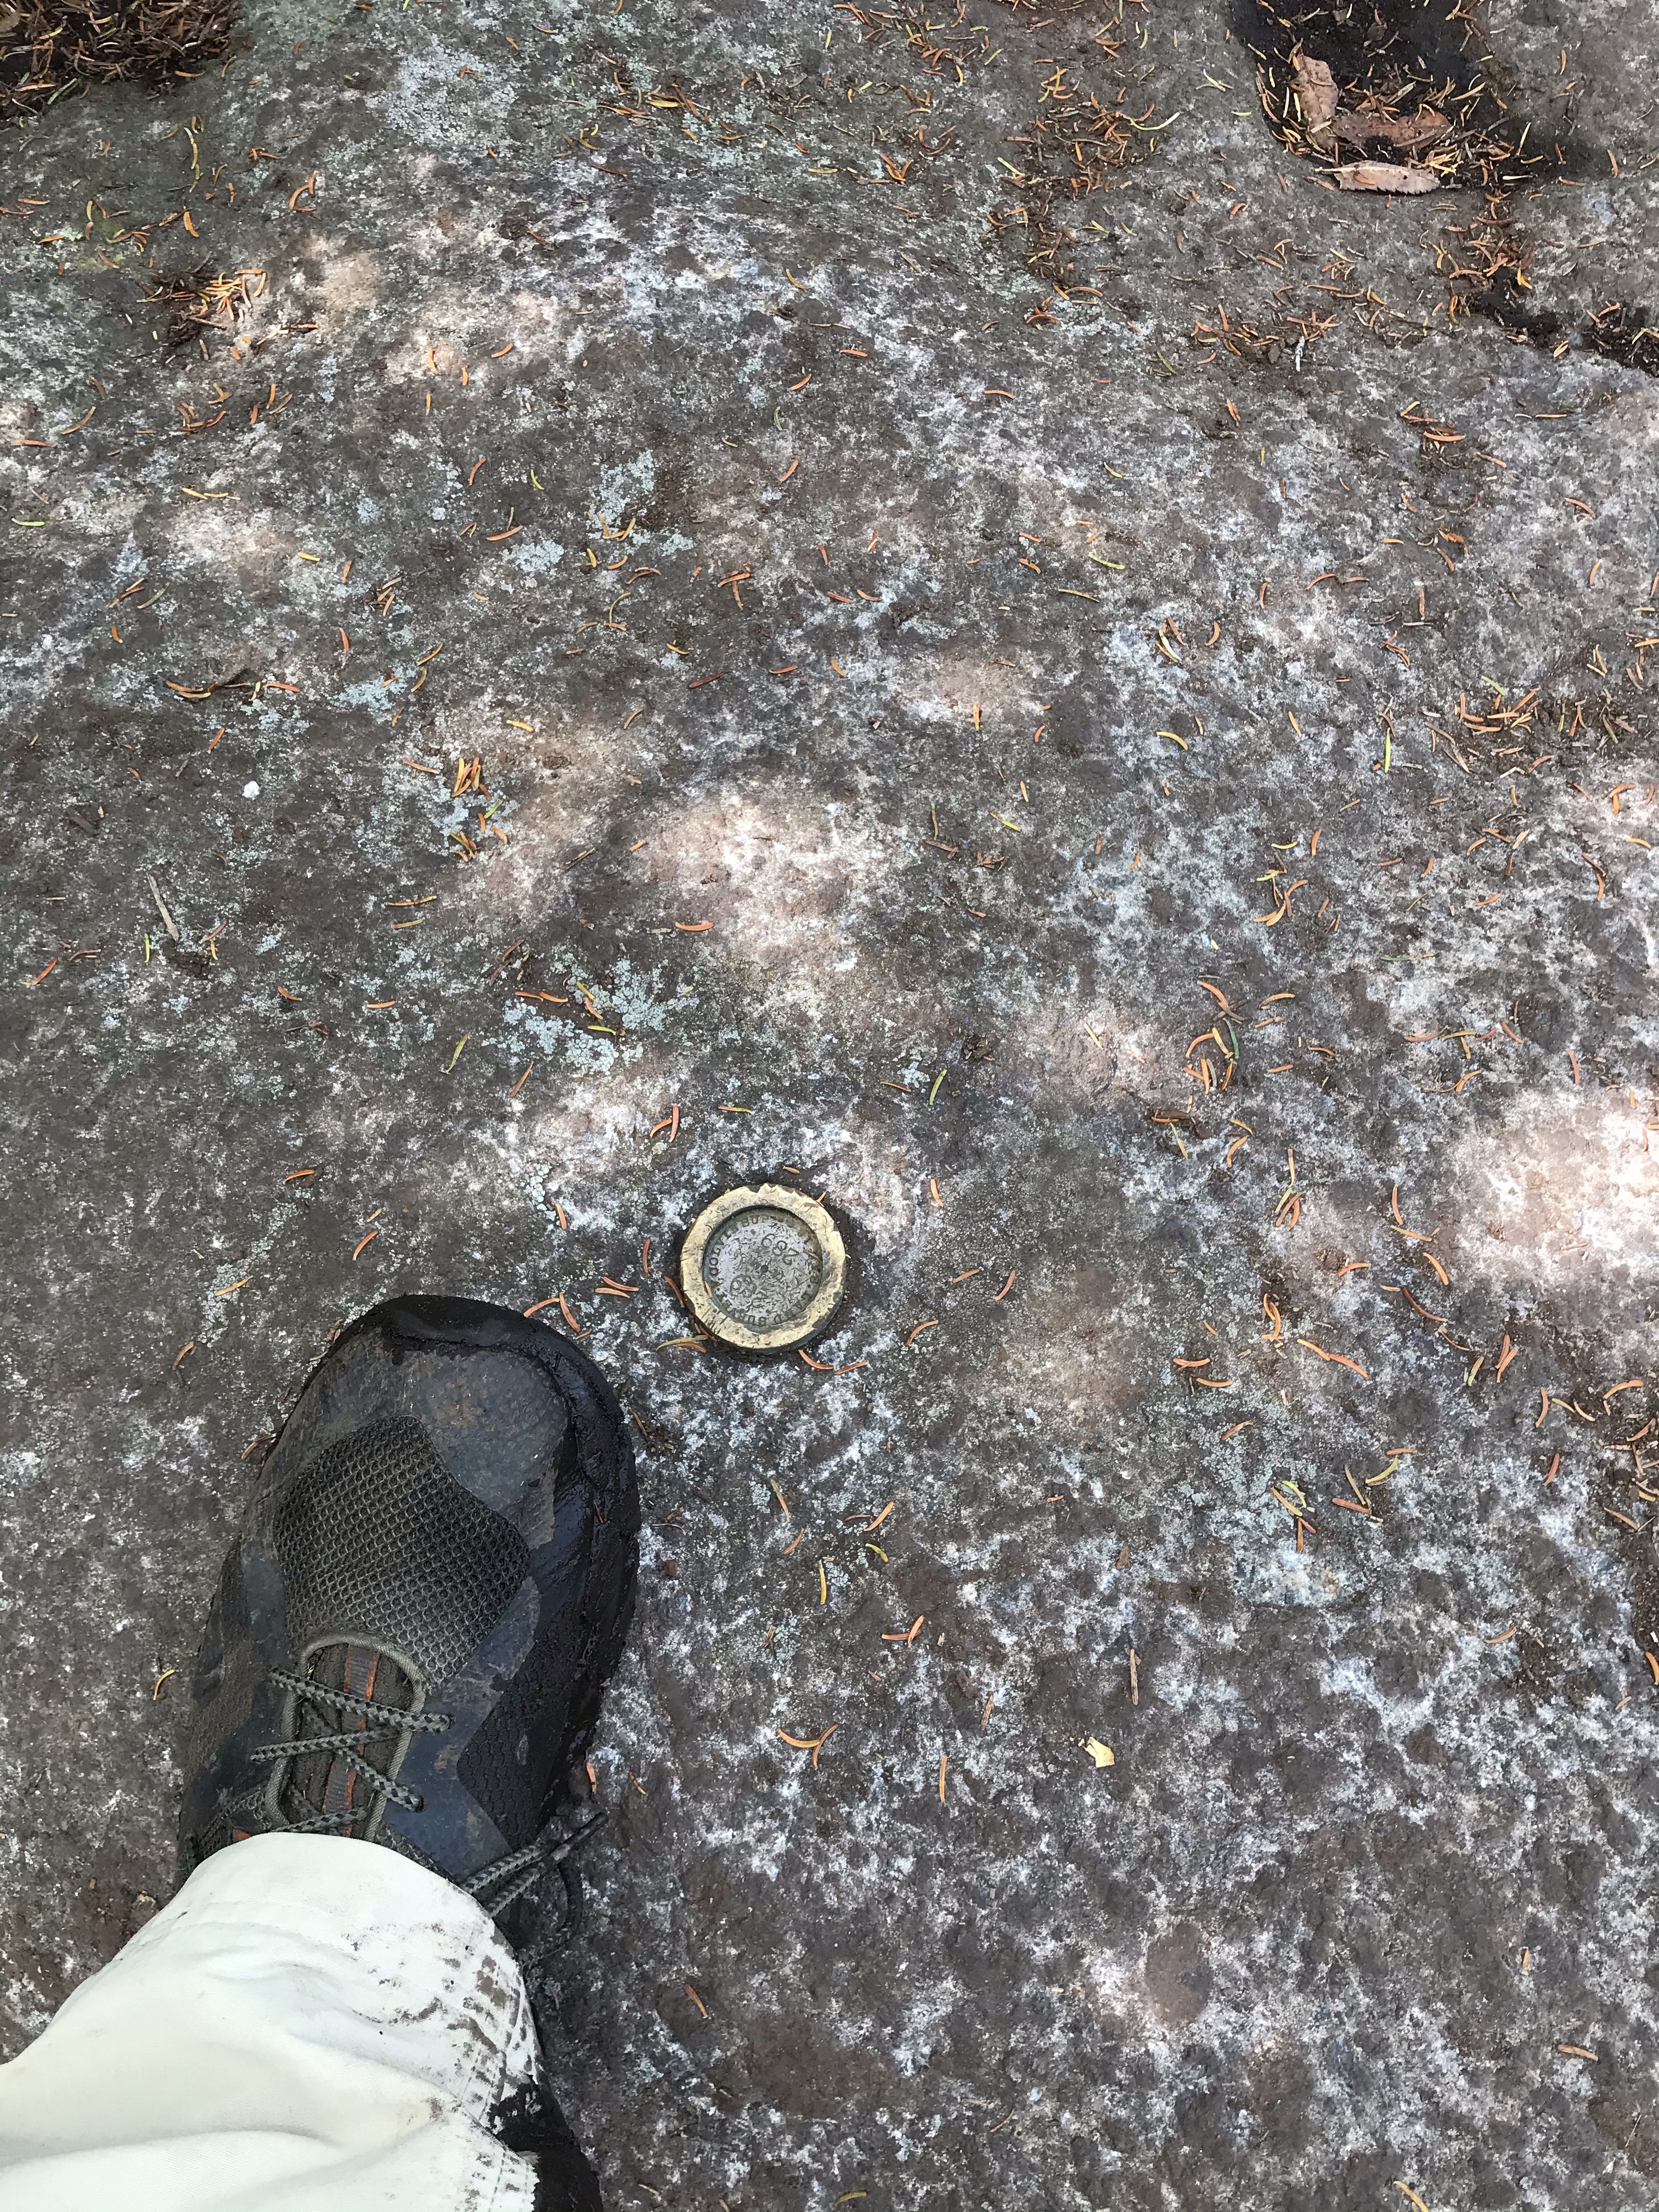
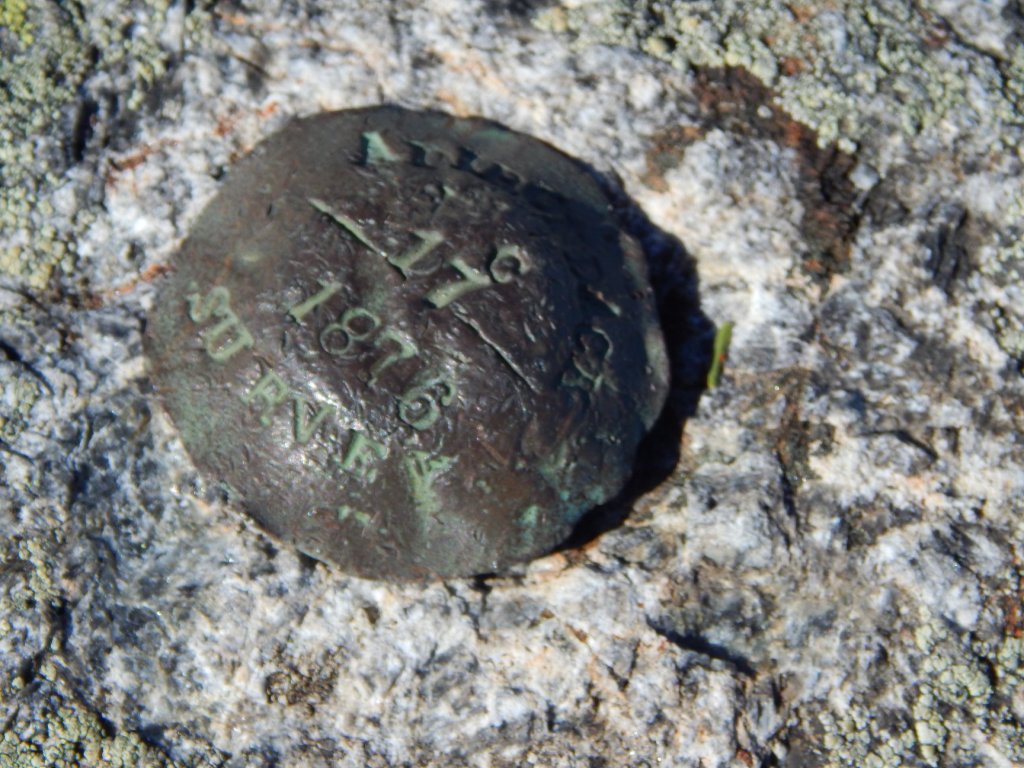
    An 1876 (small..you can miss it) benchmark can be found on the summit.

    Image may contain: sky, outdoor and nature

    From Skylight we returned to Four Corners and went down (down, down, down, down…) into Panther Gorge. After losing all that altitude it was time to get it all back by taking the south approach to Haystack. The “interwebs” say that the south approach is the longest section of continuously steep trail in the Adirondacks. It was steep in parts and it was long (and hot that day) but we made it without mishap. Again, the views couldn’t be beat.

    Since this was my hiking partners first High Peaks experience he decided that he would like to do the loop over Marcy vs the long descent back to Panther then back up to get back to camp. We went down from the summit towards Little Haystack with the intent to take the left turn towards Little Haystack….this is where I share my lesson….don’t take trail signage, trail markers or “obvious” paths for granted. The turn off was not signed and there was a small amount of blow down obscuring the path. I passed by and went a good .5 miles down to the next intersection before I learned my mistake.

    Read your map carefully.

    Nothing for it but to go back up.

    Once I found the trail it was down into the Col between Little Haystack and Marcy then up making this my third ascent of the highest point in New York State.

    We descended down to Four Corners, passed Lake Tear of the Clouds and went back down to Feldspar and bed.

    We slept in the next morning, ate and packed up for the hike back. We decided to avoid the Floating Logs and went back via Lake Colden/Avalanche pass. The views are always impressive there.

    Eventually we made it back to the car and made the journey home.

  • Hammock Camping

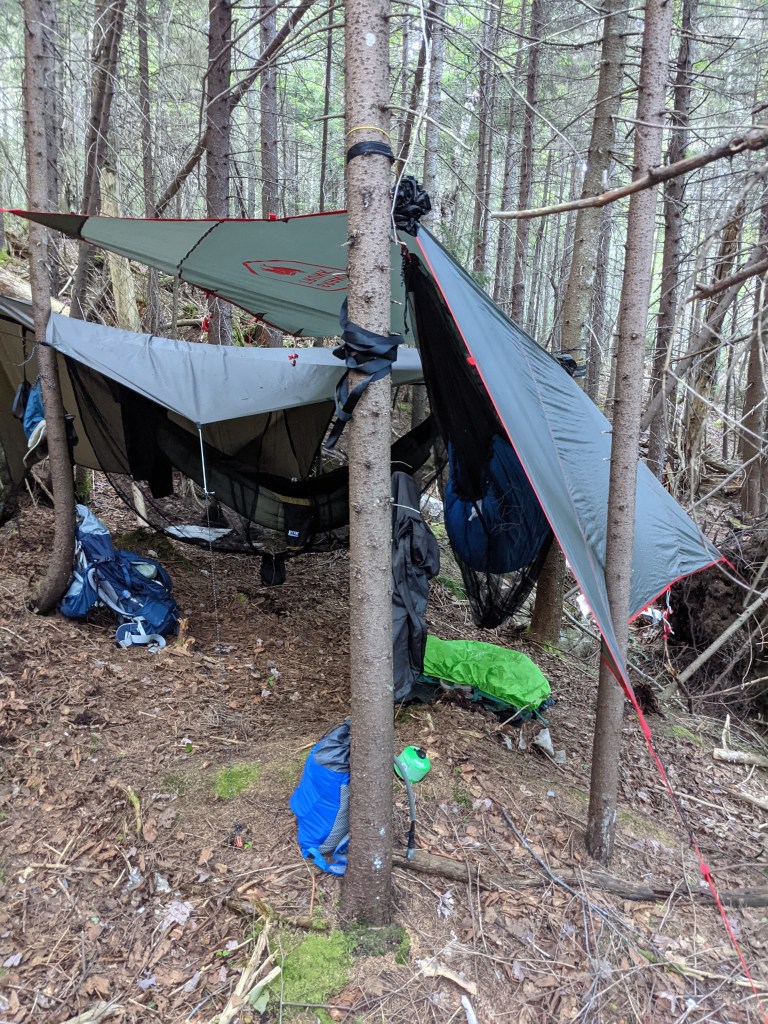
    I’ve recently become one of those Hammock Campers you may (or may not) have seen out in the woods. I was sort of peer pressured into it by my buddy Paul who had been experimenting with them before I had any interest. I had a tent already and I was (ok..maybe “am”) a bit of a tightwad who wasn’t all too interested in spending the money on an entirely new sleep system when I already had a working one.

    Eventually I caved in, and have left the tent at home in favor of my hammock set-up ever since. Are they “better” than tents? Well, like everything in life your decisions/choices come with advantages and disadvantages and those will change depending on the opinions of the person you are talking to. Personally?

    DISADVANTAGES:

    • Setup Time: This will vary depending on your experience and rig, but it does take longer to get everything set up vs most tent systems. There’s definitely more of an “art” to set-up vs popping up a tent.
    • Weight: While not really a “disadvantage”, the overall weight of the hammock, tarp, tree straps, underquilt, bug net, etc is not all that much lighter than a tent. And unlike a tent where you can divvy up the poles, stakes, fly, footprint, etc, for 2 or more people who will be using the same tent; if you are all using hammocks you all have to carry your own gear. Sure you could sleep two to a double sized hammock, but that will depend on just how close you are with your camping partner (and it wont be comfortable).
    • You need trees (by and large). Sure there are ground set-up techniques where you can use the hammock on the ground or you can use poles, branches, etc to rig something up but if you are in terrain without a lot of trees hammocks wont be your best option.
    • Exposure: Again, not really a disadvantage as much as it’s a preference, but even with a tarp over you, there is more of an “under the stars” feel to sleeping in a hammock than the “indoors” sensation of crawling into a tent. Personally that’s an advantage to me. Others may have different preferences.

    ADVANTAGES:

    • You can set up anywhere you can find two trees. Wet ground? Uneven ground? Rocks? Tree Roots? Steep wooded slope? No problems.
    • Adjustability: You can set up the hammock alone and hop right in if it’s warm enough, bugs are not a problem and it doesn’t look like rain. You can set up the tarp but not deploy it if you want to sleep “under the stars” but want a quick deployment if rain does come. You can sit in the hammock like a camp chair or sleep laid out in it. Set up your tarp like a rain-fly or like a porch. You can use the tarp minus the hammock if you just want to set-up a quick temporary rain shelter. You can also upgrade portions of your system as you see fit.
    • Comfort: I was skeptical of just how comfortable this would be, but comfort is probably the biggest sell if you set your system up correctly. You can elevate your feet after a long slog. You are not hauling yourself up to a standing position from the ground when you wake/get-up. Hell if you are a dude and you feel the call of nature in the middle of the night you don’t even need to stand up if you can hang what you need to hang over the edge of the hammock. I’m not a back sleeper, but I have found myself sleeping on my back quite often in a hammock. And you can side sleep quite easily if you want to anyway.

    The hammocks themselves are not very expensive at all. Decent quality ones can be had for as little as $30 but the hammock itself is only one piece of gear you are going to have to get. If you want to keep the rain off of you you will need a tarp. Bugs? A bug net. Want to stay warm at night? An underquilt or a ground mat of some sort (quilts are easier to deal with). Of course you could get a hammock system that has the tarp and bug net built in. Advantages, it’s an all in one system that faster to set up. Disadvantages? There’s no flexibility with many of them, the hammock, net and tarp are all one unit.

    COMPONENTS: Bear in mind, I’m no expert so the following is as best as I currently understand it….

    myhammockrig

    HAMMOCKS: The Hammock itself is a relatively cheap item. Most of them are just large sheets of nylon/synthetic/parachute material gathered at each end. Many will have a carabiner type clip attached at either end and a stuff sack sewn right to the edge of the hammock so that it all stuffs right “into itself”. The sack can also be used to store items in when the hammock is deployed. Hammocks can be found with a few options:

    • Single vs Double: That’s simply the size. A “single” is designed for one person while a double (in theory) is designed for two. In actuality few people really sleep two to a hammock. The extra size of a double is advantageous for “diagonal lay”. In essence, instead of laying right down the middle of the hammock you turn yourself diagonally inside of it, this gives you more of a flat lay vs a head and feet higher than your butt type hang.
    • Single or double layer: A hammock can be “one ply” or “double ply”. The double layer hammock is designed to let you slip some form of insulation between the layers. They are heaver than single layers, but with a single layer you have to either body surf a sleeping pad under you or buy an underquilt…more on that.

    INSULATION: The “thing” with hammocks is that you can wind up colder than you can in a tent on a ground mat. When you are hanging in the air, the air moving around you will blow your body heat away pretty rapidly. In hot summer months that can be a plus. When it’s getting into the 50’s at night, not so much. Even on a relatively warm night, a breeze blowing under you can leave you uncomfortably cold at night.

    You may think a sleeping bag would be enough, but the insulation under you gets crushed under your body and looses its insulation value. On the ground your ground mat keeps your underside warm, not your bag. Being warm on top, where your sleeping bag has retained its loft and insulation value, and cold on the bottom, where it’s crushed is called “Frozen Butt Syndrome” among hammock campers. You basically have a handful of options to stay warm.

    • Sleeping pads. You can put a sleeping pad in your hammock and get on top. Works if you can stay on top all night. They are also not great at keeping your “edges” warm (shoulders, arms, legs) if they touch the uninsulated hammock material. There are “hammock specific” pads designed with “wings” you can get if you want that option. As stated before a double layer hammock lets you put a pad between the layers so it stays locked in place overnight.
    • Underquilts: An underquilt is pretty much a “half of a sleeping bag” that you suspend under your hammock. This way you have insulating material (and a couple inches of body heated air) under your hammock. You can then sleep in a sleeping bag or with an “overquilt” (basically a zipperless sleeping bag you use like a blanket) over you and you can be toasy warm.

    BUG NET: If there are bugs, you are gonna want one. If you are buying this stuff piecemeal (vs one of the integrated systems) keep in mind that skeeters can get you through the thin hammock material (underquilts can protect you from that) so get one that encapsulates your hammock.

    TARPS: You are in a hammock, there’s open sky above you. To keep dry, or shaded if it’s sunny and hot you will want a tarp over you. There could be an entirely separate post on tarps, their uses and all the options you have for deployment. Suffice it to say that you want something large enough to cover your hammock end to end and then some. If it rains and the water is landing on the hammock material it will wick through it and you will get wet.

    • Snakeskins: Snakeskins are tubes of material that slide over the tarp from either end. It keeps all the material contained until you want to deploy it (pictured in the photo for this post). If it’s going to be a clear night and you don’t want to “enclose” yourself under a tarp you can leave the skins on. If it happens to rain you just slide them off and stake the tarp down (have them in place in advance though).
    • Line/rope: You will need a system if cordage to hang your tarp. Paracord is everywhere, but paracord will stretch and loose tension with use, with age and when wet. Modern line made out of Dyneema (Zing-it/Lash-it) is stronger, lighter and wont stretch. Well it probably does stretch somewhat, but not so that you would usually notice it.

    tarp

    SUSPENSION: To hang a hammock you have to connect between two points. In the woods that’s usually going to be trees. Some hammocks don’t come with anything more than the hammock so you may have to consider what to use.

    • The hammock I purchased came with ropes covered with fabric sleeves (to protect the trees from rope damage). You wrap the ropes around the trees and clip the carabiners on the hammock to them.
    • Many folks, like me, opt for Tree Straps which are lengths of webbing with loops sewn into them.  Straps get wrapped around the tree and you select one of the loops to clip into to adjust the tension of the hammock. With the rope slings you have to tie knots/loops to do that, so straps are easier there. Straps are also more tree friendly since they wont bite into the bark.
    • There are also lightweight “line only” options like Whoopie Slings, (google them) where you can ditch the carabiners to save weight, but you need a little more knowledge/skill to set them up.

    MISCELLANEOUS: This post wasn’t intended to be a complete dissertation on everything to do with hammocks and I’m sure I missed some vital points, but before I end here are a few points/tips as they come to mind.

    • Get good at quick tarp deployment. Whats nice about carrying a tarp is that you can set it up and have a dry spot to work in and stash your gear.
    • Water Breaks/Drip Lines: Rain can hit your tree ropes/straps/Whoopie Slings and flow down them to your hammock and/or quilt and get them soaked. This can be avoided by tying a piece of line or placing some other option/system between your lines and your hammocks to convey water away from you.Another tip in this same vein, and something I just learned and will do from now on, if you hang your tarp with a “ridgeline” (one long line between the trees vs tying separate lines to each end of your tarp) deploy the tarp with the line over the top of the tarp vs under it. Water can flow along that line and drip on you if its under the tarp.

    • Ridgeline: A ridge line is a piece of cord/line that you can attach to each end of your hammock. If you get the length of it correct it can assure that the “sag” of your hammock is always the same no matter how you attach it to your tree straps.


  • 2019 Take Two

    I managed to get a second trip to the Park in 2019. My friend Paul and his son Matthew accompanied me in August to the Upper Works trailhead with a destination of Colden Dam. I was going to be soloing a few peaks while Paul and Matthew did some exploring around Colden and Avalanche Lakes.

    TomPaulMatthew

    upperworks

    We started on a Thursday and arrived at the parking lot around 0930hrs and had no problems finding a spot. As we were gearing up though a whole bunch of canoe and kayak enthusiasts began pulling in.

    While the weather was fine, it had rained pretty heavily the night before. The Calamity Brook Trail was quite a soggy mess with the worst of it as we got close to the Flowed Lands. We stopped by the Henderson monument along the way.

    obelisk

    For those who don’t know who David Henderson is, he was a founder of the Adirondack Iron Works that operated in this area back in the early/mid 1800’s. The story is that he accidentally shot himself when a pistol in his pack (loaded, primed and cocked apparently) went off and killed him on this spot in 1845. The family had this monument sledded in a winter or two after the incident.

    Eventually we made our way to the Colden Dam area and made camp nearby along the scenic headwaters of the Opalescent River. It was getting to be later in the afternoon at this point and I wanted to summit Mt Marshall before dark so I dropped pack, got my hiking pack ready and headed out while Matthew and Paul started setting up their hammocks.

    coldenday1

    Mt. Colden under the westering sun.

    opelescantriver

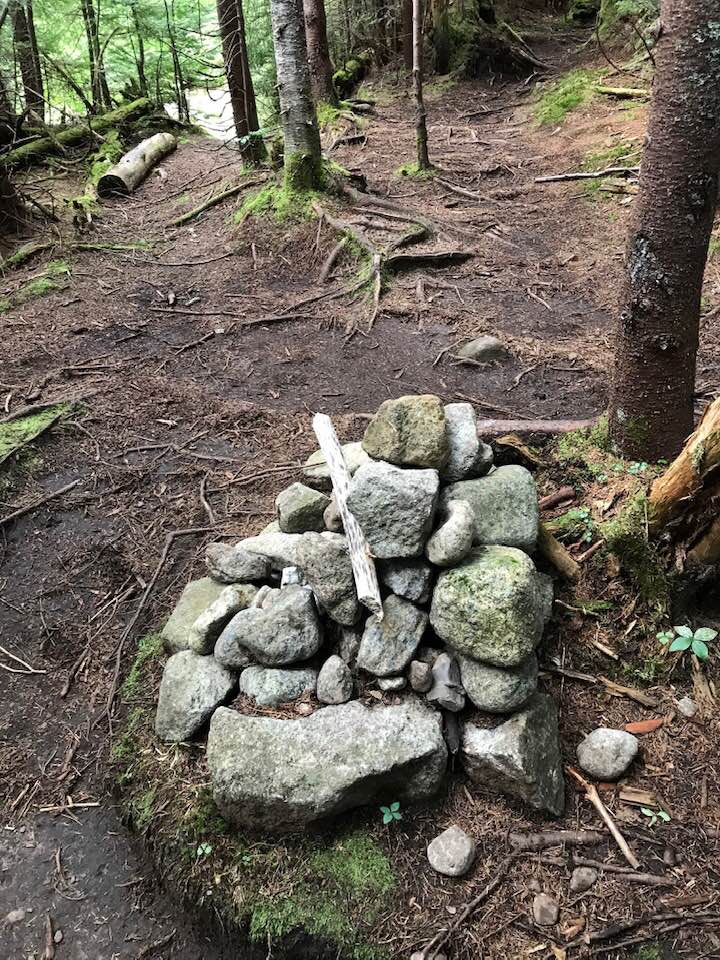
    The path up Marshall is an unmarked heard path, the start of which is marked by a cairn along the marked trail between the Flowed Lands and the Dam.

    marshall carin

    The path was a well worn couple of miles and well marked with cairns where it passed over the brook it followed up the slope. There are the remains of a small plane that crashed in the 1960’s somewhere in the woods on the way up, but I wasn’t sure of its location from this approach (there’s another trail up Marshall behind the Ranger Station on Lake Colden that is apparently closer to the remains) and with darkness approaching I didn’t want to get too far off trail.

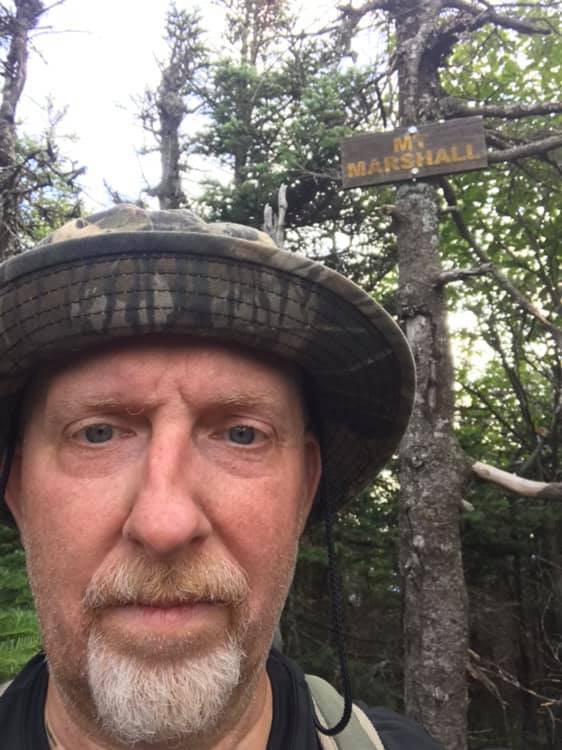
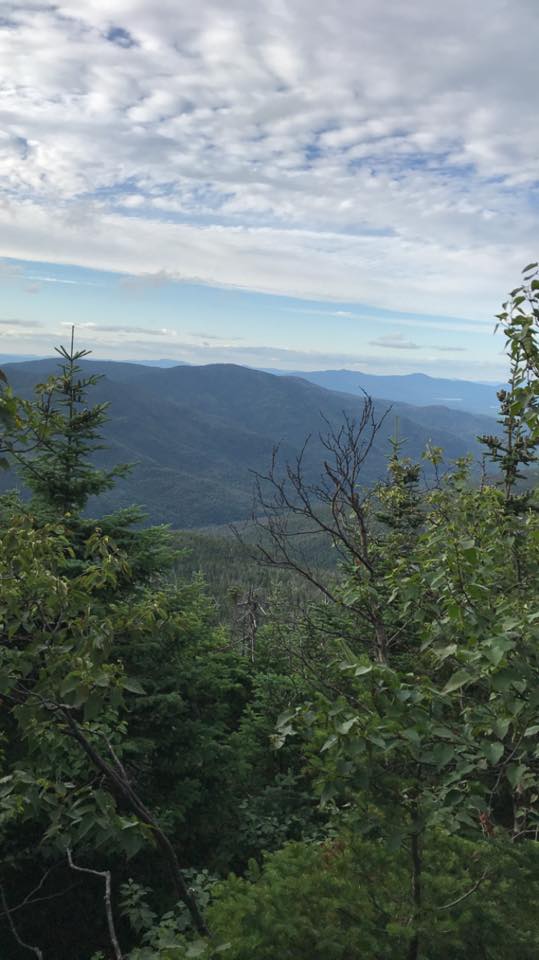
    The ascent wasn’t very complicated. It was mostly walking up tree roots and the occasional boulder or two with a couple of stretches right up the slabs that are the stream bed. After a couple of large boulders near the summit I was at the mostly wooded peak that is marked by a sign.

    meonmarshall

    marshalview

    iriquoisfrommarshall

    I made my way down and back to camp before nightfall, Paul had set up my hammock for me and they were in the process of cooking dinner when I got back so my timing was perfect. After dinner and clean-up we crawled into our hammocks for the night.

    myhammockrig

    I got up around 0630 the following morning, made myself some breakfast and set out along the trail for Redfield and Cliff Mountains. The trail was generally upwards and rocky to the Uphill lean-to site.

    trailtoredfield

    fallsontrailtoredfield

    mud to redfield

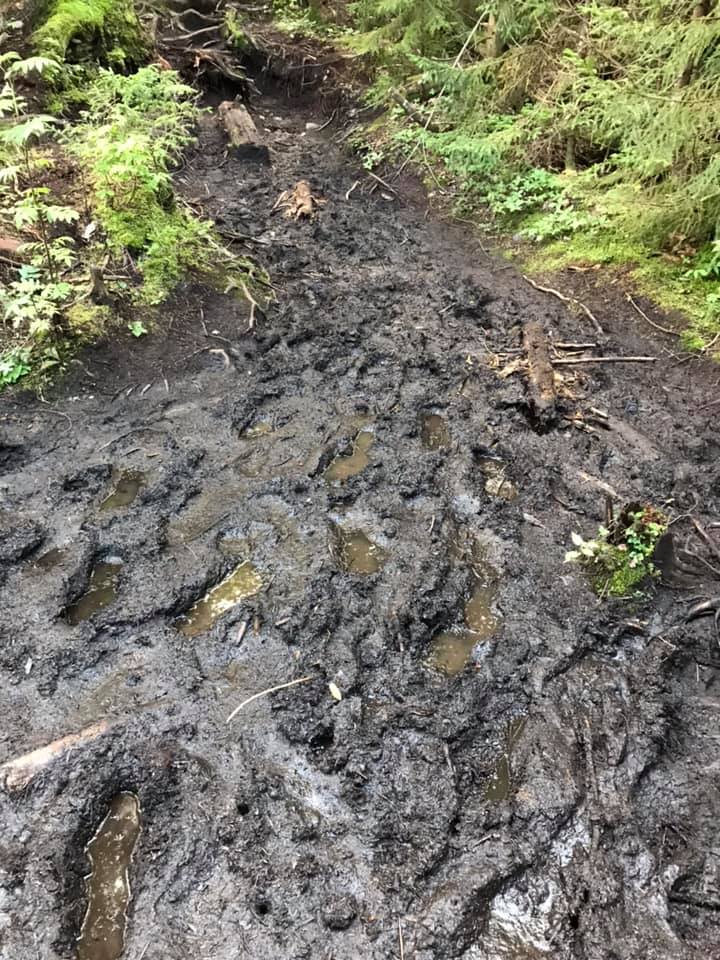
    There was still a lot of mud to deal with.

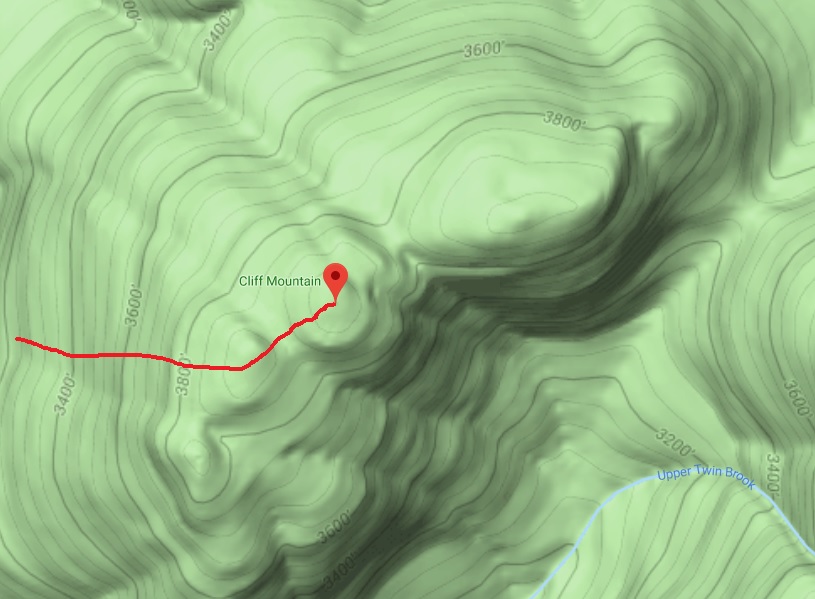
    The Redfield/Cliff trails are also heard paths. When you get to the Uphill lean-to campsite look for the cairn marking the path, it’s almost immediately across the trail from the tent area. Follow the path for about a quarter mile (maybe a bit less) and you will come to another larger cairn that marks the split for Redfield (to the left) or Cliff (to the Right). I decided to do Redfield first so I went left.

    The trail reminded me somewhat of Marshall the day before but a bit steeper and more rocky; lots of tree roots and boulders/slabs along or on a stream. Eventually I made it to yet another mostly wooded summit with some views off of one side.

    upredfield

    viewfromredfield

    meonredfield

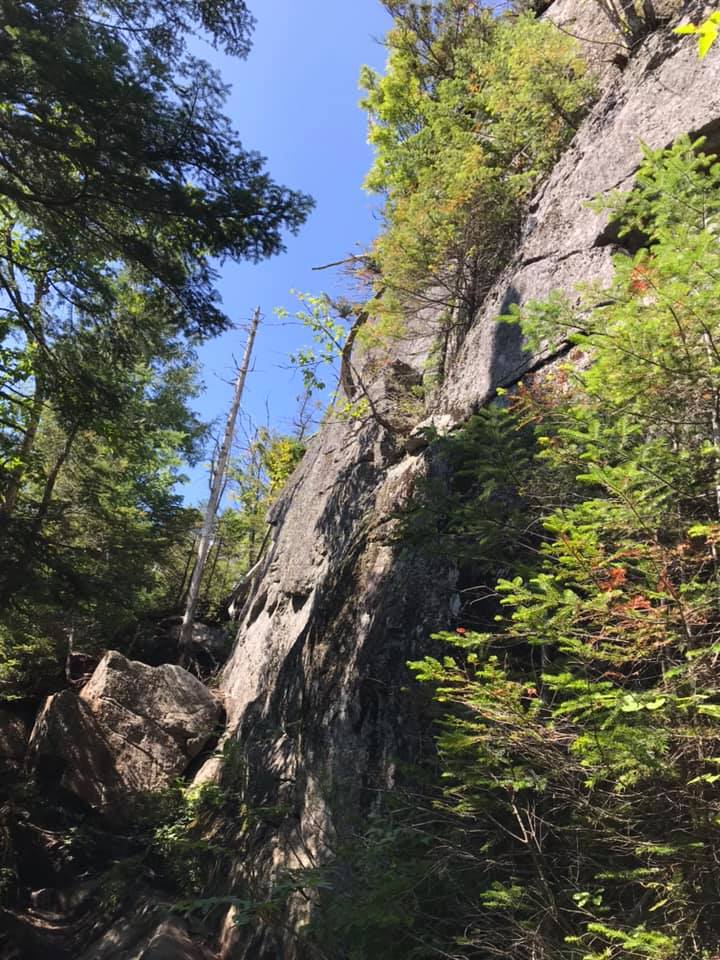
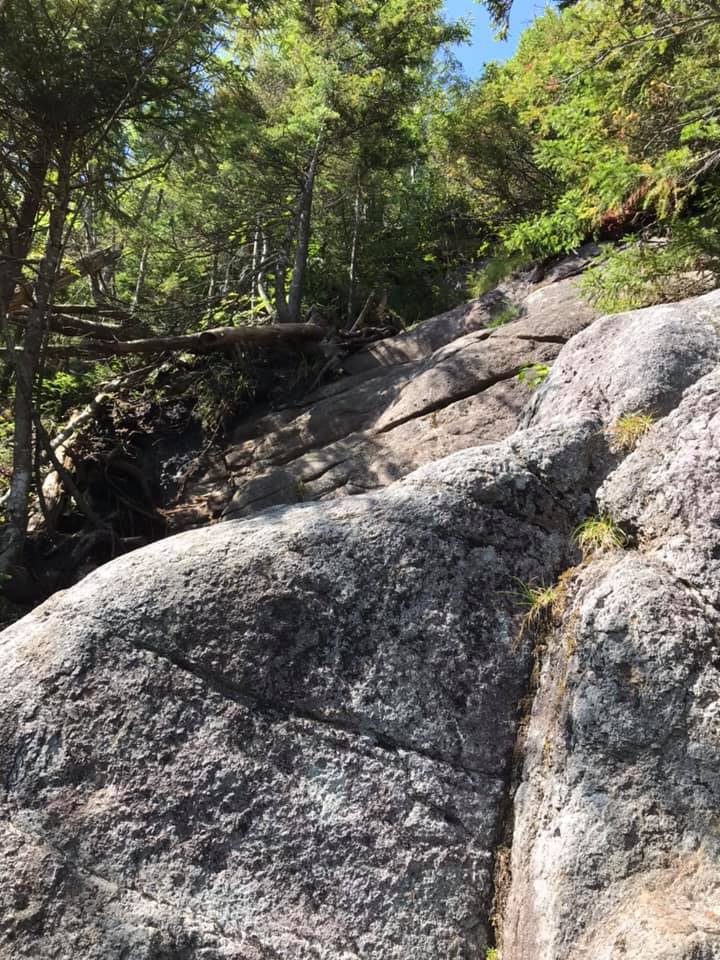
    After some food and water there was nothing to it except back down to the Cliff cairn and back up the trail to Cliff. There was a massive muddy bog at the foot of Cliff that took me a while to navigate, but once I got past that it became the “normal muddy”, and even somewhat dry for a good ways. The climb wasn’t all that bad in terms of grade or effort till I got to the parts that earned Cliff it’s name. A series of..well…cliffs.

    cliffsteepness

    cliffsteepness2

    On the way up they can appear a little steep and daunting and you do have to be mindful of your approach, but if you stop and analyze the problem for a bit you can find some routes that are not all that bad. There are some “bushwack” walk-arounds but I pulled a couple of easy climbing moves up-and- over most of the steepest parts and didn’t feel all to scared over it.

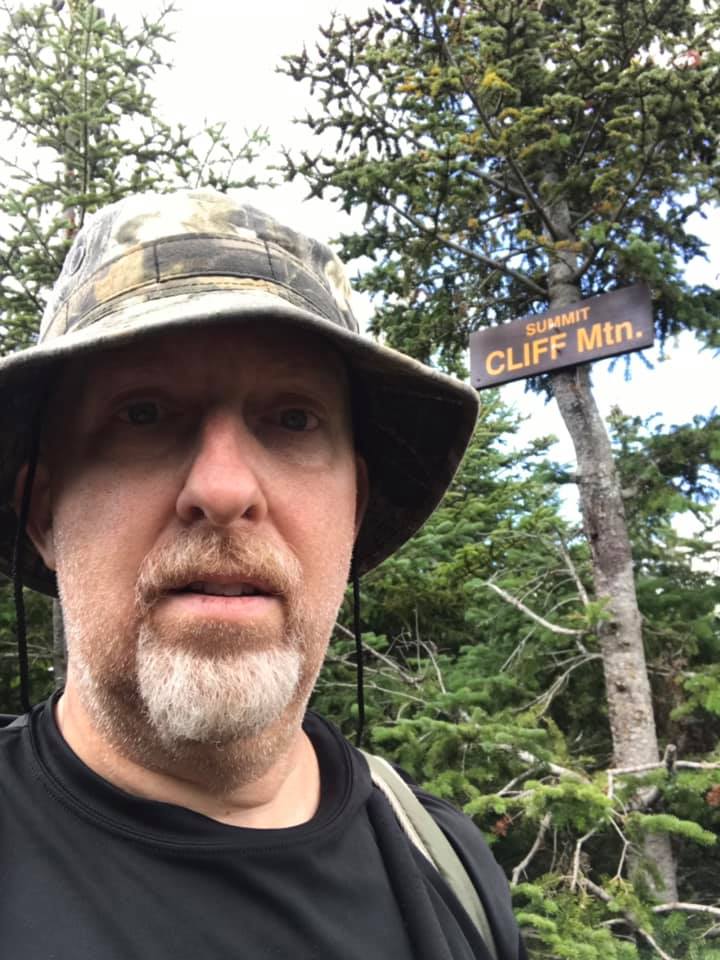
    Eventually you “top out” (or at least think you are topping out…more on that coming up) and start to think you should be looking for a summit marker. Actually you are on one of a series of promontories on the ridgeline that is Cliff Mountain. You wind up descending into a small col then climb up to the…yet again…wooded summit. I found the peak marker but I didn’t go looking around for any trails to a viewpoint. It’s said there are some places to get a view from the summit, but I didn’t see any obvious spots.

    cliffmap

    meoncliff

    I made my way back down to the cairn at the Uphill lean-to and got there around 1430hrs. I considered trying to tack on Gray and Skylight since the trails to their peaks were only a couple of miles up the trail. However, after consulting the map (and remembering taking that trail to Marcy before) I could see that it was a couple of miles up..UP..UP..UP the trail and I would probably be facing a headlamp hike back to camp at the end of it. I decided to leave them for another day and returned to camp right around 1630.

    After dinner it started to get a little cooler so we crawled into our hammocks around 1800-1830hrs and I expected to lay awake for a while, or wake up in the early morning hours. Surprisingly I slept through the entire night.

    In the morning we ate and packed up for the hike back to Upper Works. After reaching the car we headed for home with the traditional stop for a burger and some beer (for Paul and I at least).

    Now for the long slog through winter and spring till I can get back for some more. I’m now officially over the halfway mark to the 46 at 24 peaks climbed.

    trailbreakatschroonlake

  • 2019. A Week in the Dacks.

    For 2019 my climbing partner and I decided to commit to a full five days in the Adirondacks (vs the two trips we did in 2018).

    I put together an ambitious 15 peak plan starting with hiking out to the John’s Brook Lodge on Monday then summiting Big Slide Mountain. Tuesday’s plan was to traverse the entire Great Range. Wednesday we would hike out and go do Cascade and Porter, then go to Lake Placid for a recovery evening at a hotel. Thursday was to be an early departure for the trail-head to Elk Pass where we would set camp then climb Colvin and Blake. Friday would be a hump over Nippletop and Dial on the way back to the car for the trip home.

    The first logistical hurdle would be getting to the Garden trail-head to get to the Lodge. The Town of Keene has the road to the Garden parking lot closed due to bridge repair and is only offering a shuttle service from Marcy Airfield on Rt 73 during the weekends. Fortunately the ADK Club provides a shuttle service for Lodge users so Brian and I departed Western NY at 0330hrs and made the parking lot around 0930hrs. The shuttle was waiting for us and we started our adventure.

    gardentrailhead

    From the trail-head is was about a 3.5 mile, relatively flat and dry (for the Dacks) hike into the John’s Brook Lodge.

    gardentrail

    JBL

    JBL2

    The John’s Brook Lodge is a…well…Lodge…in the middle of the valley between Big Slide Mountain and the Wolf Jaw Mountains. It’s a comfortable place to make “home” while you explore the surrounding peaks. The Lodge operates in two different “service seasons”, Full Service and Caretaker Service. During Full Service you get meals included with your stay. During Caretaker Season you have access to the kitchen to prepare your own meals (you just have to clean up after yourselves).

    We reserved two beds in one of the 4 man rooms. The lodge has two four man rooms and two ten person rooms. Each ten person room has a washroom with running water and “vault toilets” (essentially an indoor outhouse) that are accessible to all guests.

    JBLint

    JBL4man

    After we settled our gear into our room we geared up for the hike up Big Slide. Big Slide Mountain is the 27th highest peak of the High Peaks at 4199″. It was about 2.5 miles from the Lodge and the weather was fine.


    After returning to JBL (the Lodge) I made a Hamburger Steak, Sweet Potato and Green Bean dinner with Sam Adams to wash it down (Yes, real food. The advantage of a full kitchen.). We went to bed early for the long day ahead of us on Tuesday.

    The forecast was for rain overnight with anticipated clearing over the following day. We had planned on a 0300 wake-up but decided to play it by ear based on what it was doing outside. A light drizzle was a “go” but a downpour was a “no-go”.

    It poured all night long.

    Around 0600 it had stopped raining so we had breakfast and set out, but our traverse of the Great Range had to be significantly altered.  The plan now was to do Saddleback, Armstrong, Gothics, Upper Wolf Jaw and Lower Wolf Jaw.

    It took us a little while to get on our way. The volume of rain overnight had swelled all the waterways and the trail across the Ore Bed Brook was impassible short of a soaking wade across. We decided to backtrack to the suspension bridge near the Ranger outpost and then began the ascent of Saddleback.

    tuewet

    tuesuspensionbridge

    The weather was cool and somewhat windy. The wind was blowing the clouds along and there were patches of blue sky appearing and disappearing. For the most part there was no rain. Fortunately most of the clouds were above 4000′ so there were still views from the heights unless a low cloud blew over you.

    The ascent up Saddleback was the typical “boulder staircase steep” stairmaster workout. Crossing over streams (passable higher up) and some “slabby” parts till we broke out of the trees to a long stretch of slab that lead to a long wooden staircase.

    up2saddleback

    up2saddleback4

    up2saddleback3

    saddlebackladder

    Maybe a quarter mile up from the stairs the trail hits the intersection for Gothics and Saddleback. The weather got windier and grayer and after some more climbing we made it to the top of Saddleback Mountain. 4,528′.

    saddlebacksummit

    We returned to the Gothics/Saddleback intersection where my climbing partner decided that, due to the worsening winds and the prospect of the “Gothics Cables” that were ahead, that he was going to descend. I decided to continue on solo.

    From the intersection, the ascent up Gothics was mostly semi-steep slab walking till you emerge from the trees into the cabled section of the climb.

    gothics cables

    The cables are actually pretty sketchy. You can see that over the years they have been snapped and re-tied to the pitons. The last section was only the rubber sleeve of a cable that stretched and contracted with each pull.

    After the cables I was on the summit approach, which was all bare rock and slabs. The views from the summit were awesome, even in the windblown overcast conditions.

    Gothicsmarker

    I descended the col between Gothics and Armstrong, which was pretty steep and made my way up Armstrong Mountain for High Peak #17.

    armstrongpeak

    The col between Armstrong and Upper Wolf Jaws was also pretty steep…

    betweenarmsandupwj

    The climb up Upper WJ was easier than the descent from Armstrong and I was rewarded with a clearing sky and increasing temperatures when I reached the summit.

    upwjsummit

    My descent from Upper WJ was marked with a couple of slips and falls, resulting in a bloody scraped shin.

    When I reached the trail intersection for Lower WJ and the return to the Lodge I decided to return. I had seen no other humans in the mountains all day and the additional time to summit lower would have pushed me into the hours of approaching dusk. I would have pushed it if someone else was with me and could go for help if I twisted an ankle or broke a leg but the prospect of spending an injured night alone wasn’t appealing. I will have to return to the area in the future for other summits anyway.

    I returned to the Lodge and found that a group of 10 Canadian women had descended on the place. They had brought in enough food to feed a veritable army and provided Brian and I with dinner…for which we returned the favor by washing the dishes. After an evening of conversation around the wood stove we went to bed.

    The following morning (Wed) we hiked  back to the Garden parking lot and met the shuttle van for our return to the Marcy Airfield Lot.

    From the parking lot we departed for the Cascade and Porter trail-head. It was a crystal blue day, and warm.

    cascadeporterstart

    For all the solitude at JBL, we had the polar opposite at Cascade/Porter. The closeness to the road, the short trail length to the summit(s) and the relatively easy ascent make Cascade and Porter one of the most popular beginner High Peaks hikes.

    The short hike does make for a steep ascent. Not too far from the trail-head it’s nothing but “boulder staircases” through the woods. Nothing technically difficult but its up-up-up.

    Not much to add about the climb, it was an easy ascent and the views from Cascade were an amazing 360 degree panorama. Someday I want to get up there and watch the sunrise.

    cascadepeak

    cascadeview

    cascademarker

    Cant do Cascade without grabbing Porter Mountain too. A mile out and you reach the summit. There’s a 180 degree view there.

    porter

    The reward for three days of climbing was a night in Lake Placid at the Crowne Plaza Hotel where we grabbed a shower, did some laundry, drank some beer, then ate a great burger and did a stroll through town. I soaked my legs in the hotel hot tub for a while then grabbed some sleep in a real bed.

    lakeplacid

    The weather for the rest of the week was mixed. Rain was the order of the day for Thursday and Friday so I made a change to the Dial, Nippletop, Colvin and Blake plan. Those peaks are known for mud and not too stellar views as it is. If we were gonna hump it through the rain I figured I’d rather do something else. We still needed to visit Mt. Colden.

    So…after breakfast we drove out to the Adirondack Lodge (different Lodge from Johns Brook) and hiked out to the Avalanche Pass Lean-to where we pitched our hammocks and set off onto the Arnold Lake Trail for the summit of Colden.

    avalanchecamp

    We were actually spared the rain and the weather was more like Tuesday’s. Windy, with a passing sprinkle, clouds, broken clouds, a streak of blue.

    The Arnold Lake trail was “the typical”. Boulders, going up. 1.5 miles to Lake Arnold…

    lakearnold

    …then another 1.5 miles up to the summit. I have to say that I found the hike quite pleasant. Enough physical exertion to feel an accomplishment, but not so technically difficult after three previous days of climbing.

    When going up the Lake Arnold trail to Colden you hit a “false summit” the higher peak to your left as you come out onto it is the actual peak. While I was standing on the false summit I saw a small creature sitting on the rock. I was very close, and it didn’t seem to see me and wasn’t moving. I wondered if it was injured. But I was downwind from it so I figured it just hadn’t winded me yet. As I withdrew my phone it spotted the movement. I was able to snap this photo of an American Pine Marten before he ran off.

    pinemarten1

    Now there was nothing for it but to cross the col between the false summit and the peak. Even though it looked like it was going to be additional mileage, it was actually a pretty easy down-up assisted by ladders and stairs.

    stairs

    I made my way up to the Colden summit and started looking for the “actual summit”…the highest point…to see if there was a benchmark. On Colden you have to look for a trail up into the scrub-pine that goes up onto a boulder. There you will find the hole where the marker used to be.

    coldenmarkermiss

    They’re not many views from the marker so I went down to the Avalanche Lake side of the peak to take in the views. I could hear voices getting closer and could hear people bushwacking through the pines. Out on a boulder I spotted some movement and what do you think I saw? A Pine Marten!

    coldenmarten

    I don’t know if it was the same Marten from the false summit that possibly followed me, of if it was a different one. I don’t know what sort of territorial range they have. But there he was. These were the first wild mammals I have ever seen on top of my 21 High Peaks and I thought it was pretty cool.

    The voices turned out to be a couple who climbed up the Trap Dike from Avalanche Lake then bushwacked to the summit. I think their bushwacking may have been what pushed the Marten from cover onto that rock. I chatted with them for a while and took in the views.

    wrightalgonirquio

    I took my leave of my trail acquaintances and started back to camp. The sun suddenly broke out and the skies cleared into a beautiful day. By the time I got back down to Lake Arnold I had to “layer down” to short sleeves and drink some water. I met up with the couple from Colden who were descending down the same trail and had an enjoyable chat with them all the way back to camp. Even though I love the Adirondacks for the wilderness, I find meeting the people out there almost as enjoyable. So far, everyone of them have been friendly and open and interesting to talk to.

    Back at camp I took a nap. We decided to cook dinner and get to sleep early with a plan to pack up at 0200 hrs and hit the trail back to the car by 0300.

    inhammock

    The pack hump back early Friday morning was wet and dark but the hike kept us warm.

    From there it was just the drive back home. 8 peaks. Total of 21 for me now.

  • Big Mac Attack

    I just came back from the Dacks after a weekend of hiking and climbing with some friends and family. I went with my fellow “46 aspirant” Brian, my nephew Garrett, my good friend Paul and his son Matthew.

    The plan was to get up at the crack of dawn on Friday so that we could arrive near the Loj close to noon after our 6 hour drive. From there we were to hike to Marcy Dam, set camp and hit Mt. Phelps.

    Saturday’s goal was to hit the McIntyre Range (Wright, Algonquin, Iroquois…technically Marshall too but we will save that for later) anticipating that the younger climbers would hopefully make Wright and then play it by ear regarding who would go on and who would go back.

    Sundays plan was to get up late, hit Tabletop Mountain, get to bed early, then hike out and leave on Monday.

    We have arrived!

    The trip started as planned. We arrived at South Meadows Rd close to noon and headed down the old Dam Truck Road.

    My nephew, for his first camping trip, fared really well considering he’s never humped a rucksack before. After the 2-or-so mile hike to the Dam we set up camp then made ready to attack Mt. Phelps.

    camp

    phelpsrdy

    Phelps wasn’t very difficult to manage. A mile or so down the Blue Trail from the Dam there’s a sign pointing left up to the summit. It’s the requisite “boulder stairway” type trail with some slabby sections of bare rock near the top. It took Matthew (who’s 11 yo) some time to make it up there; but with some coaching from his dad and some determination he made it to the top. Phelps is a pretty decent “first peak” in this area of the park. Not too difficult a physical challenge and some stellar views for a pay off. Hardly any mud (that day at least) to boot!

    mattieclimb

    topophelp

    By the time we got back to camp it was time to cook dinner and it was getting dark. We were cooking down in the dried out lake/pond bed left when Marcy Dam was taken down. That evening we were treated to a spectacular view of the almost full August Moon leaping over the top of Tabletop Mountain. I wish I had a professional camera (and the knowledge of how to use one) so that I could have captured the moment.

    marcy dam

    The younger members of the party didn’t feel up to a second High Peak the following morning so Paul agreed to take them on a more “leisurely” hike to Avalanche Lake while Brian and I did the McIntyre Mountains. I agreed to get up at 0600hrs and hit the trail early as we calculated a 10 hour day ahead.

    INTERESTING STORY

    So…sometime early the next morning I am awoken by what I thought was Brian unzipping his hammock. I checked my watch and saw it was 0525hrs and assumed Brian was up early. The sound of our Bear Cans clanking in the distance away from our camp seemed to confirm my assumption, believing Brian was getting out the breakfast food.

    After I unzipped my sleeping bag and started getting dressed I hear Brian yell “TOM!” I reply with a “yeah?” and he says “THERE’S A BIG BLACK BEAR RIGHT NEXT TO ME!” Apparently, even though we had all our foodstuff caned and placed away from camp there was enough scent on Brian’s spoon in his mess kit.

    Mr. Bear tore open the nylon bag the mess kit was in (the “zipper” sound I thought I heard), ambled over to the food cans and rolled them around a bit then ambled back over to the mess kit that was near Brian’s hammock. Quite the way to start the day…for Brian at least, I never saw a thing.

    The Macs

    Brian and I headed down the trail from the Dam towards the Loj till we hit the intersection for the McIntyre Trail where we started heading up. The start was relatively easy going. Then it got “bouldery”. Then it got to some slab walking. Eventually we found where the trail split off for Wright (to the left) and went straight on for Algonquin. From here it was mostly “slabs in the trees” till it opened up to the Alpine grasses, cairns and bare rock up to the summit of Mt Wright.

    trailsign

    wrightfalls

    The Falls on the way up to Wright.

    brianupwright

    mencairn

    wrightsummit

    At the summit we met the DEC/ADK Peak Steward and talked to her for a bit. I asked where the Air Force Bomber wreckage was and she directed me to the location. A short downclimb to a ledge revealed the Memorial Plaque and debris of the B-47 that crashed there in 1962 killing the entire crew.

    memorial

    wreckage

    On to Bigger Things

    After paying my respects. We moved onto Algonquin, the second highest mountain in New York.

    You have to backtrack the way you came to the trail intersection previously mentioned and then start up a hard mile, half a mix of boulder and slab in the woods and the last half on the exposed ridge of the mountain. Follow the yellow marks and cairns to the top where there is one of the most spectacular views I have experienced to date.

    If your on Algonquin you cant pass up on Iroquois, which looks like it’s “right there” on the other side of Boundary Peak.

    Interesting aside: Boundary Peak is the “Red Headed Step-Child” of the High Peaks. It’s tall enough to qualify but too close to Algonquin to make the cut.

    To get to Iroquois you have to manage the treacherous Foot Trail sign. When you descend Algonquin…following the cairns… you reach a “Foot Trail” sign pointing left. If you go left you are going down toward Lake Colden. You have to go right and follow the narrow path over boundary and up to Iroquois.

    algq sign

    You can see that someone wrote “Iroquois/Boundary” in marker on the arrow’s tail, but MANY people miss it. We bumped into three or four people who told us that they went down the wrong path for quite a ways before realizing their mistake. We didn’t fall for it and made it up Iroquois in fairly short order. Then we went back to the “Infamous Arrow” and intentionally began our descent. The descent is steep and follows a mountain stream for a good chunk of the way. Which was good because I had drank up my supply of water shortly after summiting Iroquois.

    megoingdown

    coldendescent

    From here there was nothing to it but down…down…down…down…and appreciating that we didn’t choose this way for our ascent. Eventually we bottomed out near the swampy area between Lake Colden and Avalanche Lake and made the turn for Marcy Dam.

    Meanwhile…back at the Camp.

    While Brian and I were bagging peaks, Paul took the boys on a hike to Avalanche Lake.

    The Other Day I Saw….

    After Brian and I returned to camp we did a “camp cleanup” (baby wipe shower for me) and went down to the Dam to cook dinner.

    cooking

    Story: There I was…cooking food. I could hear crunching in the woods behind me. I thought it was some more campers coming down to the water. Then I looked up and saw the expression on Mattie’s face, who was looking behind me. Lol!

    Had to yell at the Bear to move him along and wave my arms to “look big”. I got a hiss and he moved along and wandered across the lake bed further down from us.

    A few minutes later we heard the campers on the other side yelling their heads off.

    bear

    We decided to leave everything related to food right there at the waterside that night and went back to camp. I crawled into my sleeping bag and listened to the bear visiting all of our neighbors. You could tell by the yelling what route he (or she I suppose) was taking. Brian watched him circle our camp (actually giving us a wide berth) before it got so dark he couldn’t see him anymore. We (Brian and I) had decided to wake up early Sunday, hit Tabletop Mountain then break camp and head home…having accomplished all the planned peaks for this trip.

    mattiecrash

    How to exhaust an 11 year old.

    Tabletop

    Brian and I were the first people up Sunday morning. After some breakfast and inspecting our supplies which the bear(s) had pushed around (and bit a hole through Paul’s collapsible water jug), we were off, hitting the trail at the crack of dawn toward Tabletop.

    The approach started just like Phelps, except we passed the turnoff for that peak and followed the sign towards Mt Marcy and Indian Falls. After a mile or so we found the sign pointing the way.

    tbltpsign

    Tabletop was..IMO..a pretty easy climb. Not as “long term steep” as other peaks and easier on the legs and feet. It was MUDDY however, and was one of those “this has to be the top…ehhh…nope” type peaks. It’s relatively flat at the top (Tabletop..get it?) and the muddy path just keeps on going with a step up here and there. Eventually you come out to somewhat of an opening where there’s a summit marker and a limited view.

    tbltpano

    Considering we were heading up the trail before 0630hrs, and made it back to camp around 1030hrs it was a pretty quick run. We broke camp and humped it back to South Meadows. After a pit stop in Lake Placid for some Burgers and Beer (for the adults that is), we hit the road for home. Good memories with friends and family and 12 peaks in one year for Brian and I, bringing our total to 13 in our quest to become 46rs.