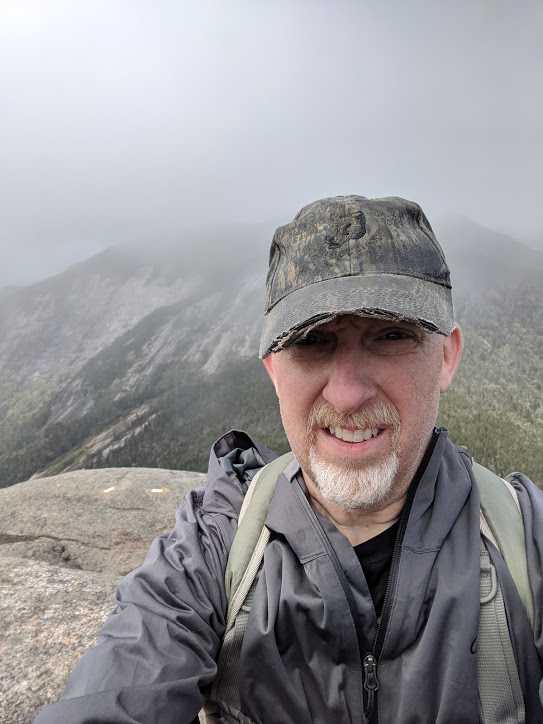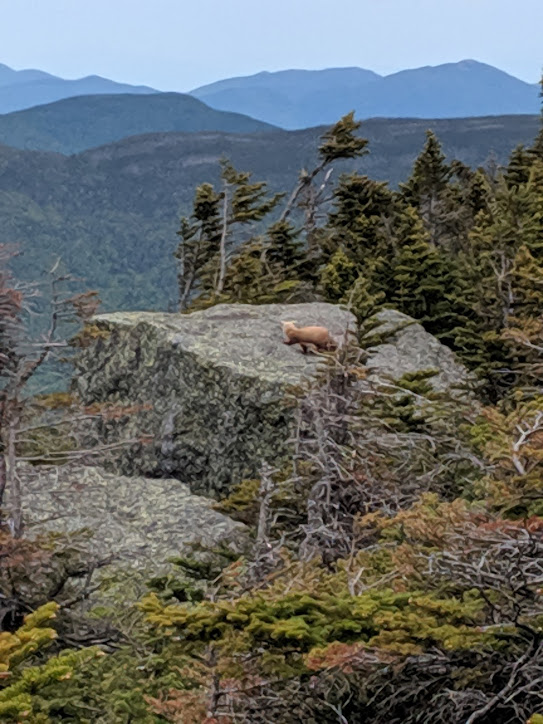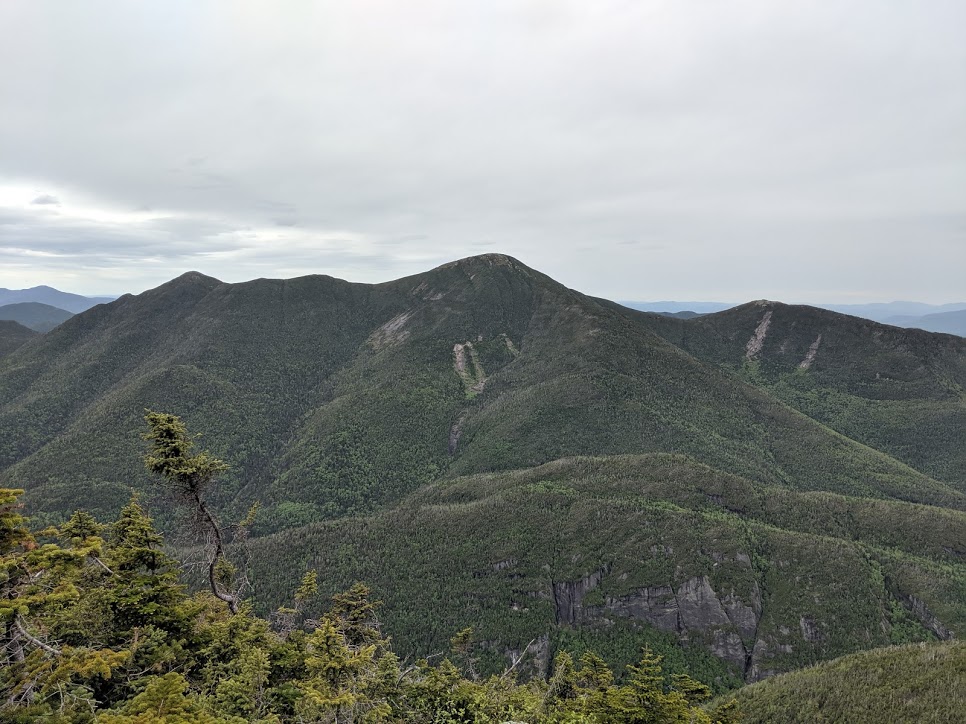
• A walk in the clouds. Giant Mountain and Rocky Peak Ridge.

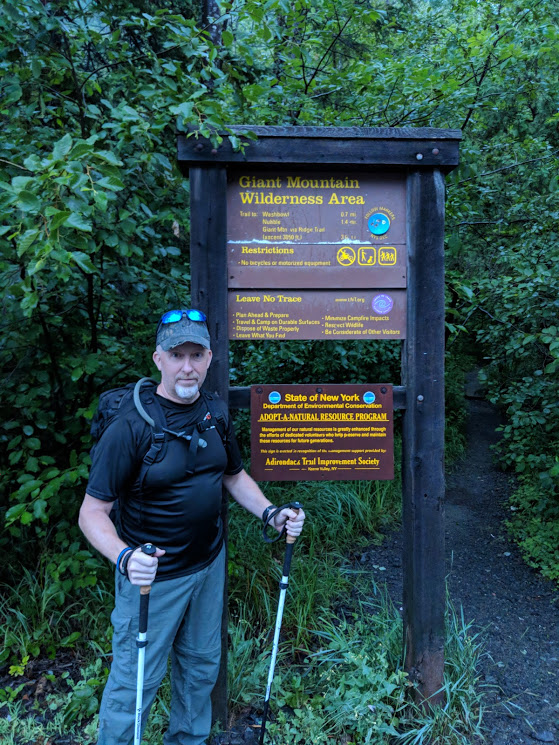
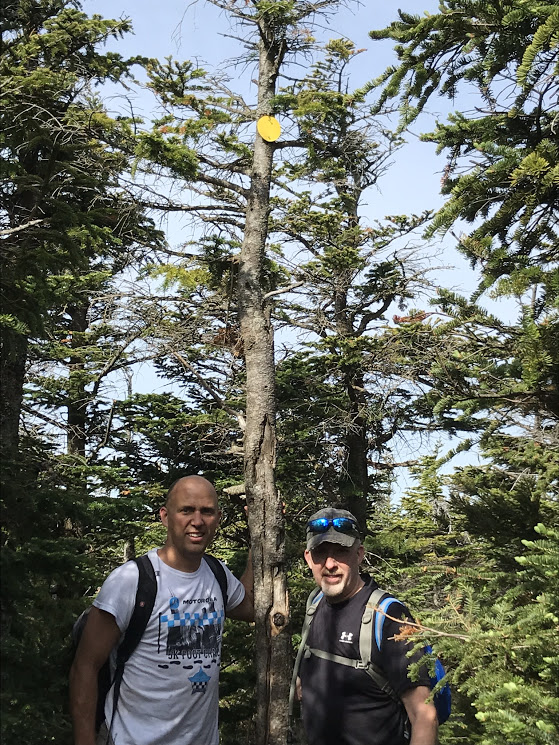
    In July of 2018 my co-worker (and climbing partner) and I were sent to Quebec City Canada for a work conference. We made plans to stop in the Adk Park and hike Giant Mt and Rocky Peak Ridge (RPR) along the way home so we packed our gear and took it with us. On July 26th we arrived at the Chapel Pond trail-head at the crack of dawn and got to it. The forecast was for “passing showers” during the morning hours giving way to sun and clouds.

    From Chapel Pond the “out and back” distance is about 8 miles. Approx 3 miles to Giant then another mile to RPR (more or less). 4419 feet of elevation gain according to AllTrails.com.

    There was just a light intermittent shower when we started and it was pretty warm. Under the trees the trail was still mostly dry.

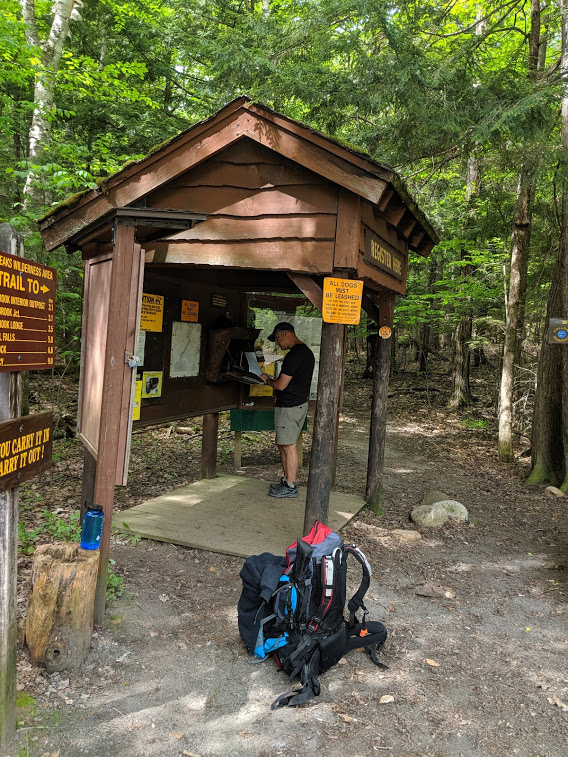
    trailhead

    I zipped the legs off of my pants and went to shorts in fairly short order.
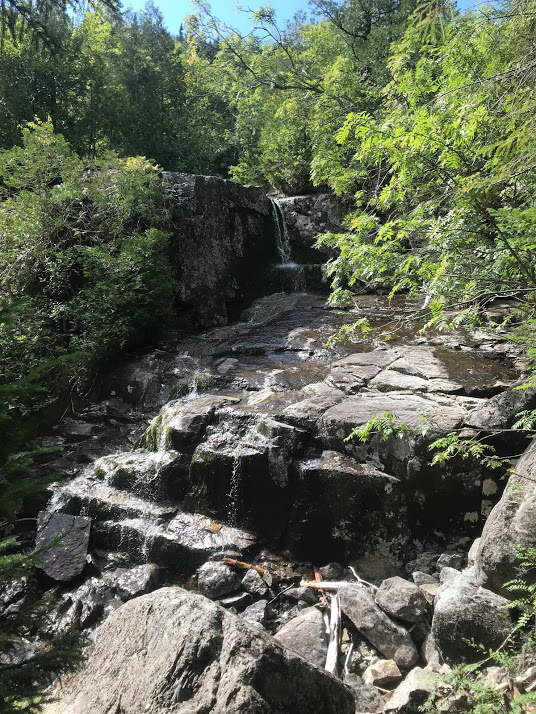
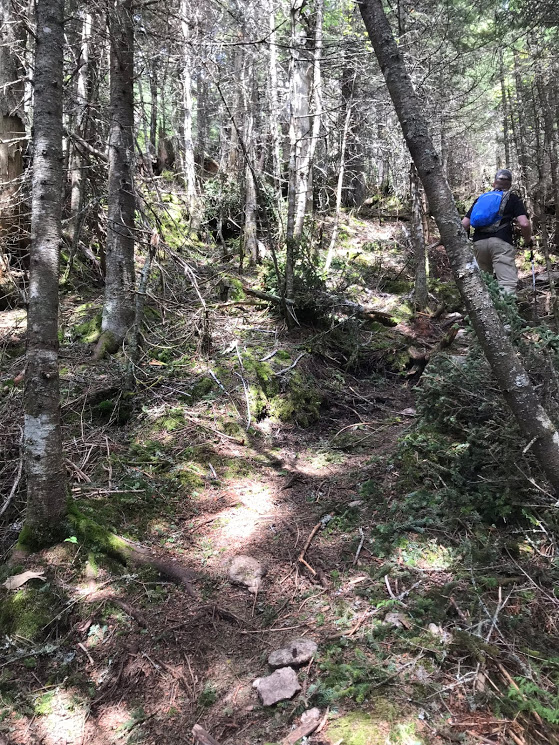
    The trail was the typical Adirondack Mountain fare. Rock strewn and fairly steep most the way. From the trail register its up. up. up. for about .7 miles where you will find the Giant Washbowl, a scenic pond with Lilly Pads and croaking frogs.

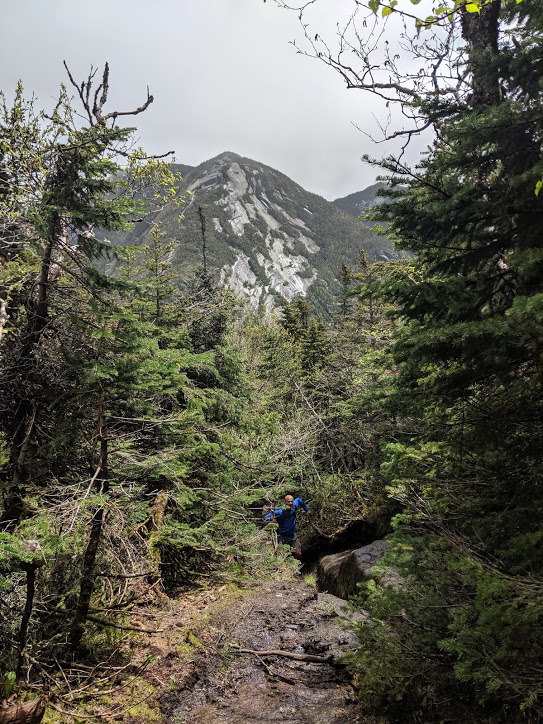
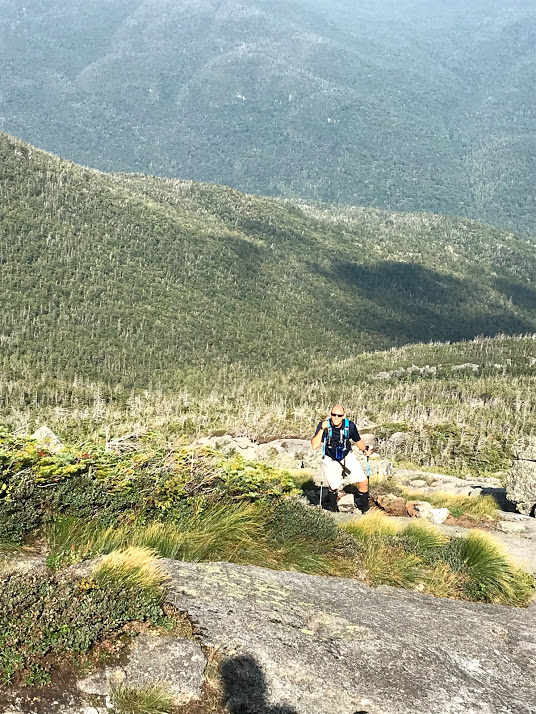
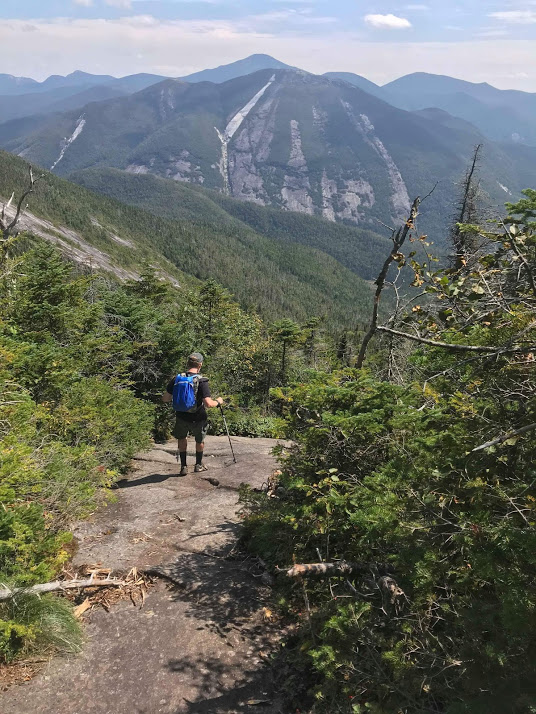
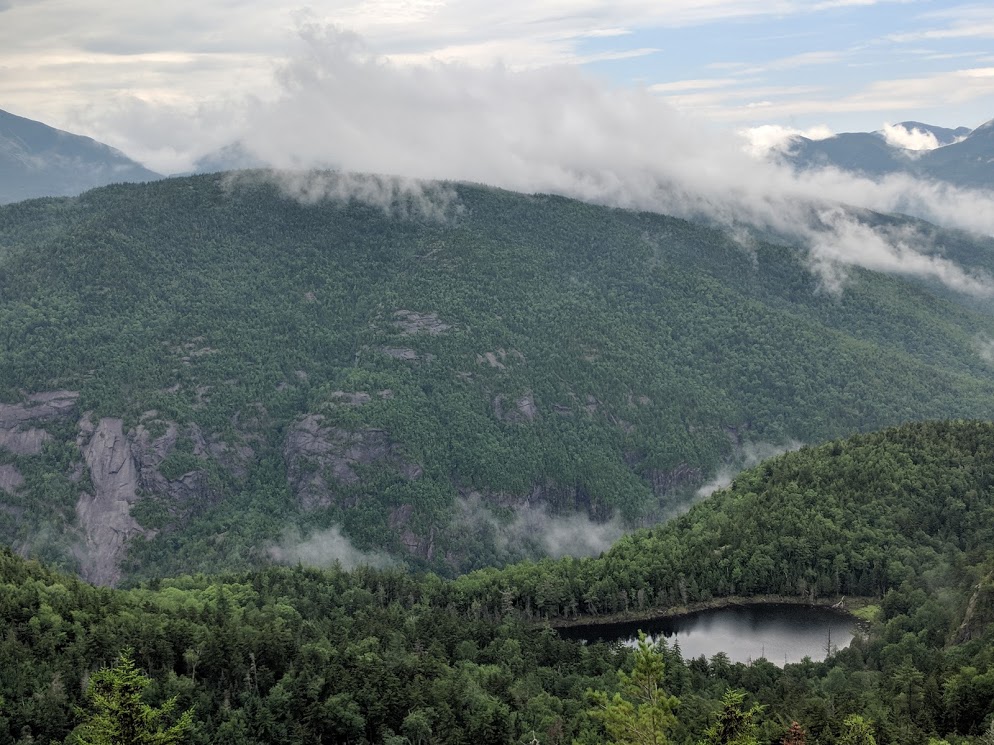
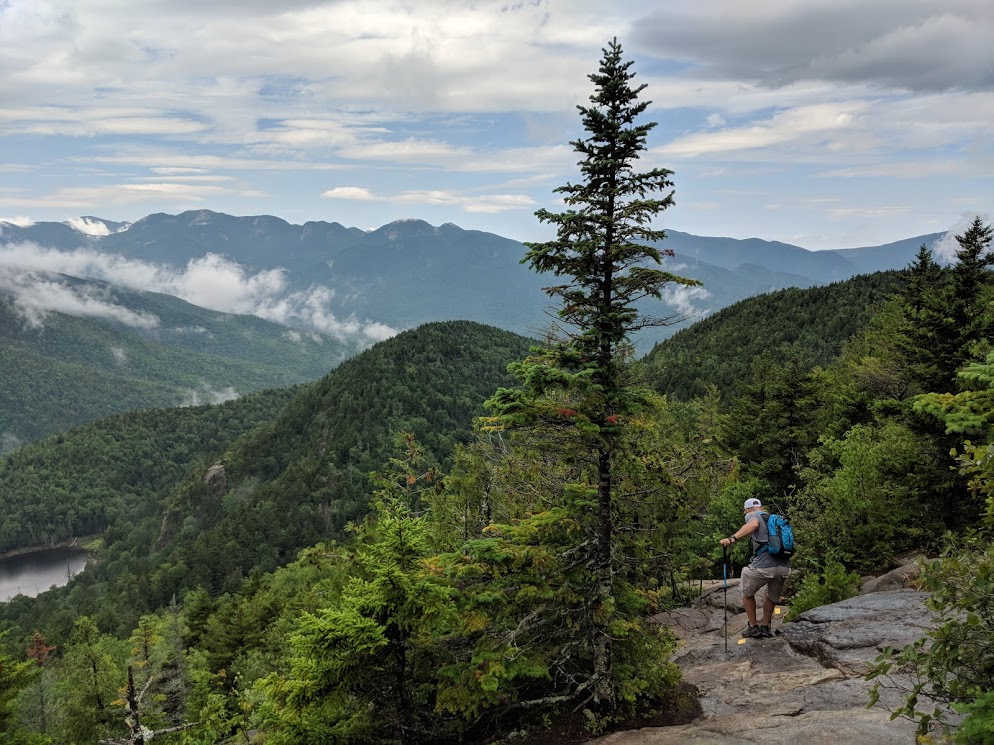
    From the washbowl there is a good mile to mile and a half of ascending on mostly wooded switchbacks which are mildly steep; but not as steep as a straight ascent would have been. Occasionally the trail crosses over exposed slabs of rock which provide some beautiful views. We were fortunate that between 2500′ and 3500′ that we were beneath the ceiling and were able to take in some stunning scenery.

    washbowlabove

    Giant Washbowl from above.

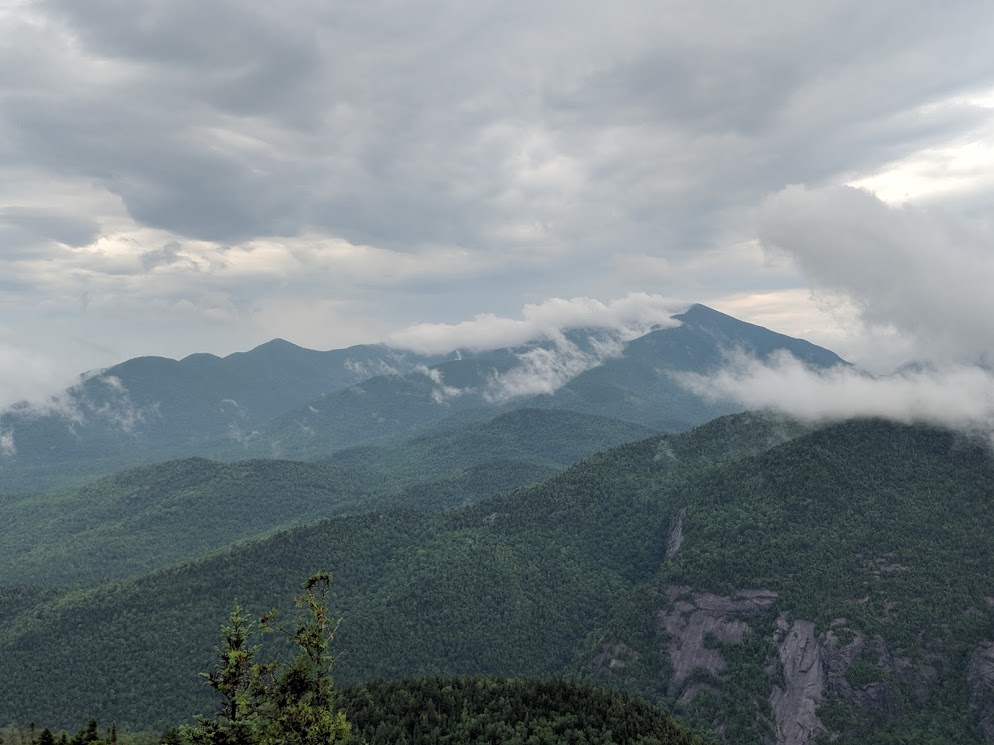
    peaks2

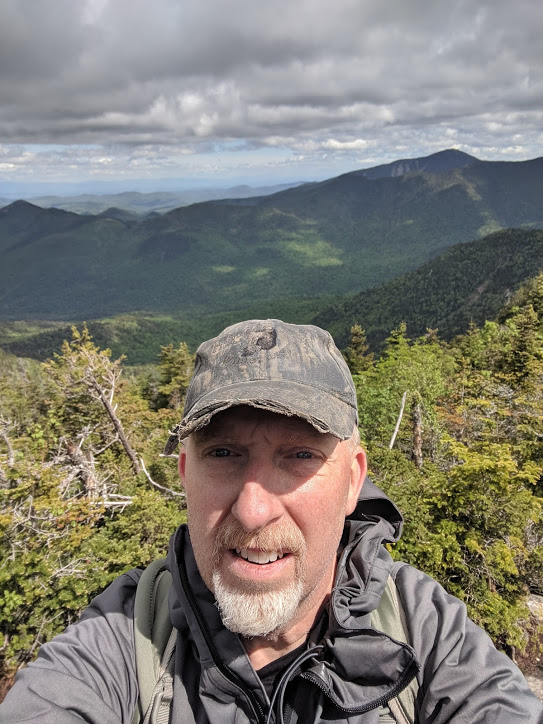
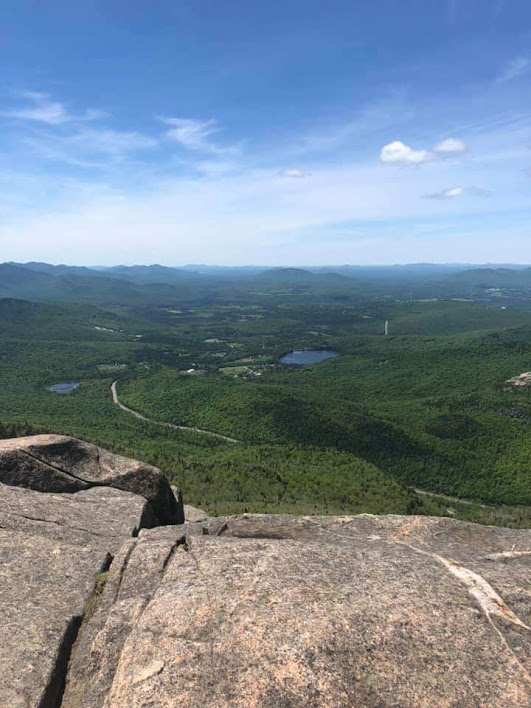
    Pictures cant do it justice.

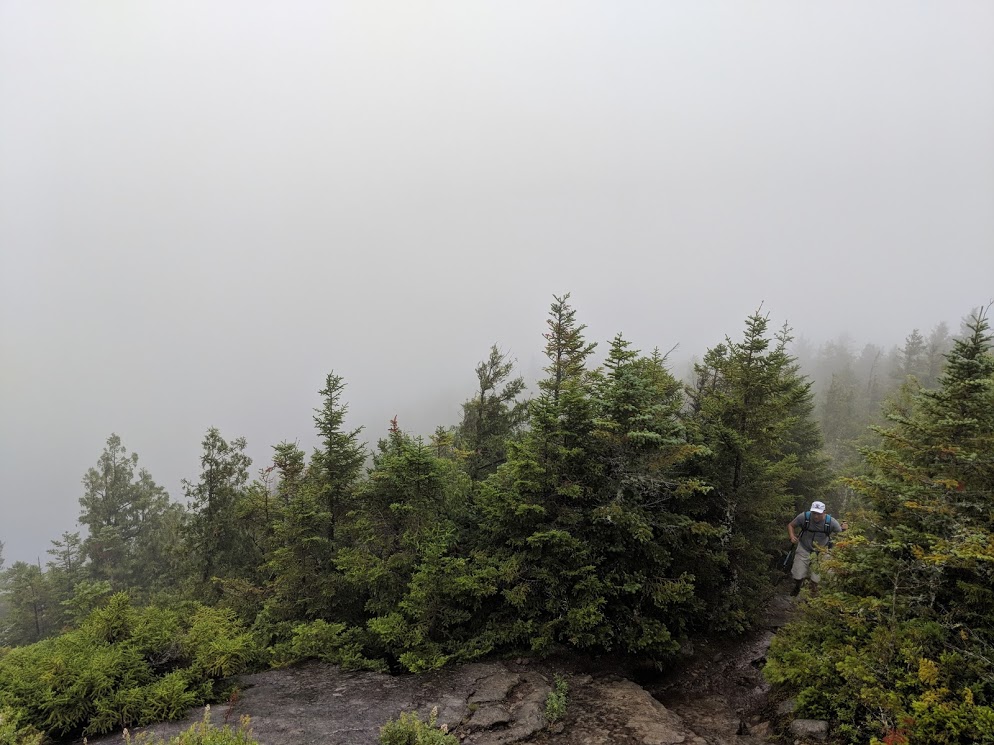
    Between the 3700′ and 4000′ mark the clouds began closing in and the rain began picking up. It was still relatively warm so the soaking wasn’t all too oppressive at this point. The trail began to produce increasing sections of slab rock, some of which were challenging when wet. There was a section where a sign was posted pointing out a route “over the bump” and “around the bump”. The Bump is a rocky scenic overlook that I took and didn’t see much from except cloud. On a rainy day take my advice and go around. There was also a privy up around the 3800′ mark.

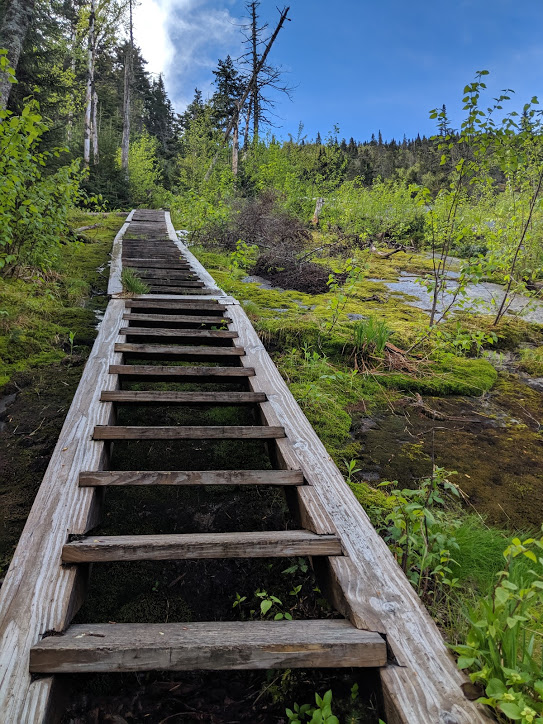
    ascent

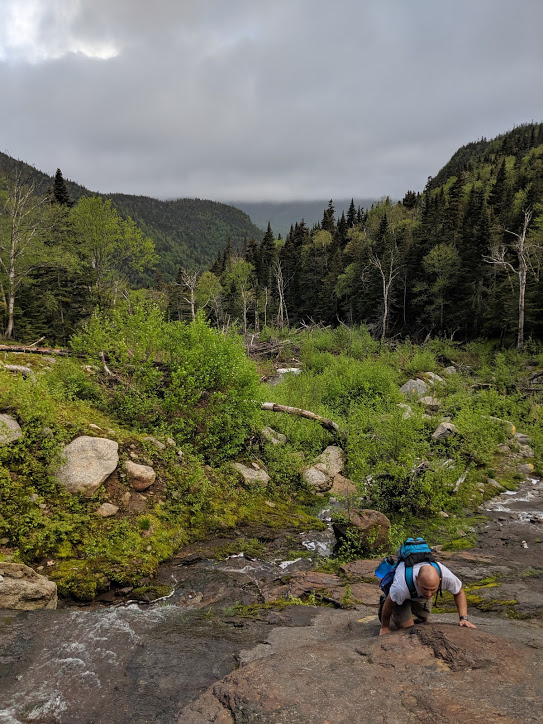
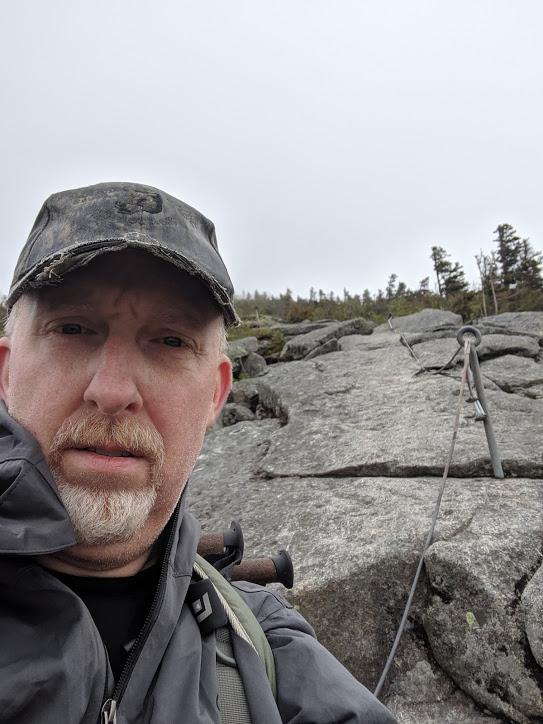
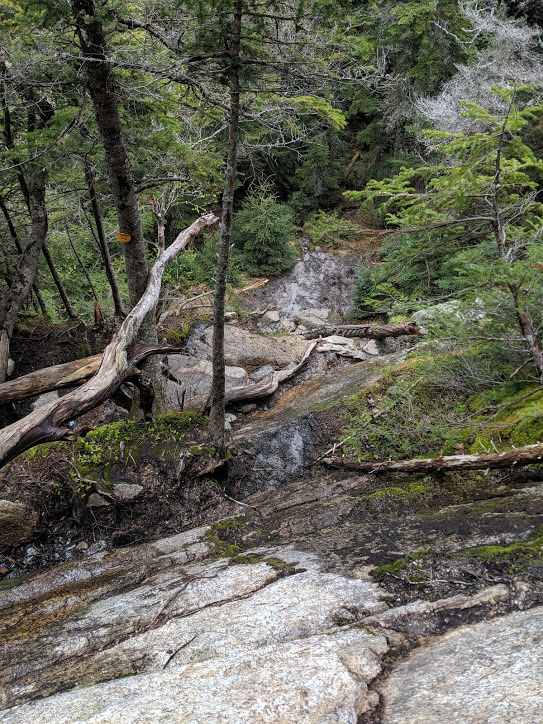
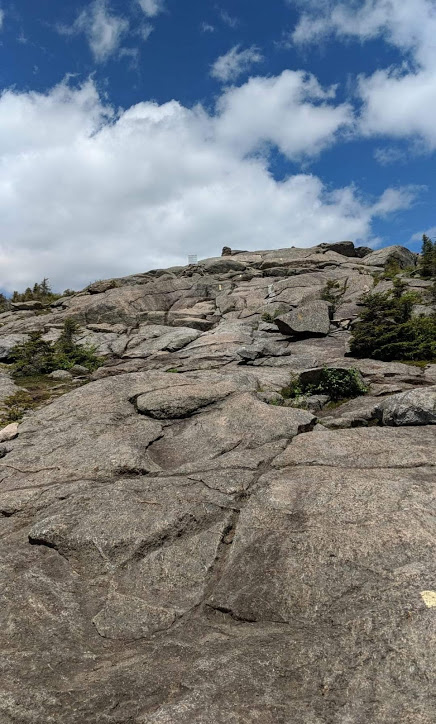
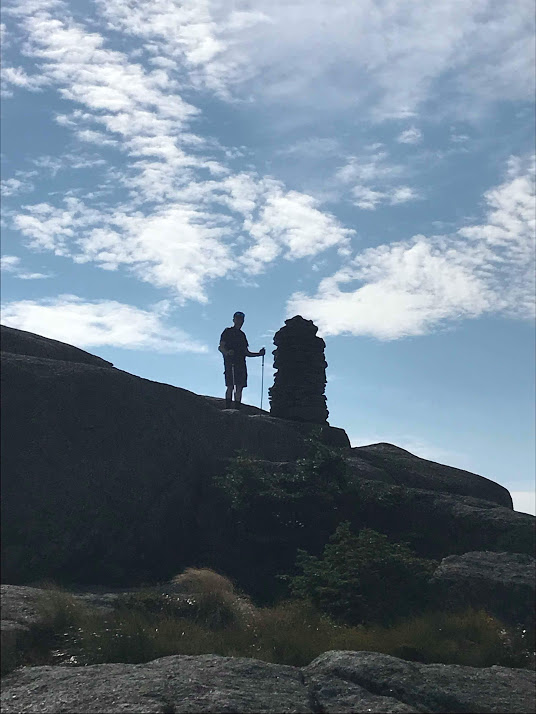
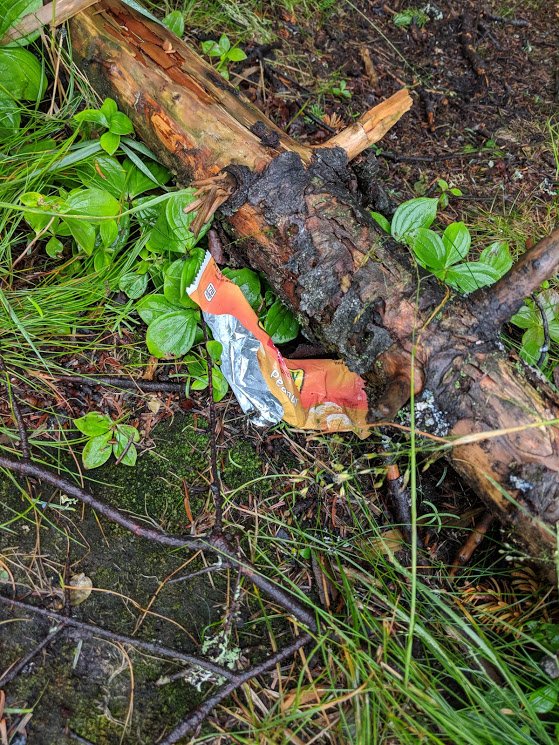
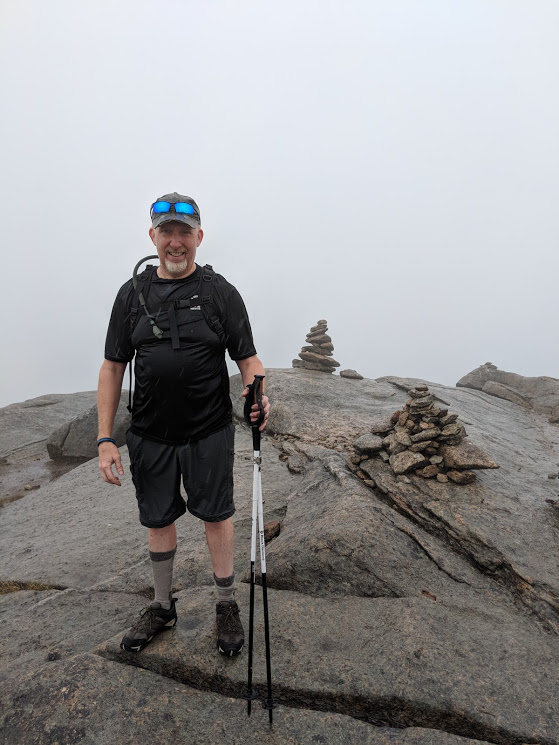
    Near the summit of Giant there was considerably more slab walking to do that had running water coming down it. Once over that there was a short level jog to the peak. The only thing marring the experience was having to pick up someones trash that they left behind.

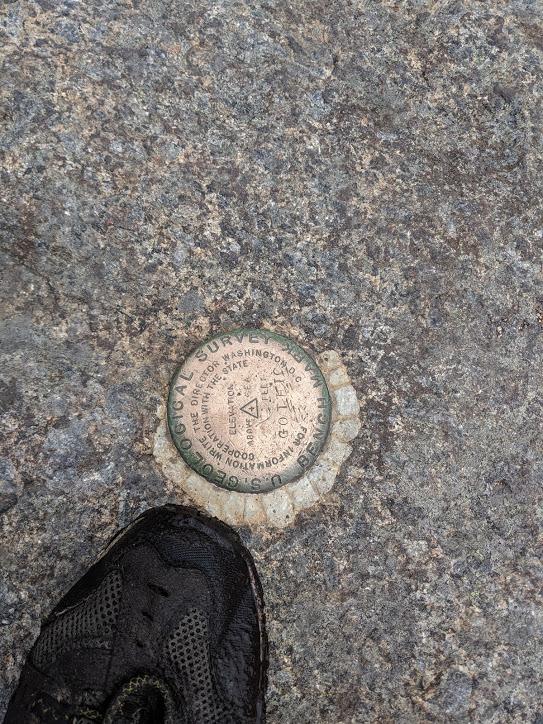
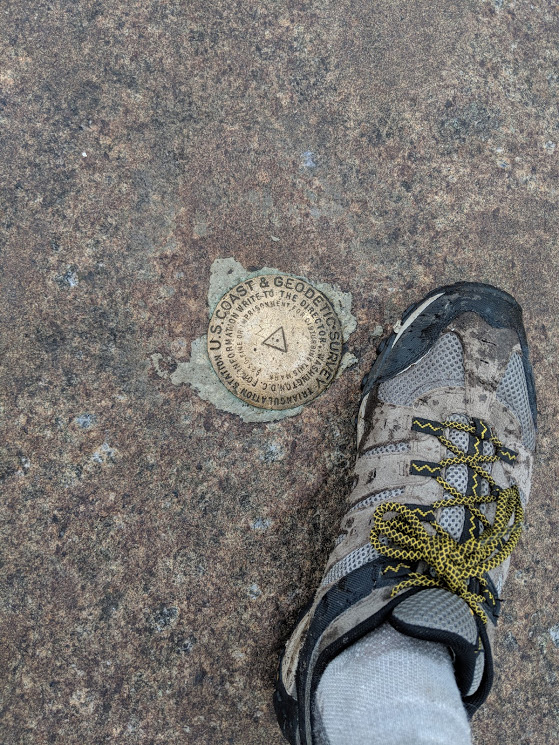
    marker

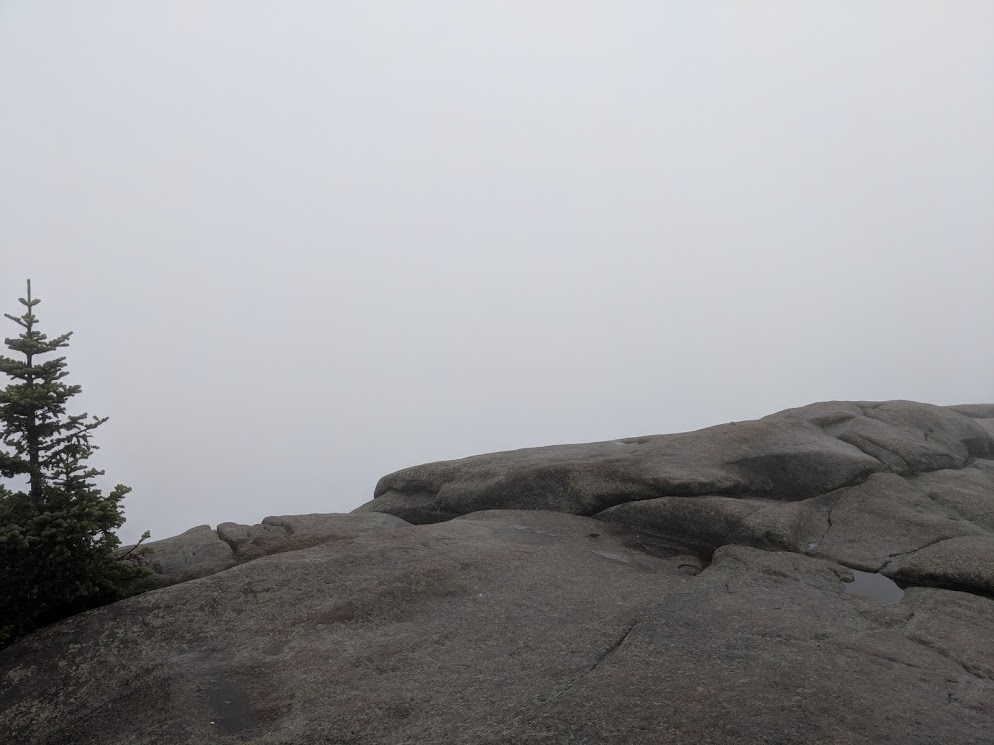
    giantnoview

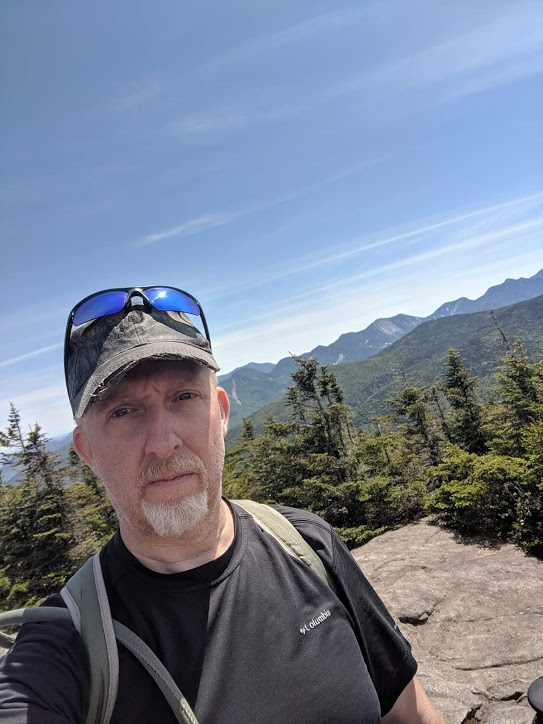
    Not the most scenic day, but an accomplishment nonetheless.

    trash.jpg

    Don’t be an @$$hole. Take your trash with you. This is why we can’t have nice things.
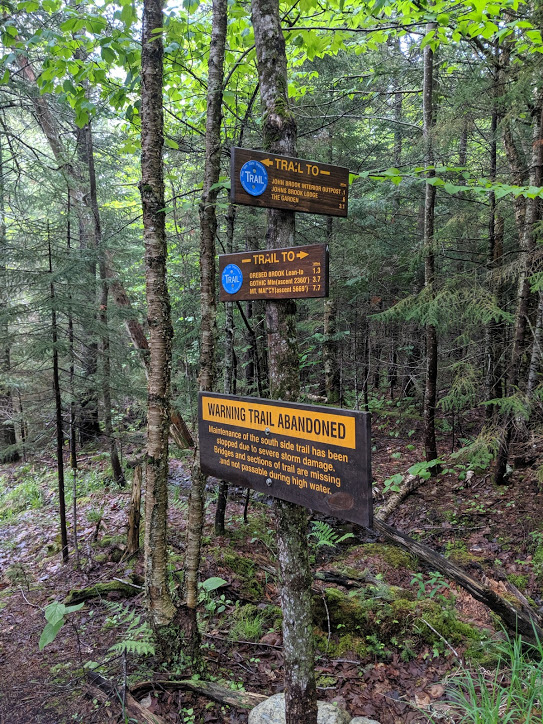
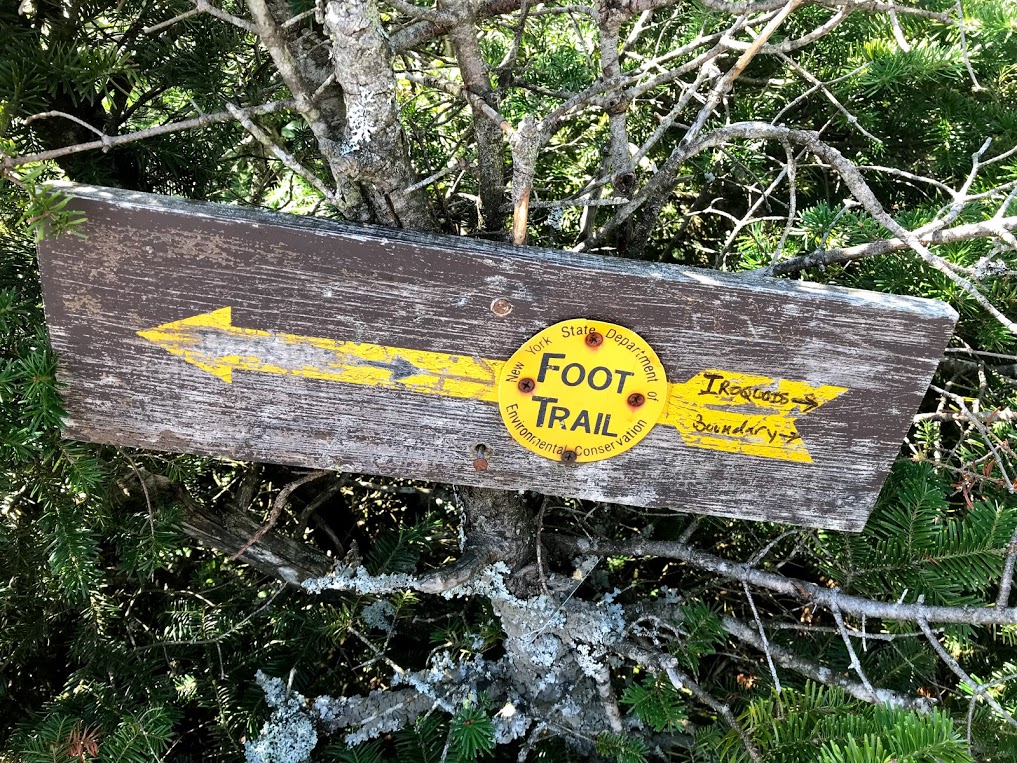
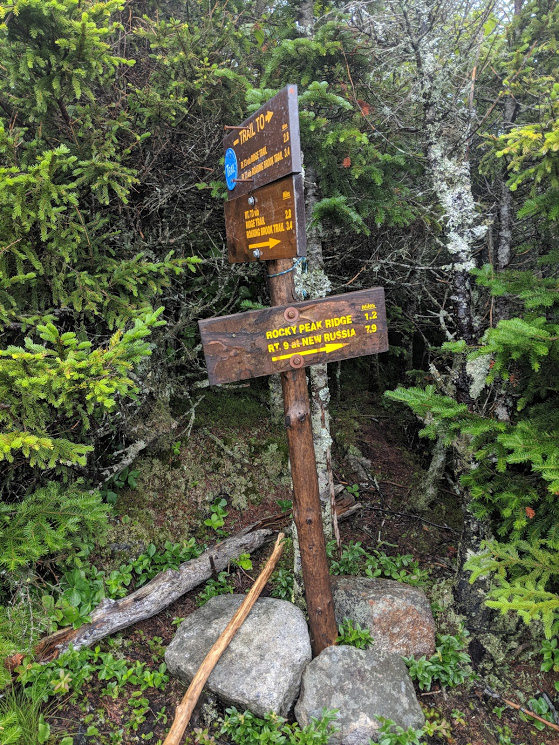
    Go back to the trail-marker you passed on the way up to the summit to find the trail to RPR.

    sign2

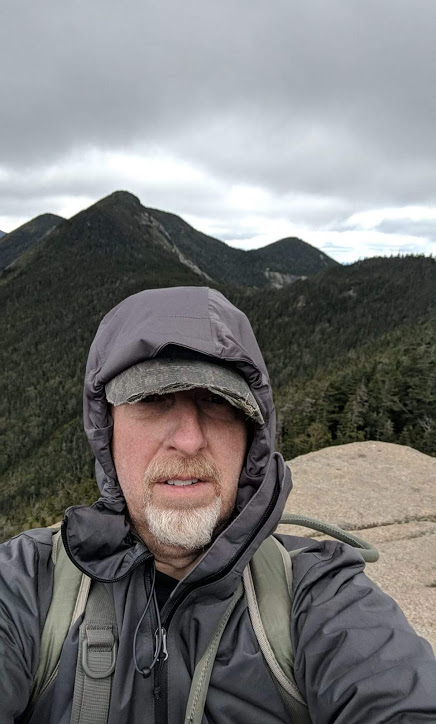
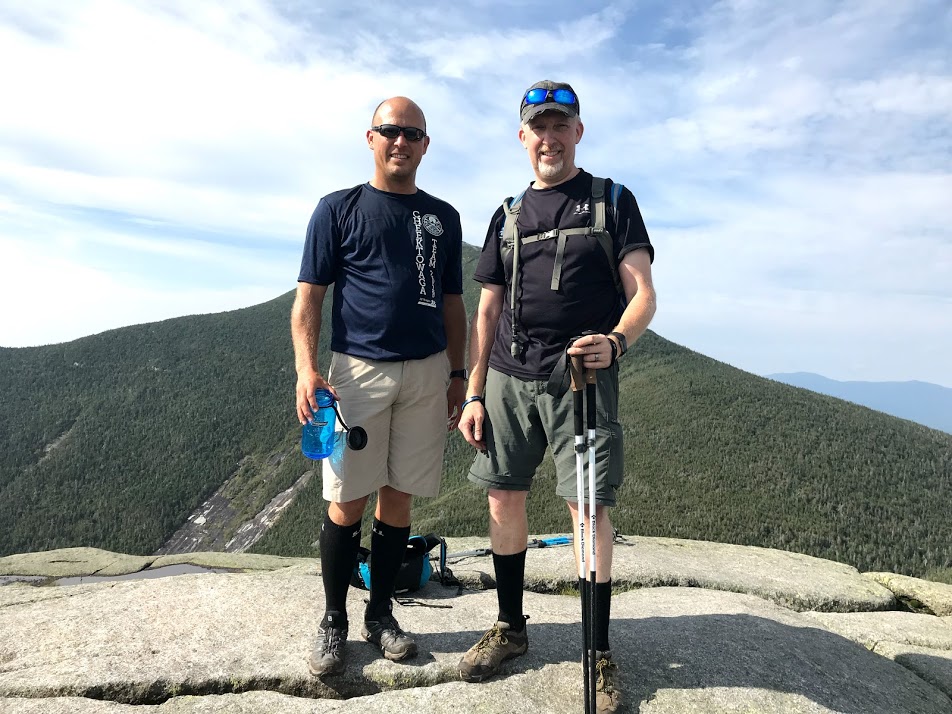
    From here it’s only 1.2 miles to the summit of RPR, but the descent from Giant into the Col/Saddle between them is pretty steep with a lot of wet slabs. The rain really started picking up on us at this point and I have few pictures from this part of our hike. The ascent up RPR after reaching the bottom of the Col was actually the easiest part of the day in terms of steepness and difficulty. However, by the time I reached the summit of RPR I was soaked and it was cold and windy. We didn’t stay there long.

    wetrpr

    From here there was not much more to it except to reverse course and head back. Once again, once we got to the 3600′-3500′ mark we got below the cloud ceiling which was (now…of course) starting to break up and we got some scenery to reward our efforts.

    descent

    For me ascending is much more pleasant than descending. I’m pretty “Mountain Goat” going up. My rock climbing experience in my youth having left over some benefits in terms of speed walking up even wet slabs of rock. For some reason though I have a tendency to slip on the descents when I step onto muddy patches. I fell on my ass a few times going back down and was a muddy mess from the waist down before I returned to Chapel Pond LOL!

    Once back to our vehicle I walked down to Chapel Pond and walked right in fully clothed up to my waist and washed the mud off of me. A change into dry clothes and it was time to hit the road for home.

    All things going as planned we should be back in late August to attempt Phelps, Wright, Iroquois, Algonquin and Tabletop. Stay Tuned!

  • Five To One Baby. The Dix Mountain Range.

    Background

    For my first Adirondack trip with the express intent of peakbagging some of the 46 Peaks, I chose to visit the Dix Mountain Wilderness Area. Five of the 46 High Peaks can be found there, and all can be climbed in one day. If you are up to the challenge.

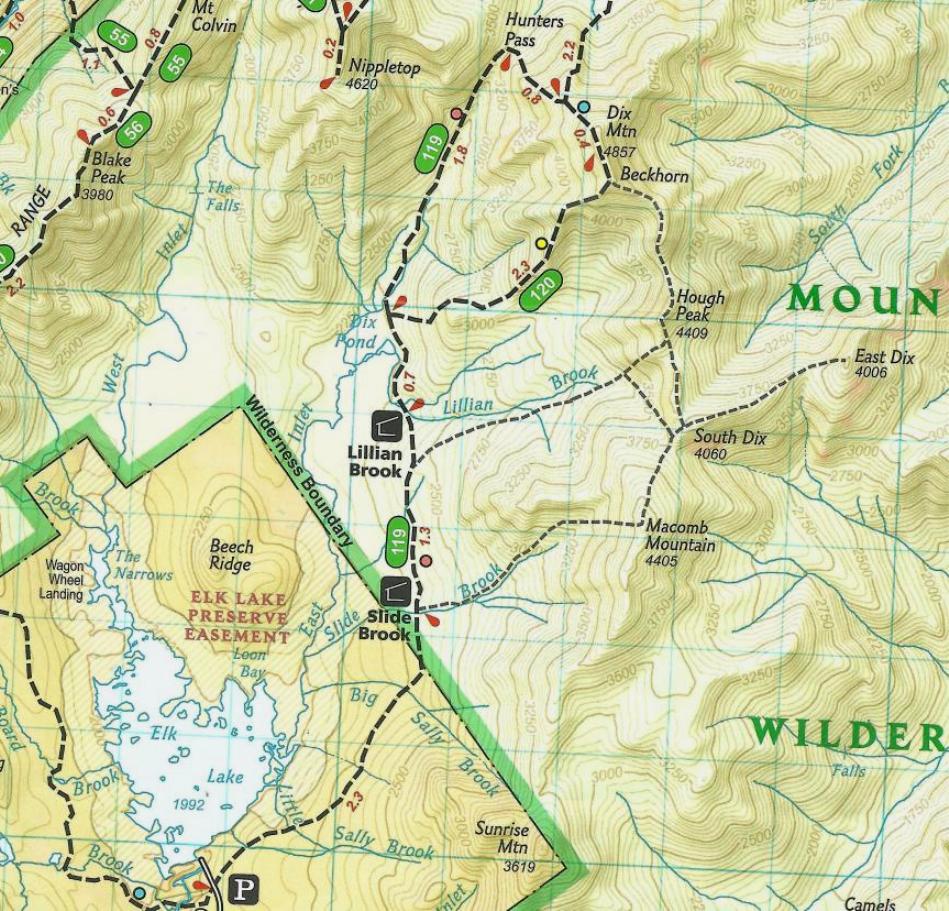
    Dix Mountain is the 6th highest peak in the Adirondacks High Peaks Region at 4,840 feet and is neighbor to four other High Peaks; Hough, South Dix (now known as Carson Peak), Grace Peak (which used to be called East Dix) and Macomb Peak. All five peaks can be reached via a network of unmarked “herd paths” which connect them all in a loop.

    dixmap

    Note: The bold dashed lines are maintained/marked trails. The lighter lines are unmarked “herd paths”. More on that later

    Getting There

    I, like many who do this route, chose to drive to the Elk Lake trail-head and hike to the Slide Brook lean-to on Friday, complete the hike on Saturday and return home on Sunday. In my case, June 8-10 of 2018.

    Any research you do about this route will tell you to get to the trail-head parking lot early and they are all correct. The parking lot is a relatively small patch of State owned land in the middle of a private tract owned by the Elk Lake Lodge (The whole drive up to the lot you will see no trespassing signs on almost every tree on both sides of the road reminding you who owns most of the property in that area). If the lot is full you have to backtrack two miles to the overflow lot and tag that mileage onto the 2.3 mile hump to the campsite. If you park anywhere else along the road you will be subject to a parking ticket. Don’t ask me how much the fine is, but it must be significant because nobody took a chance at it while I was there.

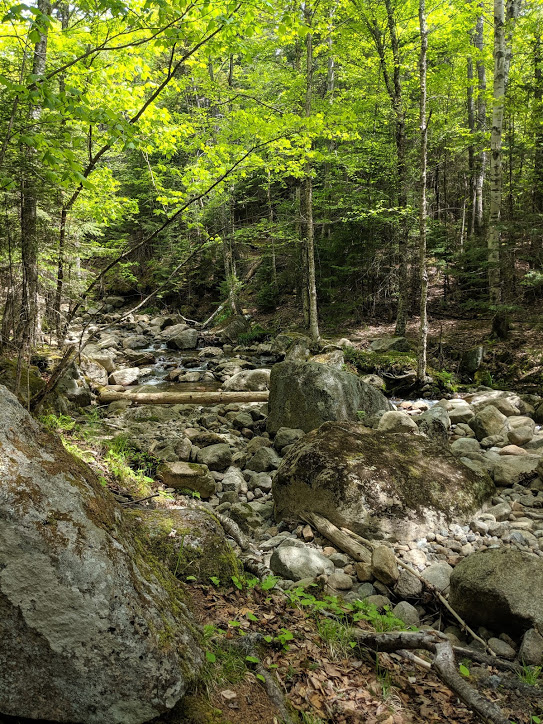
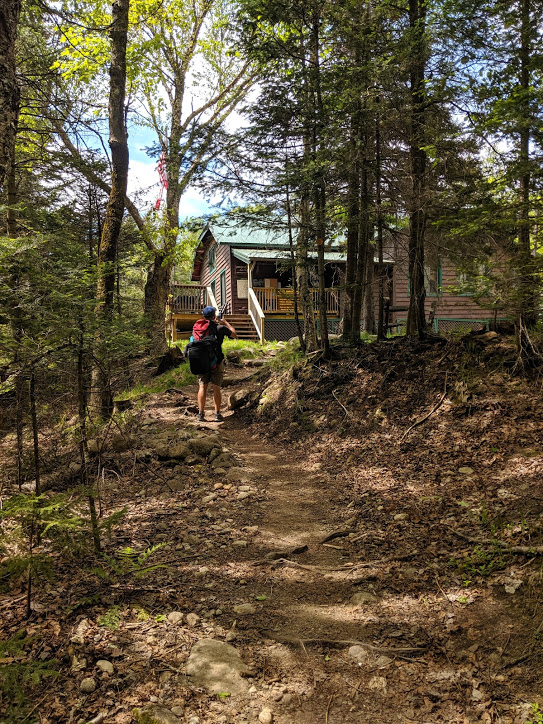
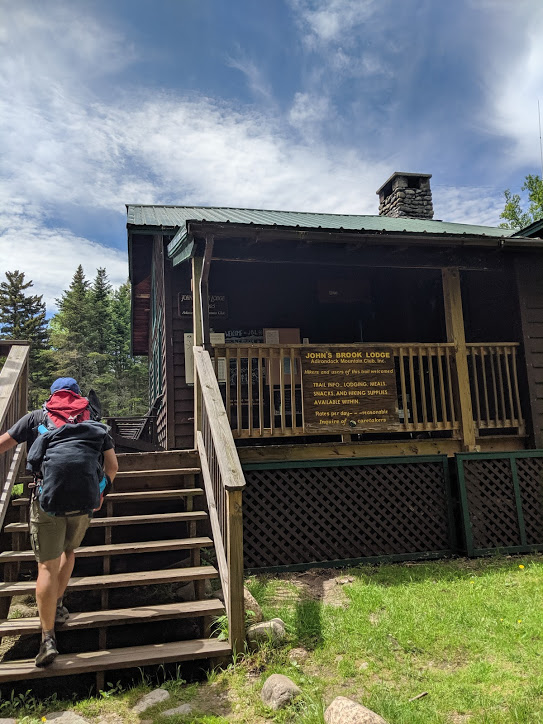
    Fortunately, we managed to find a parking spot and had a relatively easy hike to the Slide Brook Lean-To campsite. The site has (of course) one lean-to, an outhouse, and several tent pitching areas with established fire rings. Yes, you can build campfires in this corner of the Adirondack Park and Bear Cans…while recommended…are not required. Slide Brook provides any water you may need.


    Get Moving…follow the herd.

    If you plan to do all five peaks in one trip you kind of need to decide which direction you want to go. Clockwise or counterclockwise. Counterclockwise takes you up Macomb Mountain first. Looking at the elevation profile that’s the way I decided to go. While the Macomb approach appeared steeper, it looked like a “get it over with quick” climb vs a long “where the @#$& is the top” slog up Dix. In the end I think I was right.

    trailprofile

    A “herd path” is an unmarked trail that is the result of many people taking the same route year after year. The paths we used were unmarked except for the occasional stone cairn, but for the most part were easy to follow once we found them. Muddy footprints and stones scratched by numerous trekking poles are evidence that you are going the right way (for the most part). Most of this five peak route is via these trails.

    From Camp to Macomb

    Apparently, finding the path toward Macomb from Slide Brook can be an issue for some folks. Two groups of hikers told me that they either changed plans entirely and went towards Mt. Dix or walked up Slide Brook itself (which is a nightmare of running water, tumbled boulders and dead-fall trees). My trail partner and I took advantage of our early Friday arrival to locate the herd path and walked it for about a quarter mile so we would be confident which way to go on Saturday.

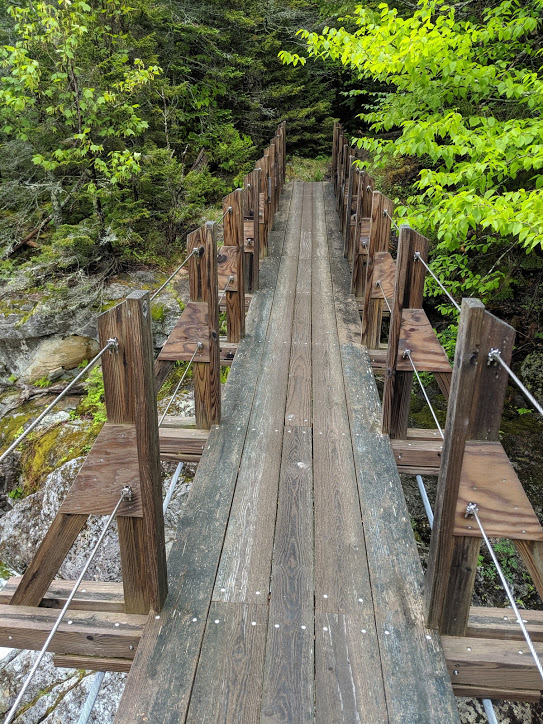
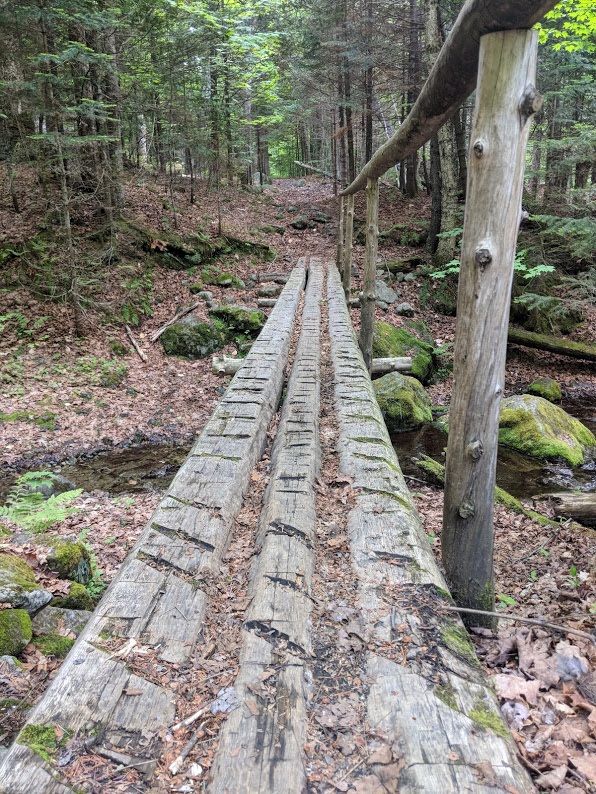
    As you walk into the Slide Brook Campsite you cross over Slide Brook on a wooden footbridge. Once you cross over look to your right and you should see a stone cairn and a path to a campsite with a fire ring. On the far side of this campsite you should see two additional cairns that mark the start of the herd path. From my personal experience (and numerous online comments I’ve seen), it appears that folks think the cairn next to the bridge indicates that the brook itself is the trail. Don’t be one of them.

    slidebrookbridge

    This photo is from the Slide Brook Campsite looking back towards the trail-head. The stone cairn is slightly behind me to the left.

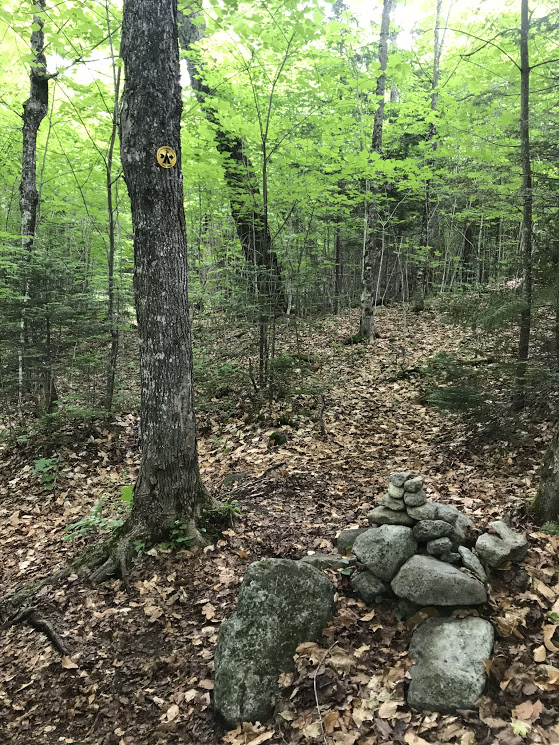
    cairn

    There’s the cairn you want! Follow that yellow marker to another set of cairn’s that mark the start of the herd path to Macomb.

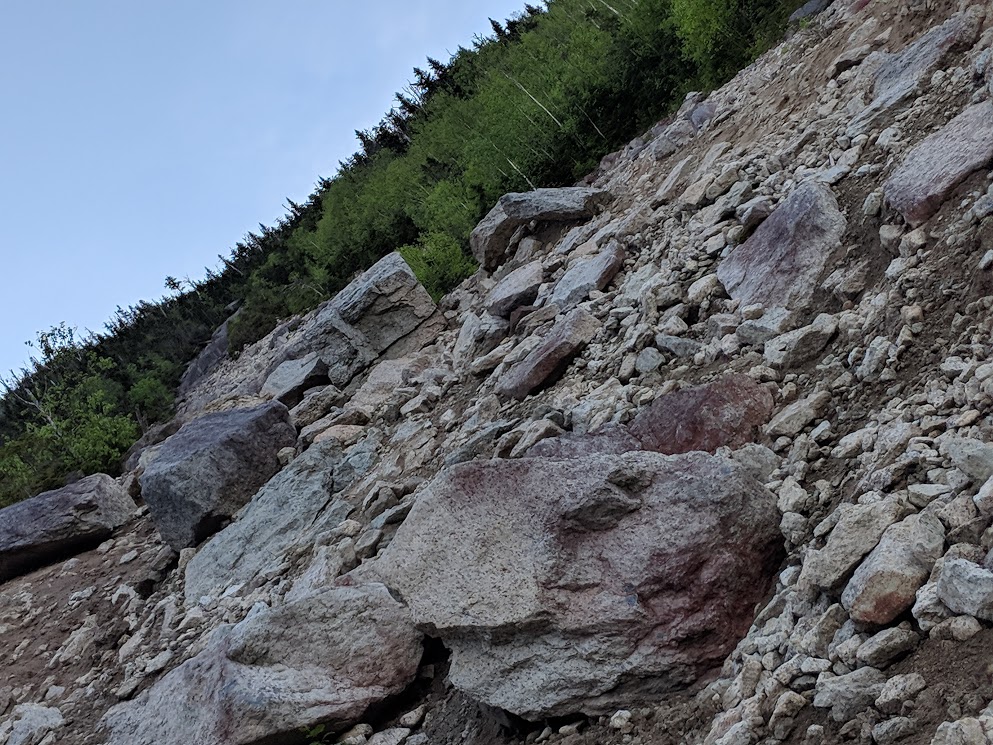
    From Slide Brook Camp it’s about 1.8 miles to the peak of Macomb. The herd path is pretty obvious (once you find the start) and continues uphill along Slide Brook. It’s a fairly easy hike until you come out of the trees and see the Macomb Slide. The Slide is a steep slope of dirt, loose rock, larger boulders and slabs of stone. You have to get up this to find the peak.

    macombslide

    That photo has a bit of a tilt to it. This video is not mine but gives you and idea of what you will be facing.

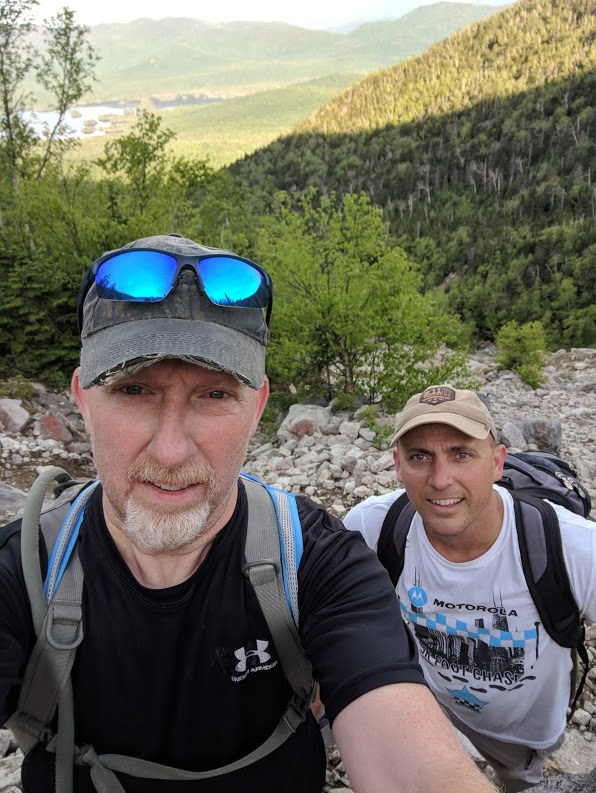
    Follow the cairns which track to the right side of the Slide then cross back to the left at the top where you will find the herd path again. Trekking Poles helped me immensely.

    briandimacomb.jpg


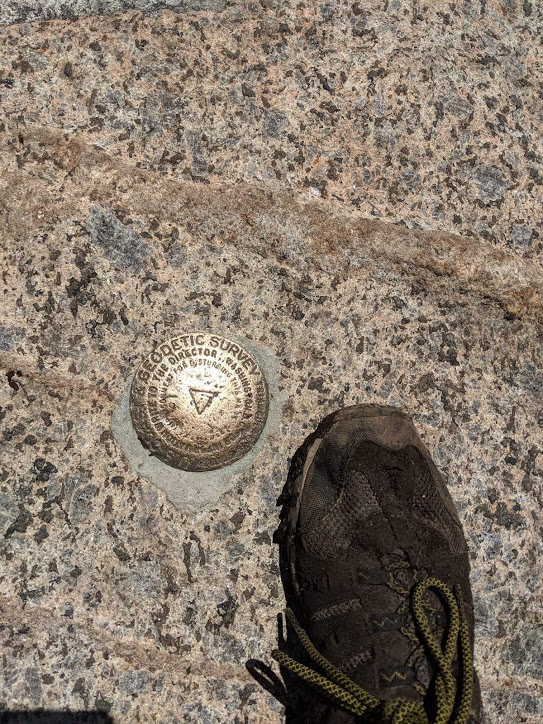
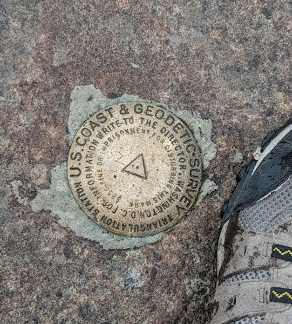
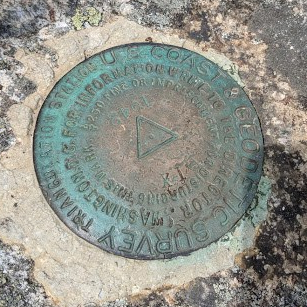
    Once you get past the slide it’s a fairly smooth walk to the peak where you can find the survey marker and some fantastic views.


    Macomb to South Dix/Carson Peak

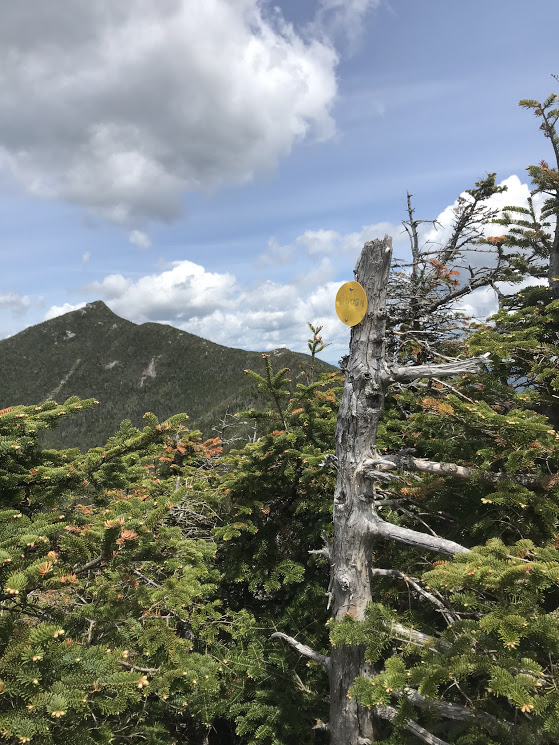
    The next destination is Carson Peak, which used to be named South Dix (and many maps still label it as such). A quick down and up brings you to a wooded peak with limited views. The marker for the peak is a round yellow disk nailed pretty high up on a scrubby pine tree and is easy to miss. A path leads out onto a rocky shoulder where you can get a look around.

    carsonpeak

    From here look for a stone cairn. It marks the point where the path splits east towards Grace Peak (used to be East Dix) and north towards Hough Peak.

    Carson to Grace…and back again

    Since you’re here you might as well run the 1.1 miles out to Grace Peak (then 1.1 miles back). The herd path runs fairly level/flat/downward along a ridge then dips down into a saddle then up to the peak.

    Tip: Once you dip down into that saddle between Carson and Grace the herd path may lead you astray. Ahead you will see a steep ladder of tree roots and to the left a path leading down. Don’t go left. For a moment we couldn’t determine if the path went left, then around, then up to the summit, so I scouted ahead for 20-50 yards. This path obviously continued down a secondary herd path approach to Grace Peak. Climb up and over those tree roots and pick up the path that leads to the top.

    Once you bag that peak, return by the same path back to Carson.

    Carson to Hough

    Now that you are back on Carson, find the cairn and head .9 miles north to Hough Peak. You will descend sharply then start back up a pretty steep wooded slope that will get your heart pumping.

    uphough

    This was the gentle part of the slope up Hough.

    The peak is marked with the ubiquitous yellow disk with marker written letters. You get some stellar views and a look at whats coming next, the approach to Mt. Dix.


    dixfromhough

    Mt Dix in the upper left….

    Hough to Dix…over The Beckhorn

    You’re almost to the last peak of the day. 1.3 miles to the summit of Mt. Dix. At this point it’s the usual….you have to come down off of one peak if you want to go up another. This one wasn’t as strenuous as the Carson/Hough ascent but it ends up (at least the way we did it) at a bouldering problem.

    Just before the peak of Mt. Dix is a ridge of large boulders called The Beckhorn. The path we took led to a large boulder with a sloping crack leading up. Based on the trekking pole marks on either side of this crack it’s obvious people go up and down it. I couldn’t see a way I could walk up it so I packed away the poles and knocked off some of the rock climbing rust and climbed up and over. Some fantastic views can be had from here but the summit of Dix is just a short and easy hike over a shallow saddle and the view is just as good from there.


    On the summit of Dix you will start to see dashed lines of paint on the rock. That means you are back on the marked trail. After admiring the views and contemplating just how small and insignificant we all are, we took the 3.6 mile Hunters Pass Trail back to Slide Brook Lean-To. Man was it a long and steep descent! But in the end I still think it was better than a descent of Macomb Slide would have been if we had gone the other direction.

    Pack plenty of water. Once you go up either Dix or Macomb you are not going to find any. I ran out of water on top of Mt. Dix and it wasn’t until we hit the end of the descent that I found one of the Dix Pond tributaries to filter some more into my Camelback. After that and some food, there was nothing left but to hump it back to camp.

    Back at Camp

    Back at camp, it was time to get the shoes off and take a nap! When we woke up for dinner we socialized with one of our campsite companions. He was there with a group of friends and his two dogs. He had difficulty finding that Macomb herd path I mentioned earlier and decided to reverse course and go up Dix first. One of his dogs was having difficulty (being older) getting around as well as she used to, so he headed back while the rest of his crew soldiered on. Once it started getting dark and they hadn’t returned, he started to get concerned. Somewhere around 2130 hrs we heard what sounded like joyous celebratory cheering coming through the woods. His companions had returned.

    After scrambling down Macomb slide at dusk, the darkness descended and they couldn’t find the herd path back to camp. They wound up walking Slide Brook all the way back through that nightmare of running water, fallen trees and tumbled boulders. In the dark…with hand held flashlights and head lamps. Battered, bruised and soaked they thought that they were going to have to huddle together and pass the night in the ravine. Fortunately, they heard voices from some folks who camped just off the heard path and they were able to talk them out of the Brook and back to their tents.

    Miscellaneous

    shoes

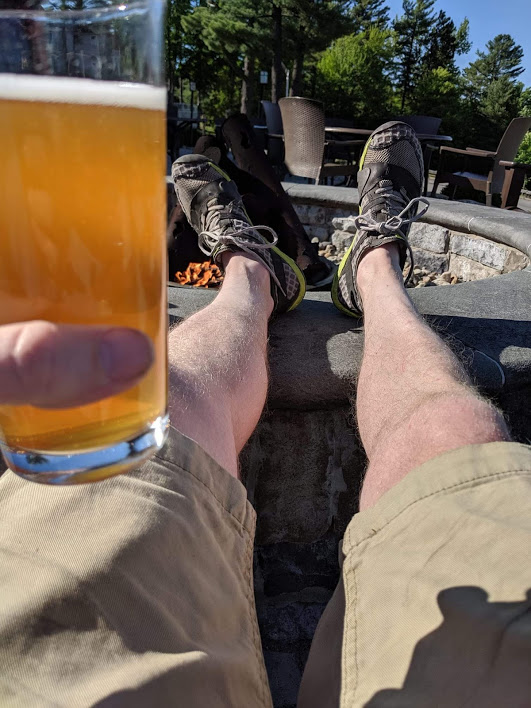
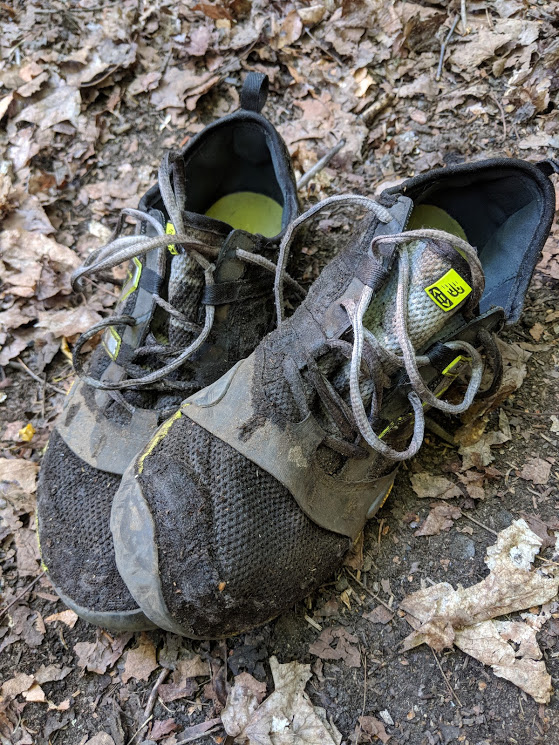
    I went “minimalist” with the footgear this time. At first it was great..exceedingly light, could feel foot placement easily, enough rubber on the sole for traction and protection.

    Until the descent from Mt Dix to camp. The pounding on the feet from all the jumping and landing on rock/boulders was rough. I was dragging ass that last 3 miles cause my dogs were getting sensitive. Maybe this wasn’t the best idea for such a long day, maybe my feet just need toughening. In the end though I did it and the dogs don’t feel any worse for wear right now. I’ll have to consider what I want to do the next time I head out.

    Conclusion

    We woke up early Sunday morning and packed up. After another 2.3 mile hike back to the parking lot we headed off for a hot breakfast before the long drive home.

    Five peaks in 12 hours. Macomb, South Dix (Carson Peak), Hough, Grace, Dix.

    14.3 miles (including the hike in and out of the trail-head). 5000 foot elevation change.

    Memories with a friend that will last forever.

  • Here There Be Bears

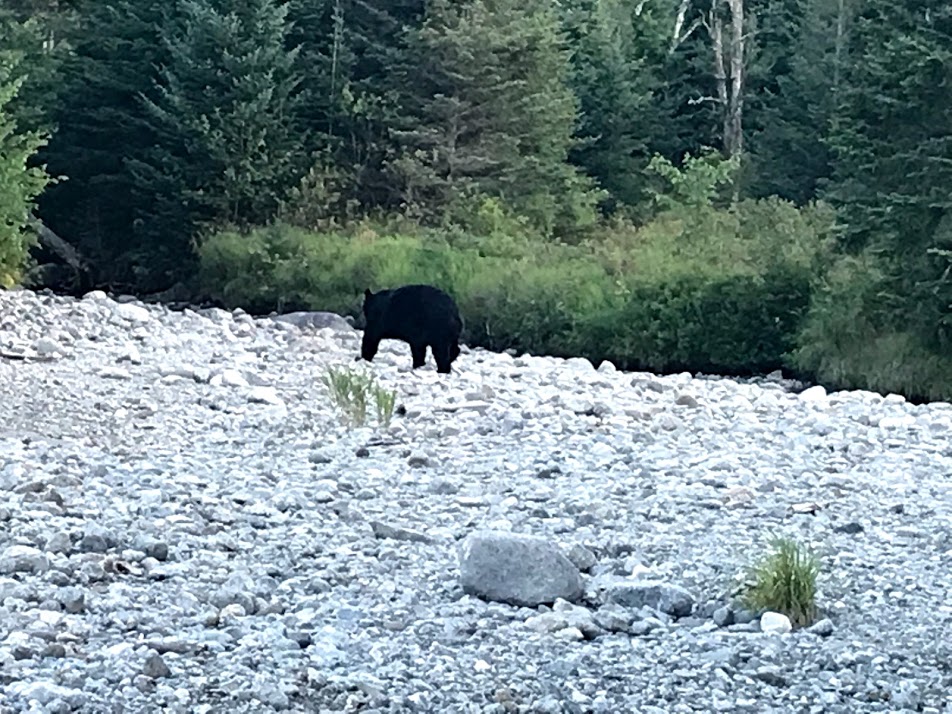
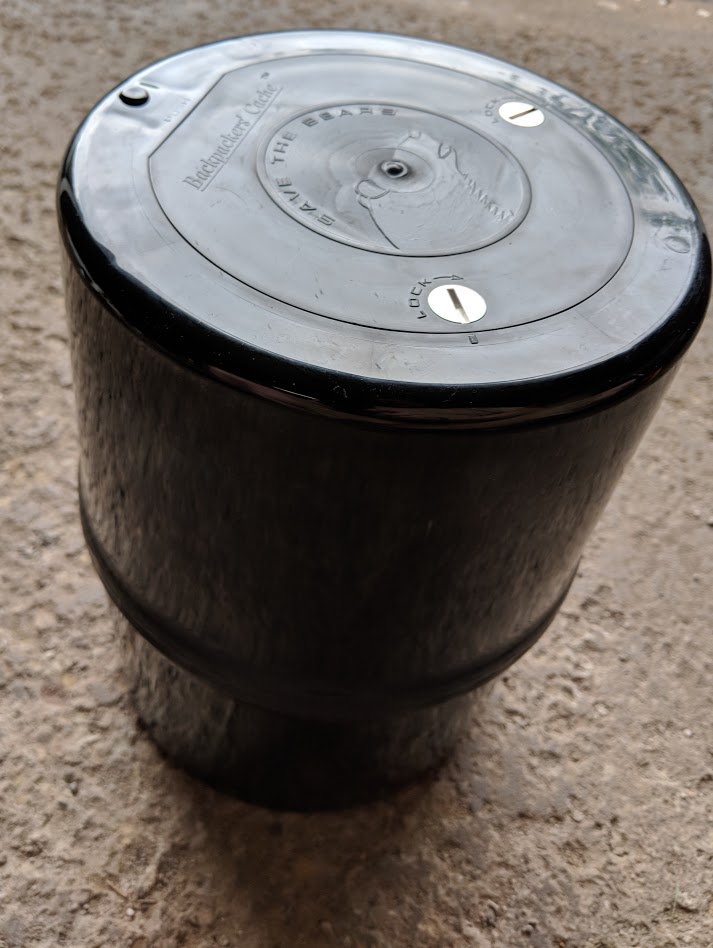
    In 2005, the New York State Department of Environmental Conservation (DEC) made the use of bear resistant food canisters mandatory  in the Eastern High Peaks Zone of the Adirondack Wilderness. Between April 1 and November 30. All overnight campers in that particular area of the park (the most popular) have to use these cans or face a ticket and a hike back to their car. While not mandatory in other Park Zones the DEC encourages their use throughout the wilderness.

    The can is designed to be of a shape and size that makes it impossible for the bear to grab it with his/her mouth or paws, and strong enough to keep the bear from cracking it open. Ideally, the most a bear should be able to do is roll the can around for a while till it figures out that it cant get to the food/odor and then (hopefully) moves along.

    The guideline for use is to simply place the can on the ground about 100 feet from your campsite. Some folks believe that hanging the can from a tree in a bag will add extra insurance, but all that does is give the bear something to grab onto and carry away. While the can may never be opened, it would be little consolation if it was carried off never to be seen again.

    The biggest drawback to this regulation is the size and weight of the can. Personally, the weight (while not ideal) is not a problem, but the space it takes up in the pack can be…especially if you are camping solo and don’t have another person to divvy up the load with.

  • Land Nav

    If there’s one particular skill I can thank my time in the military for, it’s land navigation. The GPS system has made getting around easier than it ever has been before and cellphones that can run navigation apps seem to be in everyone’s pockets. However, while GPS is a great tool, the knowledge of how to use a map and compass is in my opinion, the most important part of backcountry navigation.

    At the least, I think anyone who goes out into the wild should know how to:

    Read a Map
    Use a Compass
    Understand Declination
    Orient a Map
    Recognize Terrain Features (Hills, Ridges, Saddles, Draws, Spurs, etc.)
    Navigate by Terrain Association
    Take a bearing/Plot a bearing
    Walk a bearing using pace count
    Know how to do resection and intersection

    Maybe someone will disagree with me, but I would say that intersection (finding YOUR location by using known points on the map) is probably more useful to the recreational outdoors-person than resection (determining the location of an object/feature by going to known locations and taking bearings on it), which is more of a military skill used to identity target locations.

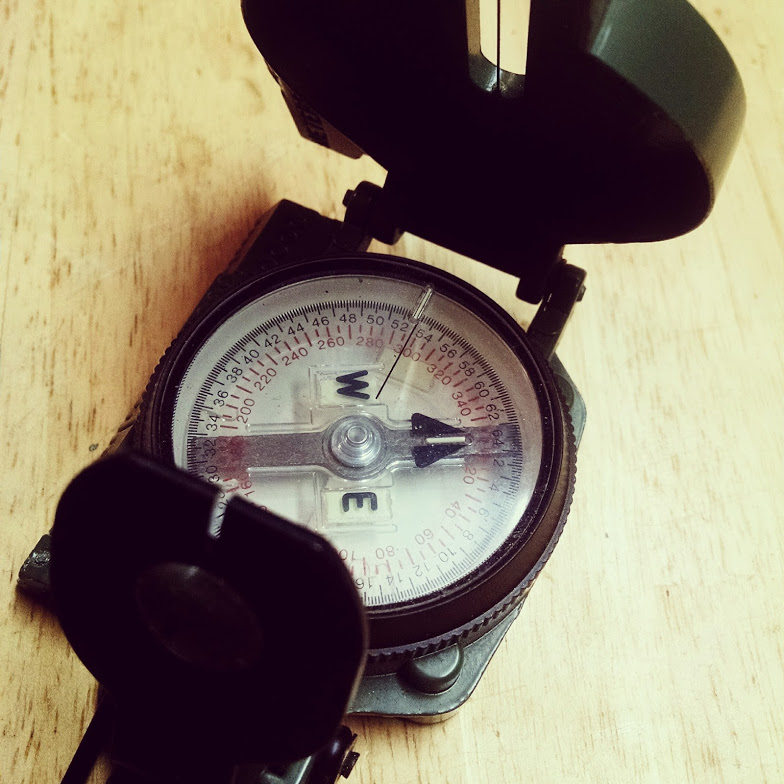
    Uncle Sam taught me to do all of this with a Lensatic Compass and a Protractor (a plastic sheet you use with a pencil to plot locations). The Lensatic Compass is the larger, “folding type” compass and is the featured image on this post. It is certainly more precise (having more degree markings) and is easier to use when shooting bearings to exact features that are far away. It also offers readings is mils.

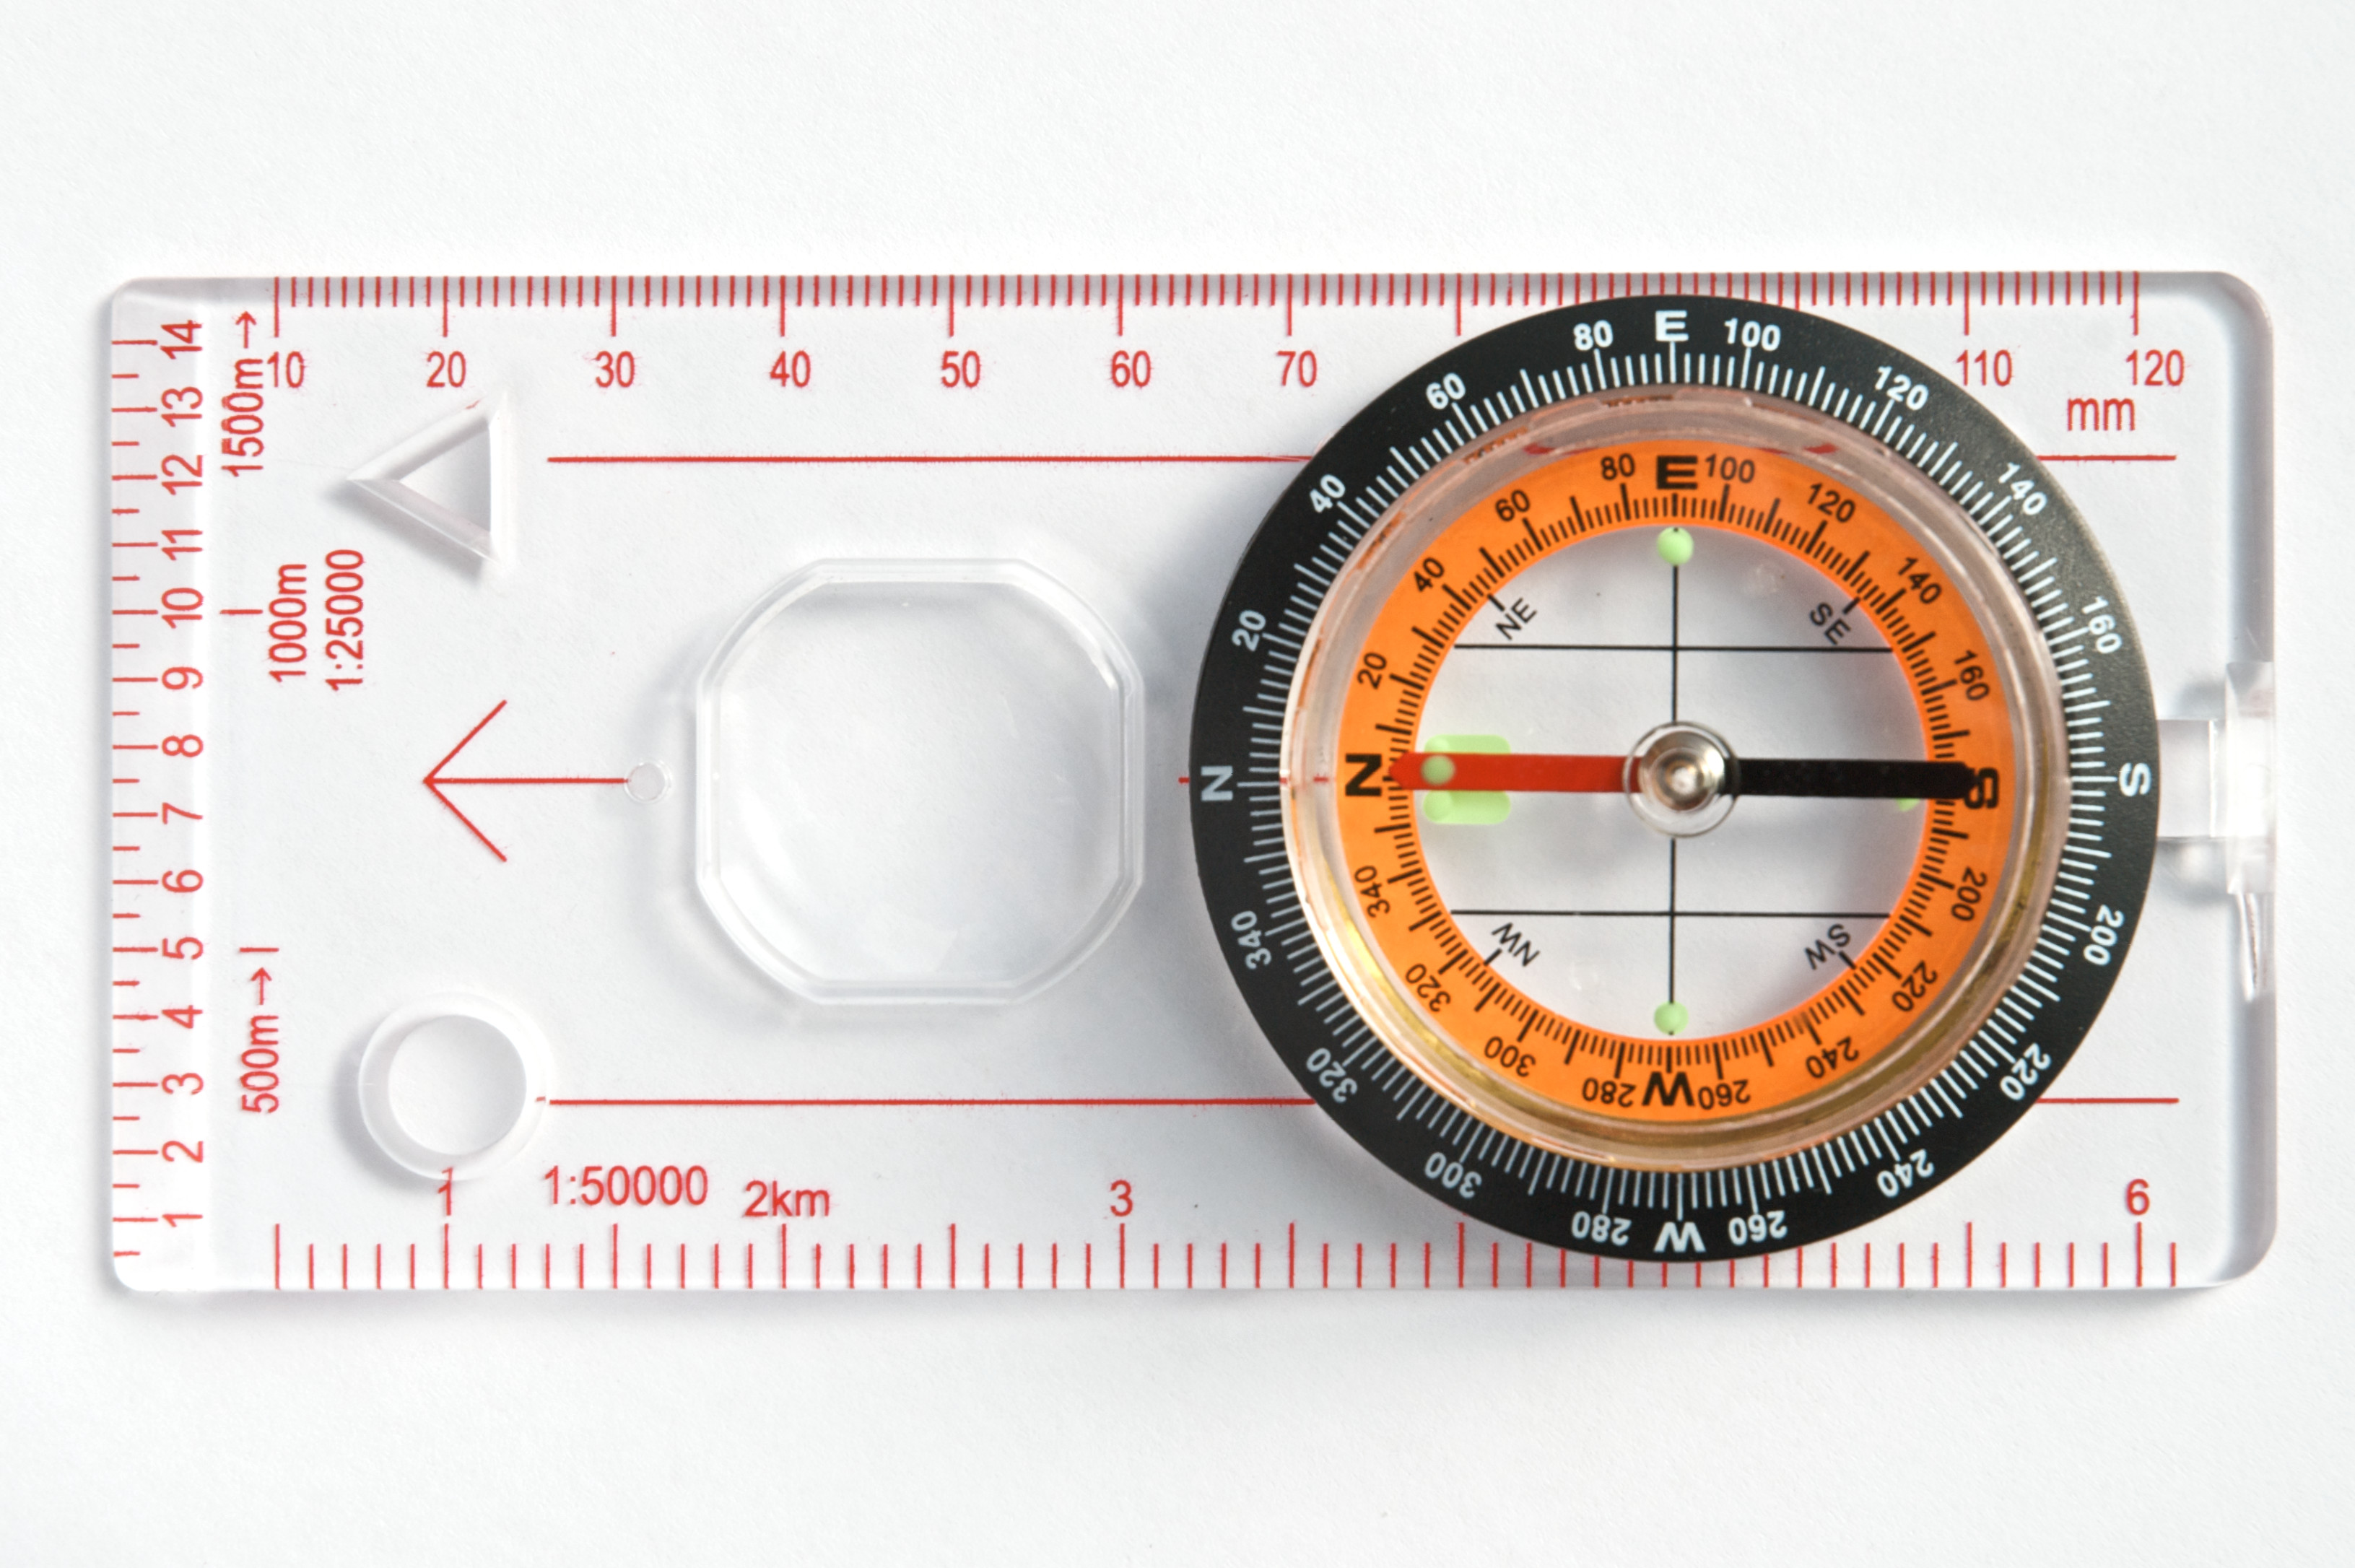
    However, I find the plastic baseplate style compasses are so much faster and simpler to use for general outdoor/hiking/backpacking.

    compass2

    To put it simply, you just line up where you are and where you want to go on the map along the edge of the baseplate, turn the compass dial to align with the N/S lines on the map and the follow the bearing.

    Conversely you can take a bearing…on say a hill top…then put the edge of the plate on that hilltop (on the map) and pivot the entire compass on that point till the N/S lines on the compass align with the map lines. You are somewhere along the edge of the plate.

    With my intention of becoming a 46er, I’ve been brushing up on my skills and inventorying my gear.

  • MSR Whisperlite Stove

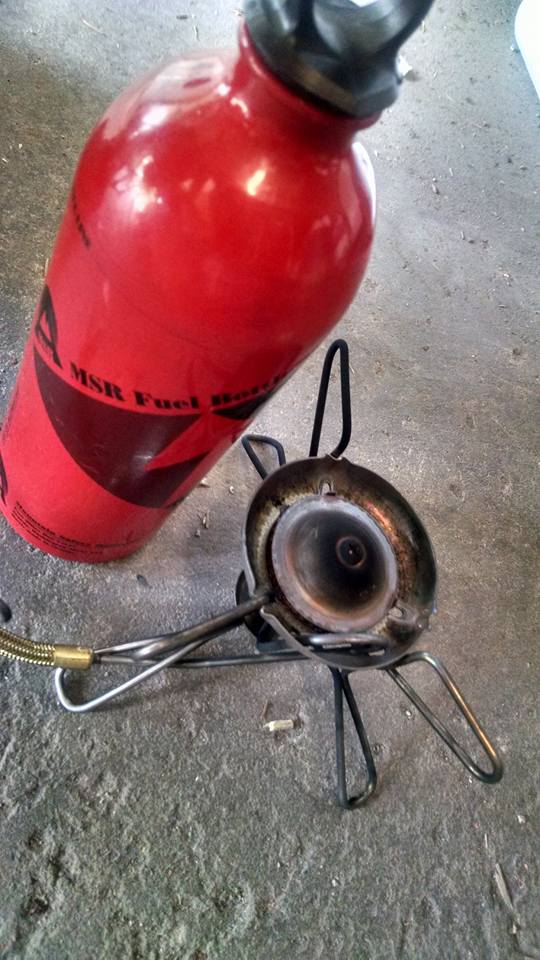
    The MSR Whisperlite Stove was introduced in 1984 and it’s still the best liquid fuel stove you can buy for group camping, backpacking, and winter mountaineering. I purchased mine back in the early 90’s and it’s still the only liquid fuel camp stove I own (plus a wood burning collapseable backup).

    The Whisperlite I own is a White Gas (Coleman Fuel) only version. The newer models offer multiple fuel options like kerosene, unleaded gasoline, white gas and even diesel. The advantage with the multiple fuel option is for the globetrotters who may not have access to Coleman fuel. I have “hemmed and hawed” about upgrading, but since this one sill works fine and I’m not planning on leaving the US anytime soon I’ve stuck with “ole reliable”.

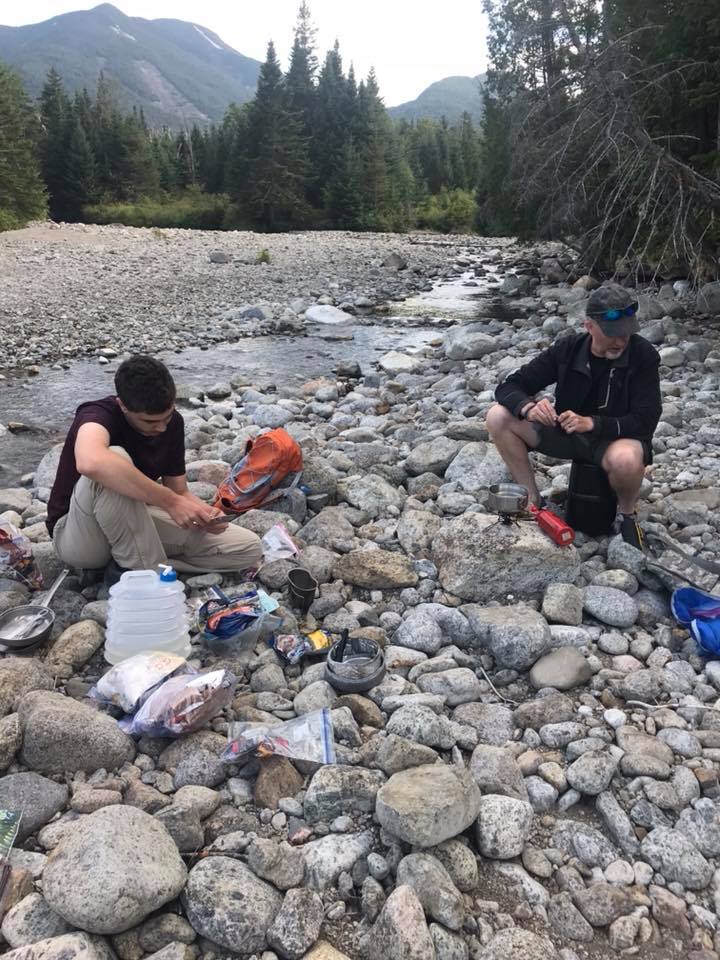
    There is a little “knowledge” you have to have to run one of these things. After you assemble the stove/pump/tank and pressurize the system you open the fuel valve and fill a little priming cup at the base of the stove, then you CLOSE THE FUEL VALVE and light the priming cup. When most of that fuel is burned off you slowly open the fuel valve and the burner should ignite. If the burner goes out you have to let the stove cool for 5-10 minutes before repriming. If you fail to follow directions you can get a puddle of flaming liquid fuel spreading all around you or a vaporized fuel fireball. Neither of those are pleasant. I always take my stove to a safe spot (like the empty driveway) and light it before I take it anywhere. That way I can be sure everything works and I practice safe ignition procedures.

    While it’s not the lightest of systems, the refillable fuel bottle is reusable/refillable. Many of the newer lightweight stoves use disposable fuel cans.

  • Pack Loadout Plan

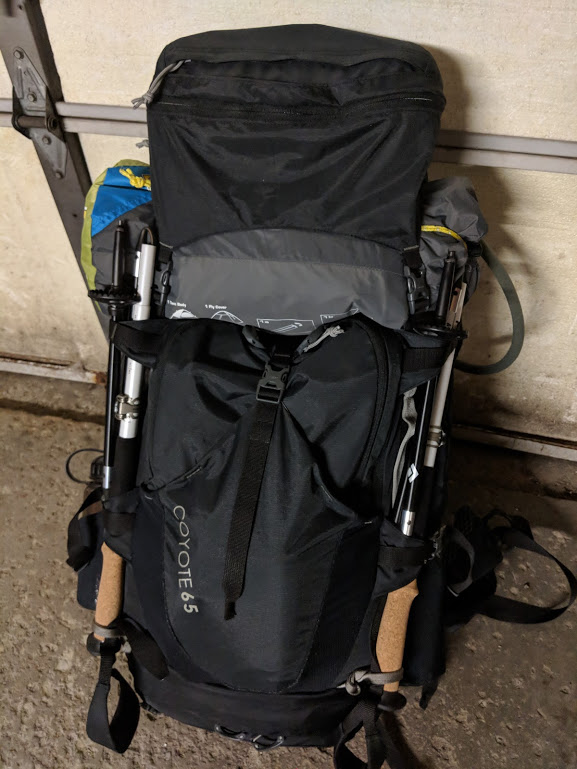
    My current packing plan for my Kelty Coyote 65L Pack:

    Bottom Pocket:
    Sleeping Bag
    Ground Pad
    Pillow
    Thermals (top/bottom) in WP Bag
    Small backpack
    Camp Shoes

    Center:
    Water Bladder
    Bear Can
    Mess Kit
    Mess Cup
    Fuel
    Stove

    Top Pocket:
    Rain Gear
    Emergency Bivvy
    Rain Cover
    Whistle
    Bug Net

    Outside Front Pocket:
    Flex Patches
    Spork and Knife
    Trowel
    Bug Juice
    Headlamp
    Extra Zip Loc Bags
    Meds/Matches/Firestarting/First Aid Kit

    FAR Outside Front Pocket:
    Water Filter

    Outside Right Side:
    Tent Poles

    Outside Right Side Pocket:
    Tent Stakes

    Outside Left Side:

    Outside Left Side Pocket:
    550 Cord
    Cold Weather Hat

    Ice Axe Loops:
    Trekking Poles

    Left Side Waist:
    Map & Compass

    I’m keeping my pack regularly loaded with the above items, with the intention of adjusting the load as time and experience progresses. When I’m actually ready to head out I will finish off the loadout. I anticipate having to find room for:

    2 Additional pair of dry socks
    2 Pair of underwear
    1 dry wicking t-shirt
    1 dry pr of shorts/pants
    Insulating Jacket
    First Aid Supplies
    Weight of Food in Bear Can


  • Kelty Coyote 65

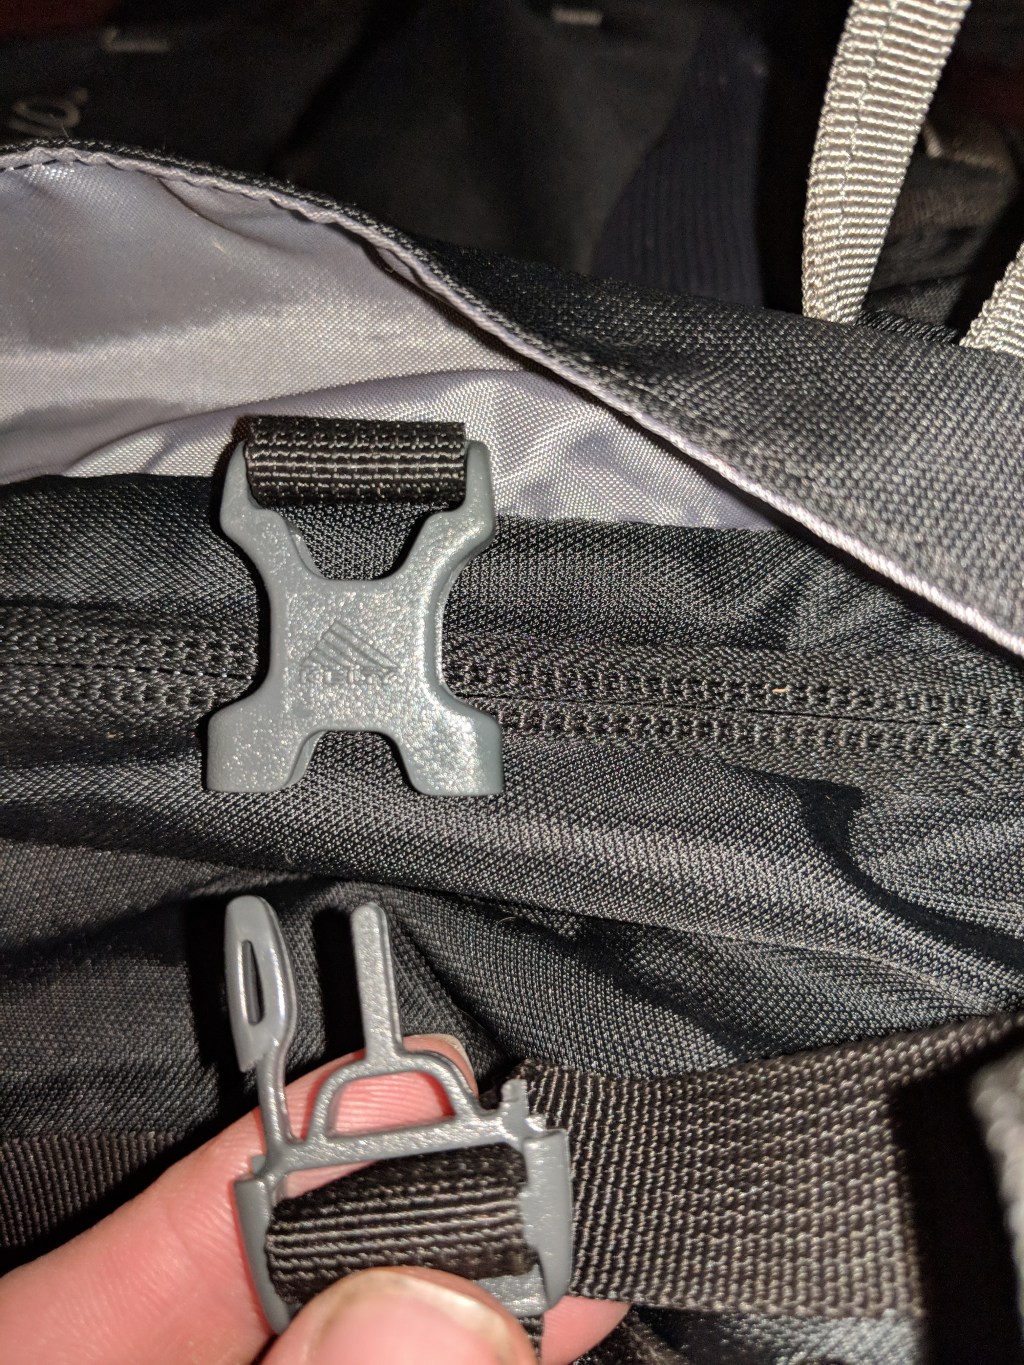
    I just purchased a Kelty Coyote 65 and one of the strap buckles was broken. Their warranty department shipped a replacement out to me the next day. Excellent customer service.

  • Gear

    As I go along, I anticipate blogging about my new gear purchases, my packing lists and my pieces of “old friend” gear I still have.

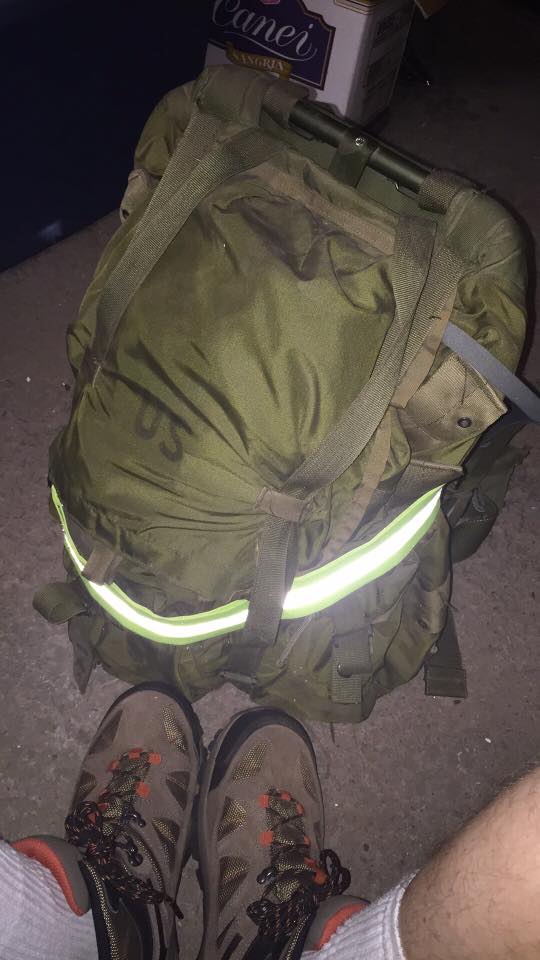
    Believe it or not, I’ve always humped my old Army ALICE Large as my one and only backpack. Only recently (as in last week) did I cave in and buy a new internal frame pack.

  • Mt Marcy

    Mt. Marcy is the highest peak in the Adirondacks (and the State of New York) at 5,344 feet in elevation. I went up there the first time in 1991 and once again in on September 18, 2016. It can be an entirely different season on the top vs the bottom.

  • Upcoming Events

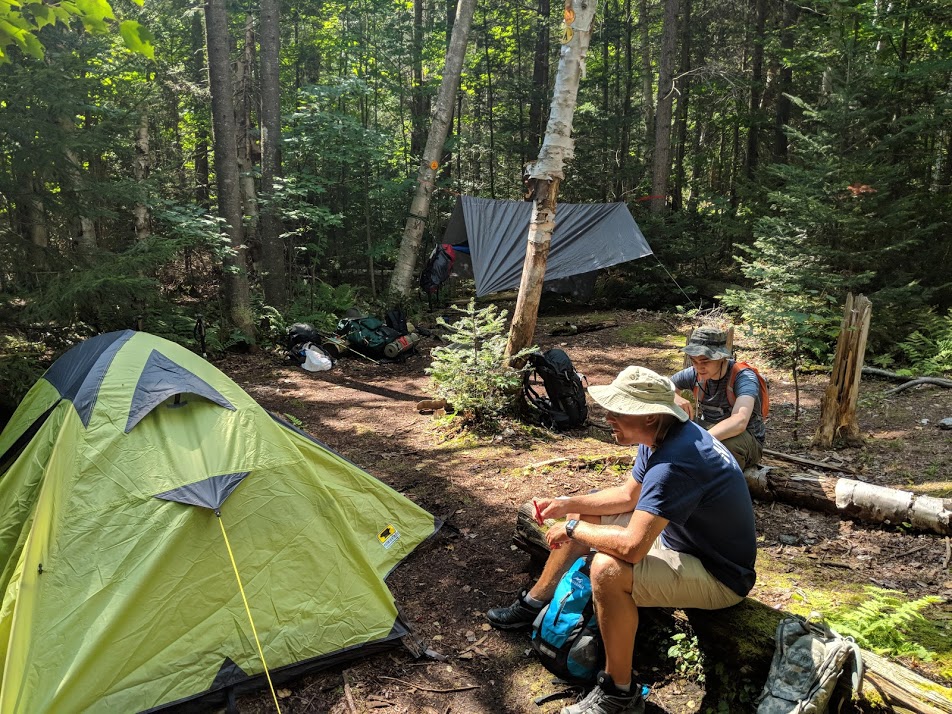
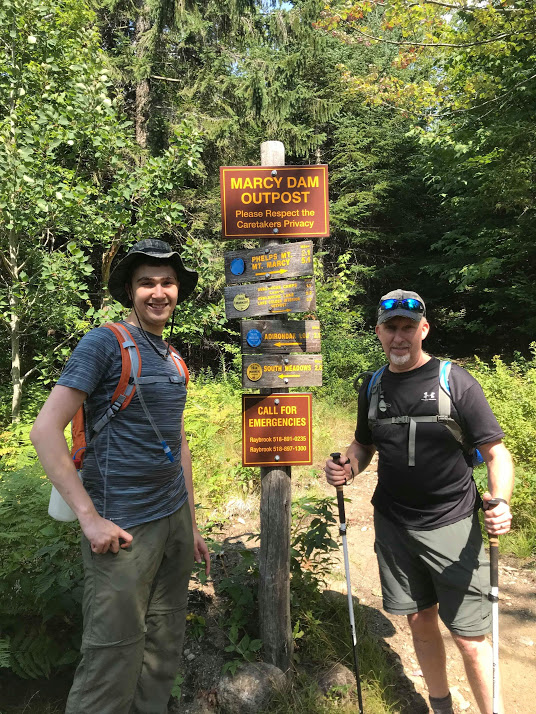
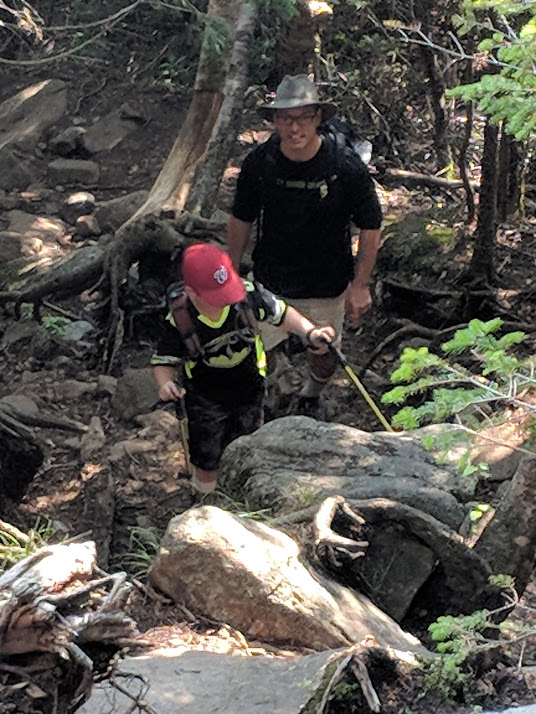
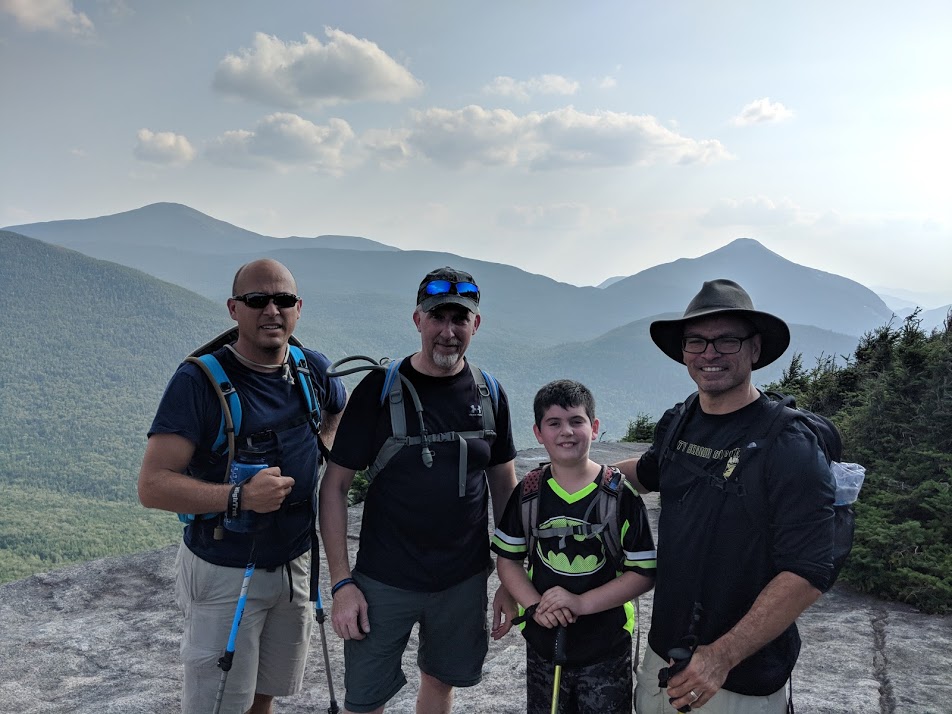
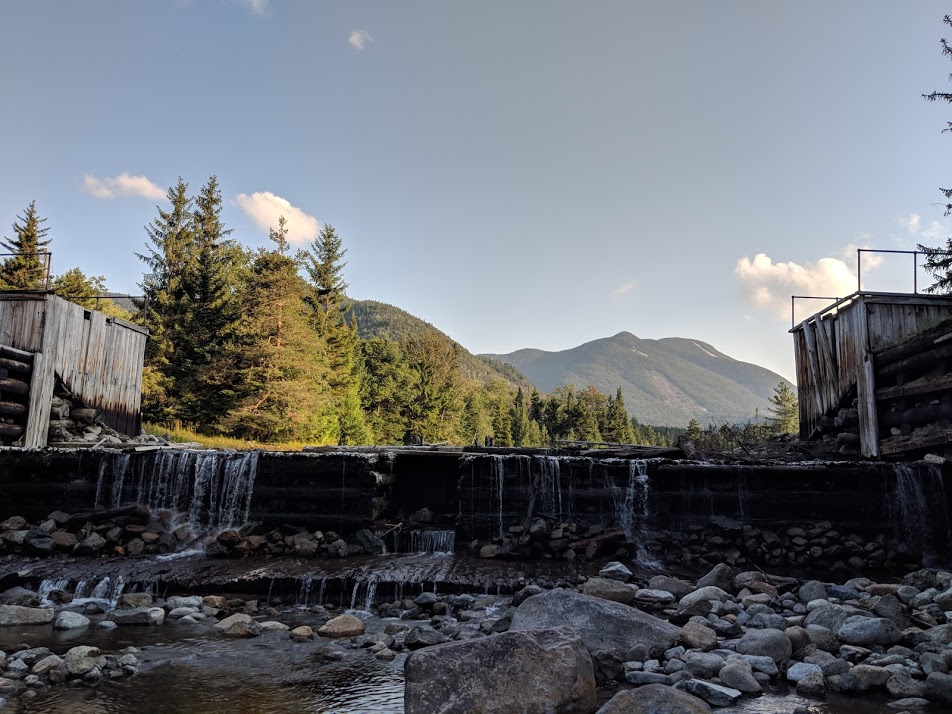
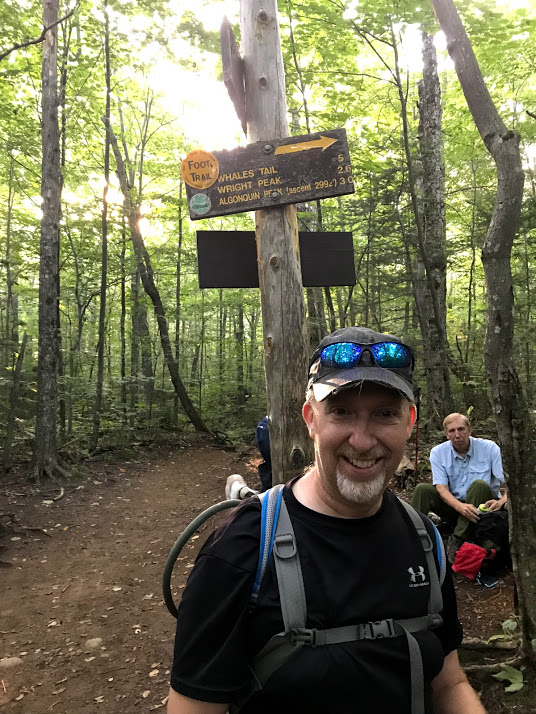
    Towards the end of August I intend to camp around Marcy Dam and visit Wright Peak and Phelps Mountain. Ideally a hiker could hit Wright, Algonquin and Iroquois all in one trip, but I will be going with my nephew and my buddy and his young son, so I didn’t want to plan too “big of a bite”. Depending on timing and how well the others do we may try to grab one of those other peaks too.